
As most of you know, over the last year, Thomas has added shooting film photos to his repertoire of hobbies. He even completely converted his Instagram account over to film-only shots. We’ve started sharing some of our Film Favorites over the last year and have fielded a number of questions about film photography and how to get started. So T is here today to answer the most important questions you’ll need to know if you’ve ever wanted to dive into the world of shooting film.
Why shoot film?
Hey, it’s Thomas! I’m glad to be back to scratch the surface on a topic I find a lot of joy in. I can’t predict every motivation people have for wanting to shoot film, but the main reason I shoot film is so that I can capture images with more sentimental rather than commercial value. As professional photographers, Julia and I can obsess over getting the perfect image–a process which can take hours and hundreds of images. I think about film photography as a way to capture moments without spoiling them–as soon as you identify a shot, the spontaneity can come and go in a matter of seconds. A quick snap on film doesn’t ruin that.
Contrary to some people’s beliefs, I do not believe that film photos are higher quality or better than digital photos. In fact, most editing presets from VSCO or other suppliers are based on or inspired by film. Modern digital sensors have incredible dynamic range and high file sizes, creating a dream world for those that love to manipulate files in the editing process. As someone who dreads sorting through images and editing, I love the process of shipping off film to my film lab of choice and the not-so-patient wait until I get the email notification that my images are ready for viewing.

Which camera should I start with?
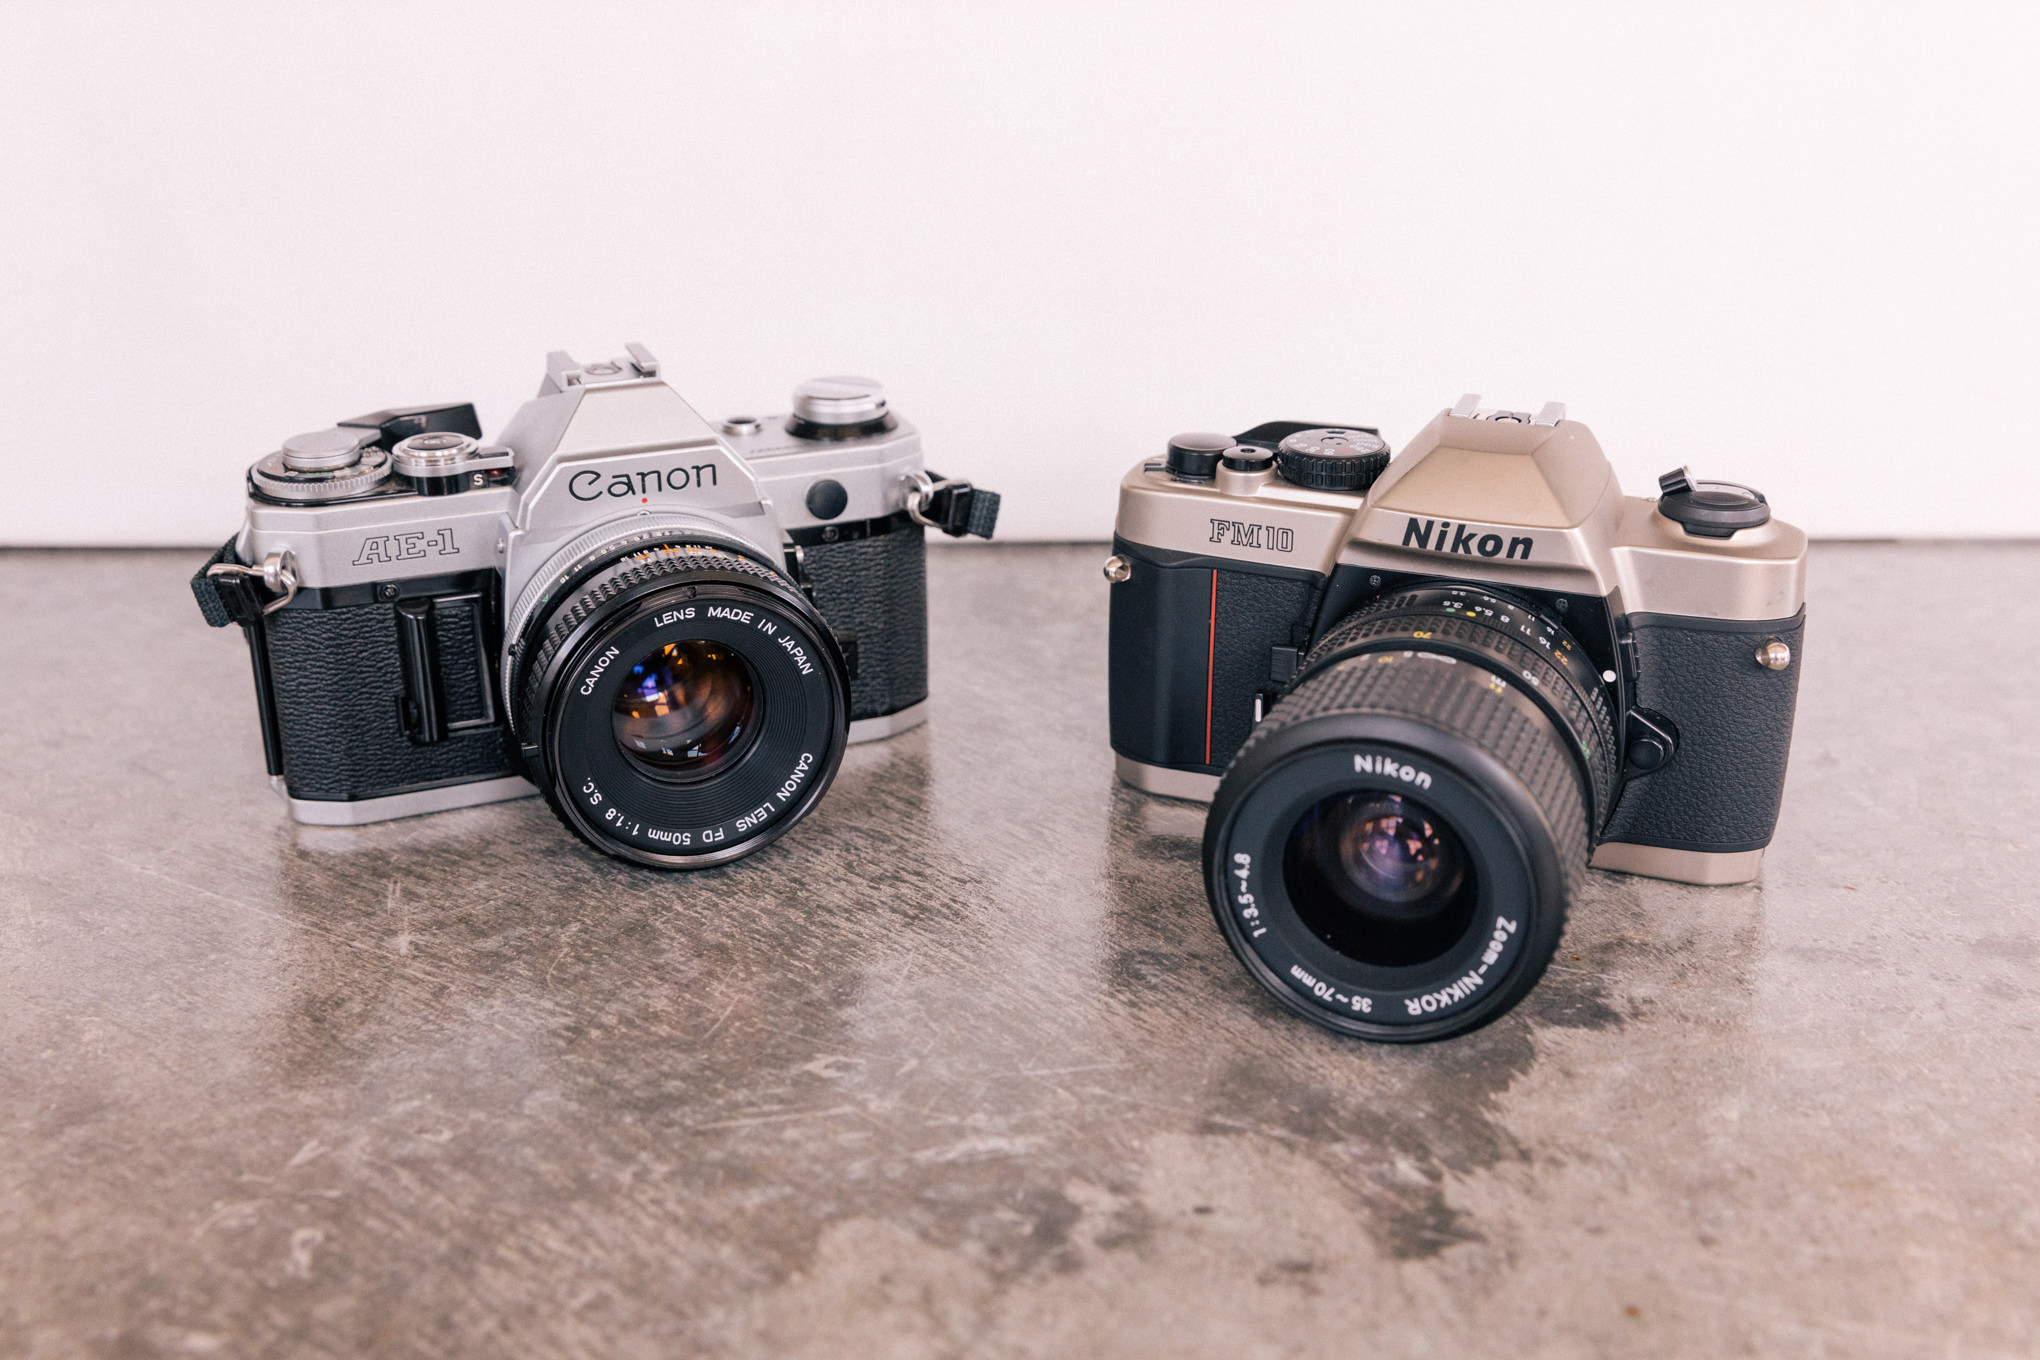
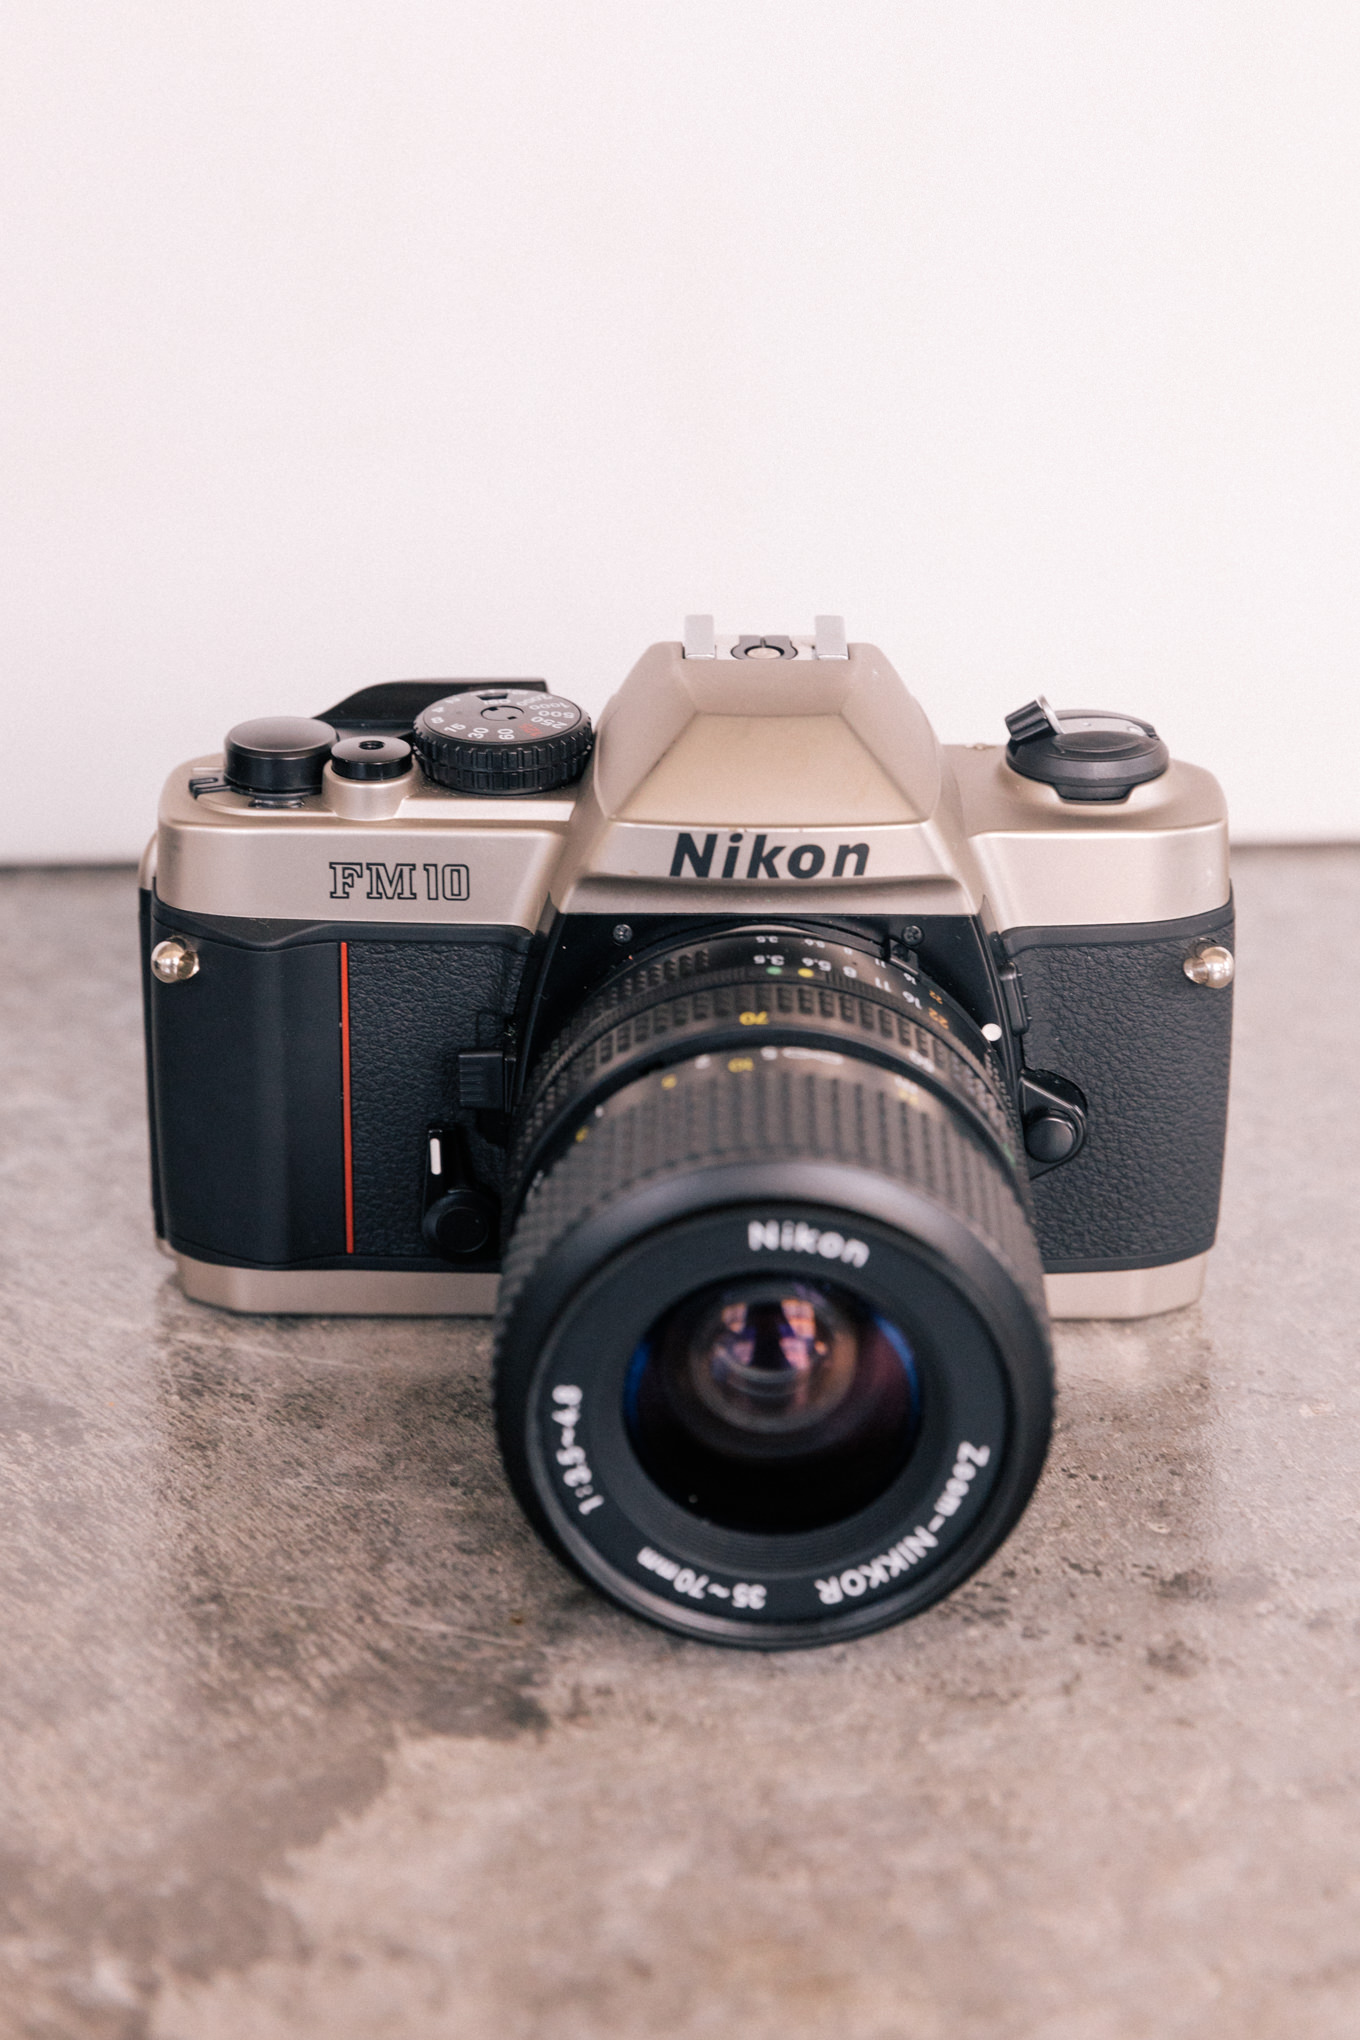
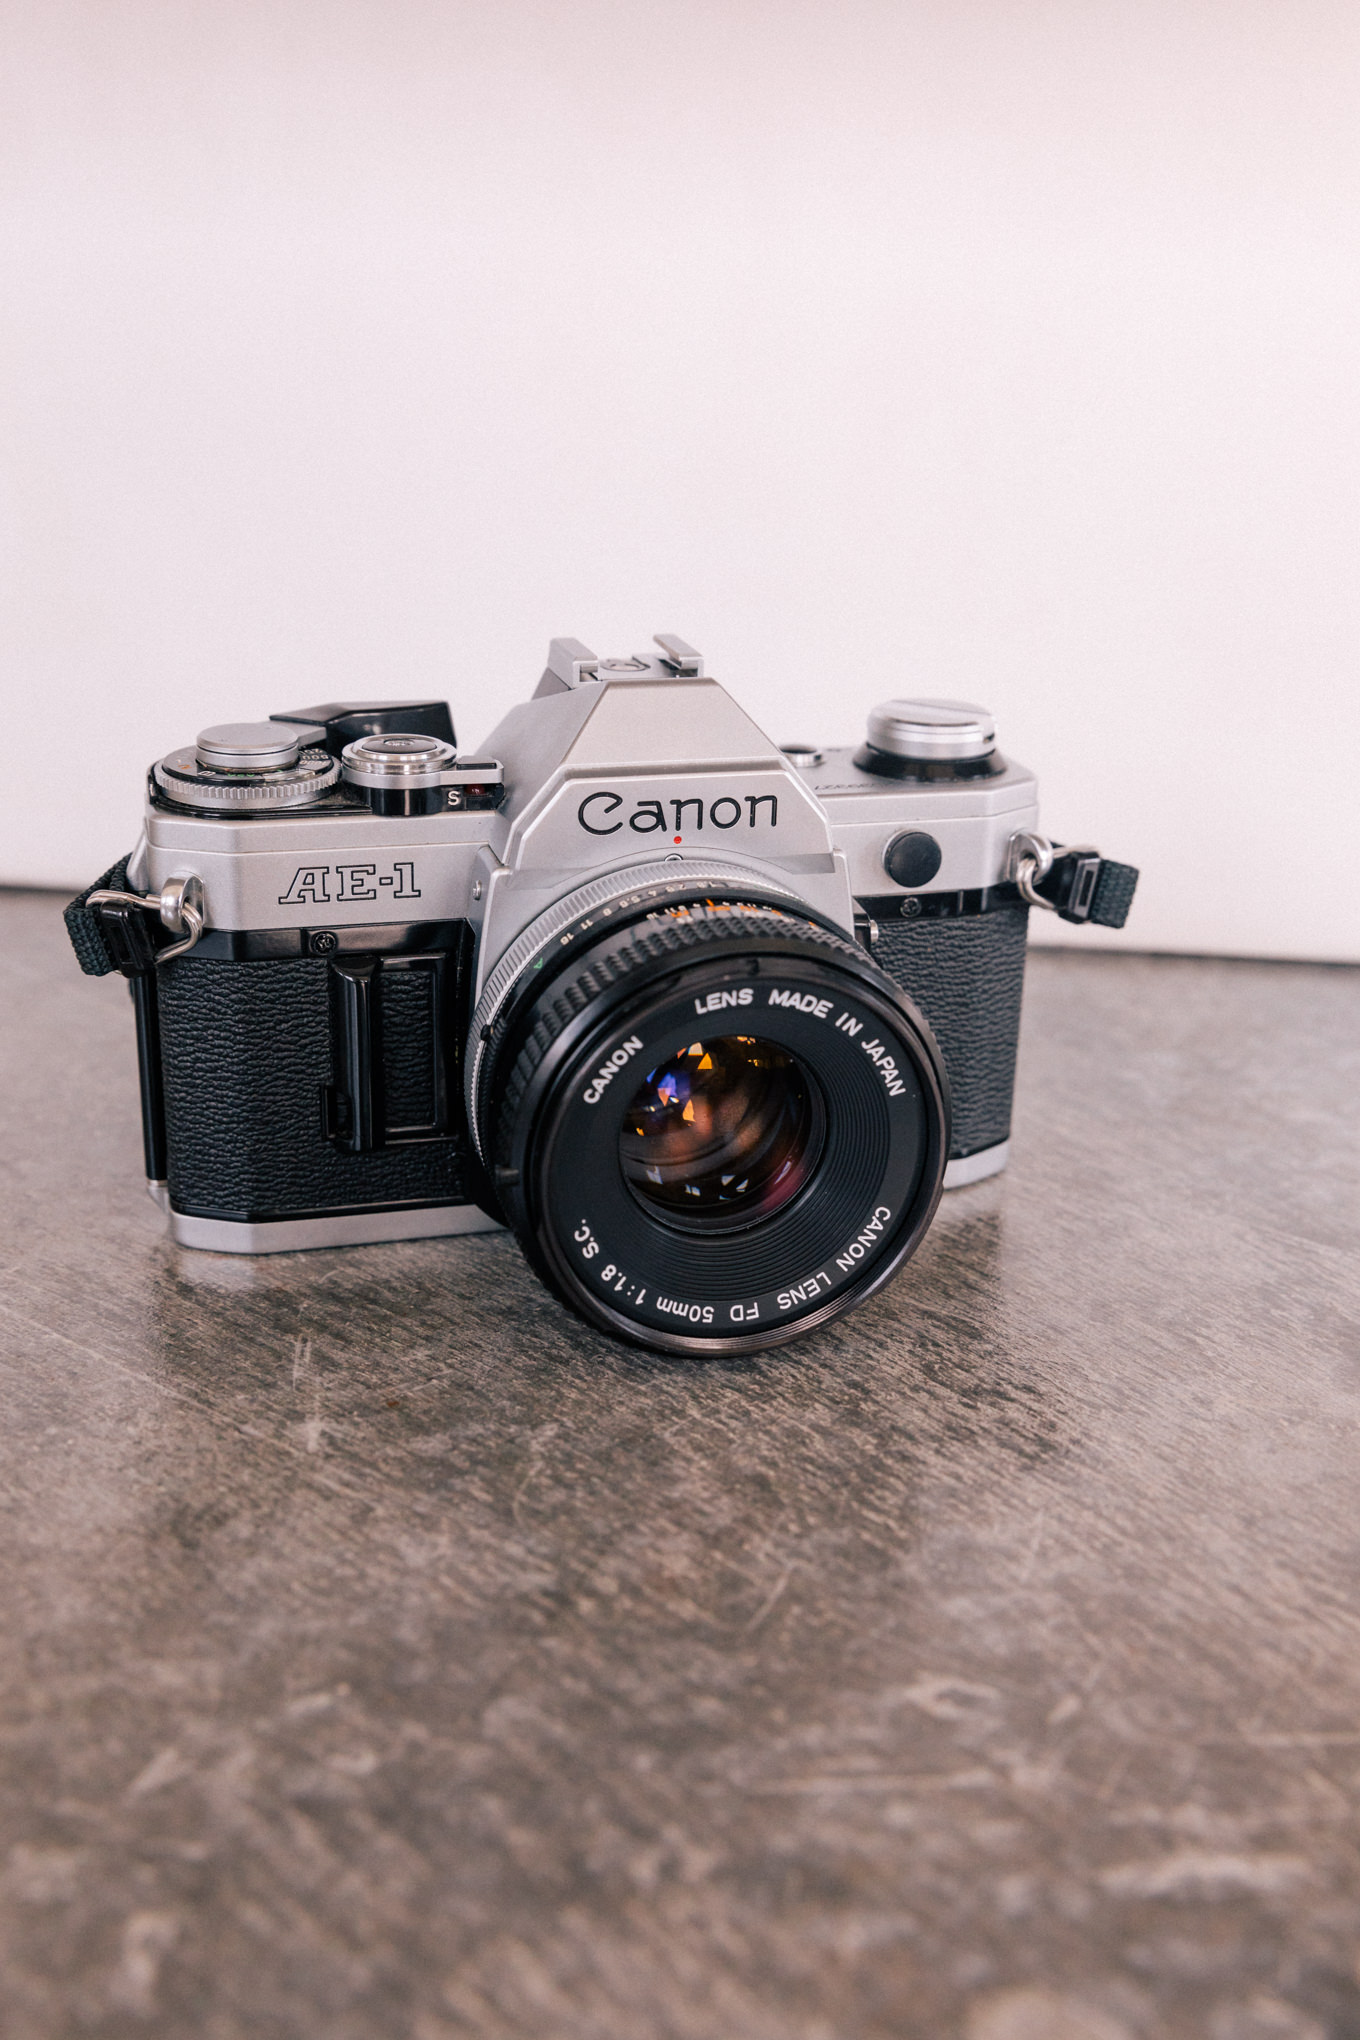
I’m the type of person who picks up a hobby, immerses myself into it, and then steps away from it. That’s why I highly recommend renting or borrowing cameras, especially if shooting film photos sounds like a short-term or even one-time experiment for you. A great way to borrow a film camera is to ask any photographer friends if they have a film camera lying around. I’m guessing most will. Another great option is renting from Film Objektiv, which does two-week rentals with outbound shipping included. If buying is more your style, the good news is you can probably get a solid starter camera and lens for $100-$200. The Canon AE-1 and Nikon FG (one of our employees has a Nikon FM10, which is not much different, and recommends it as great beginner camera) are consistently mentioned as top beginner film cameras.
What type of film should I use?
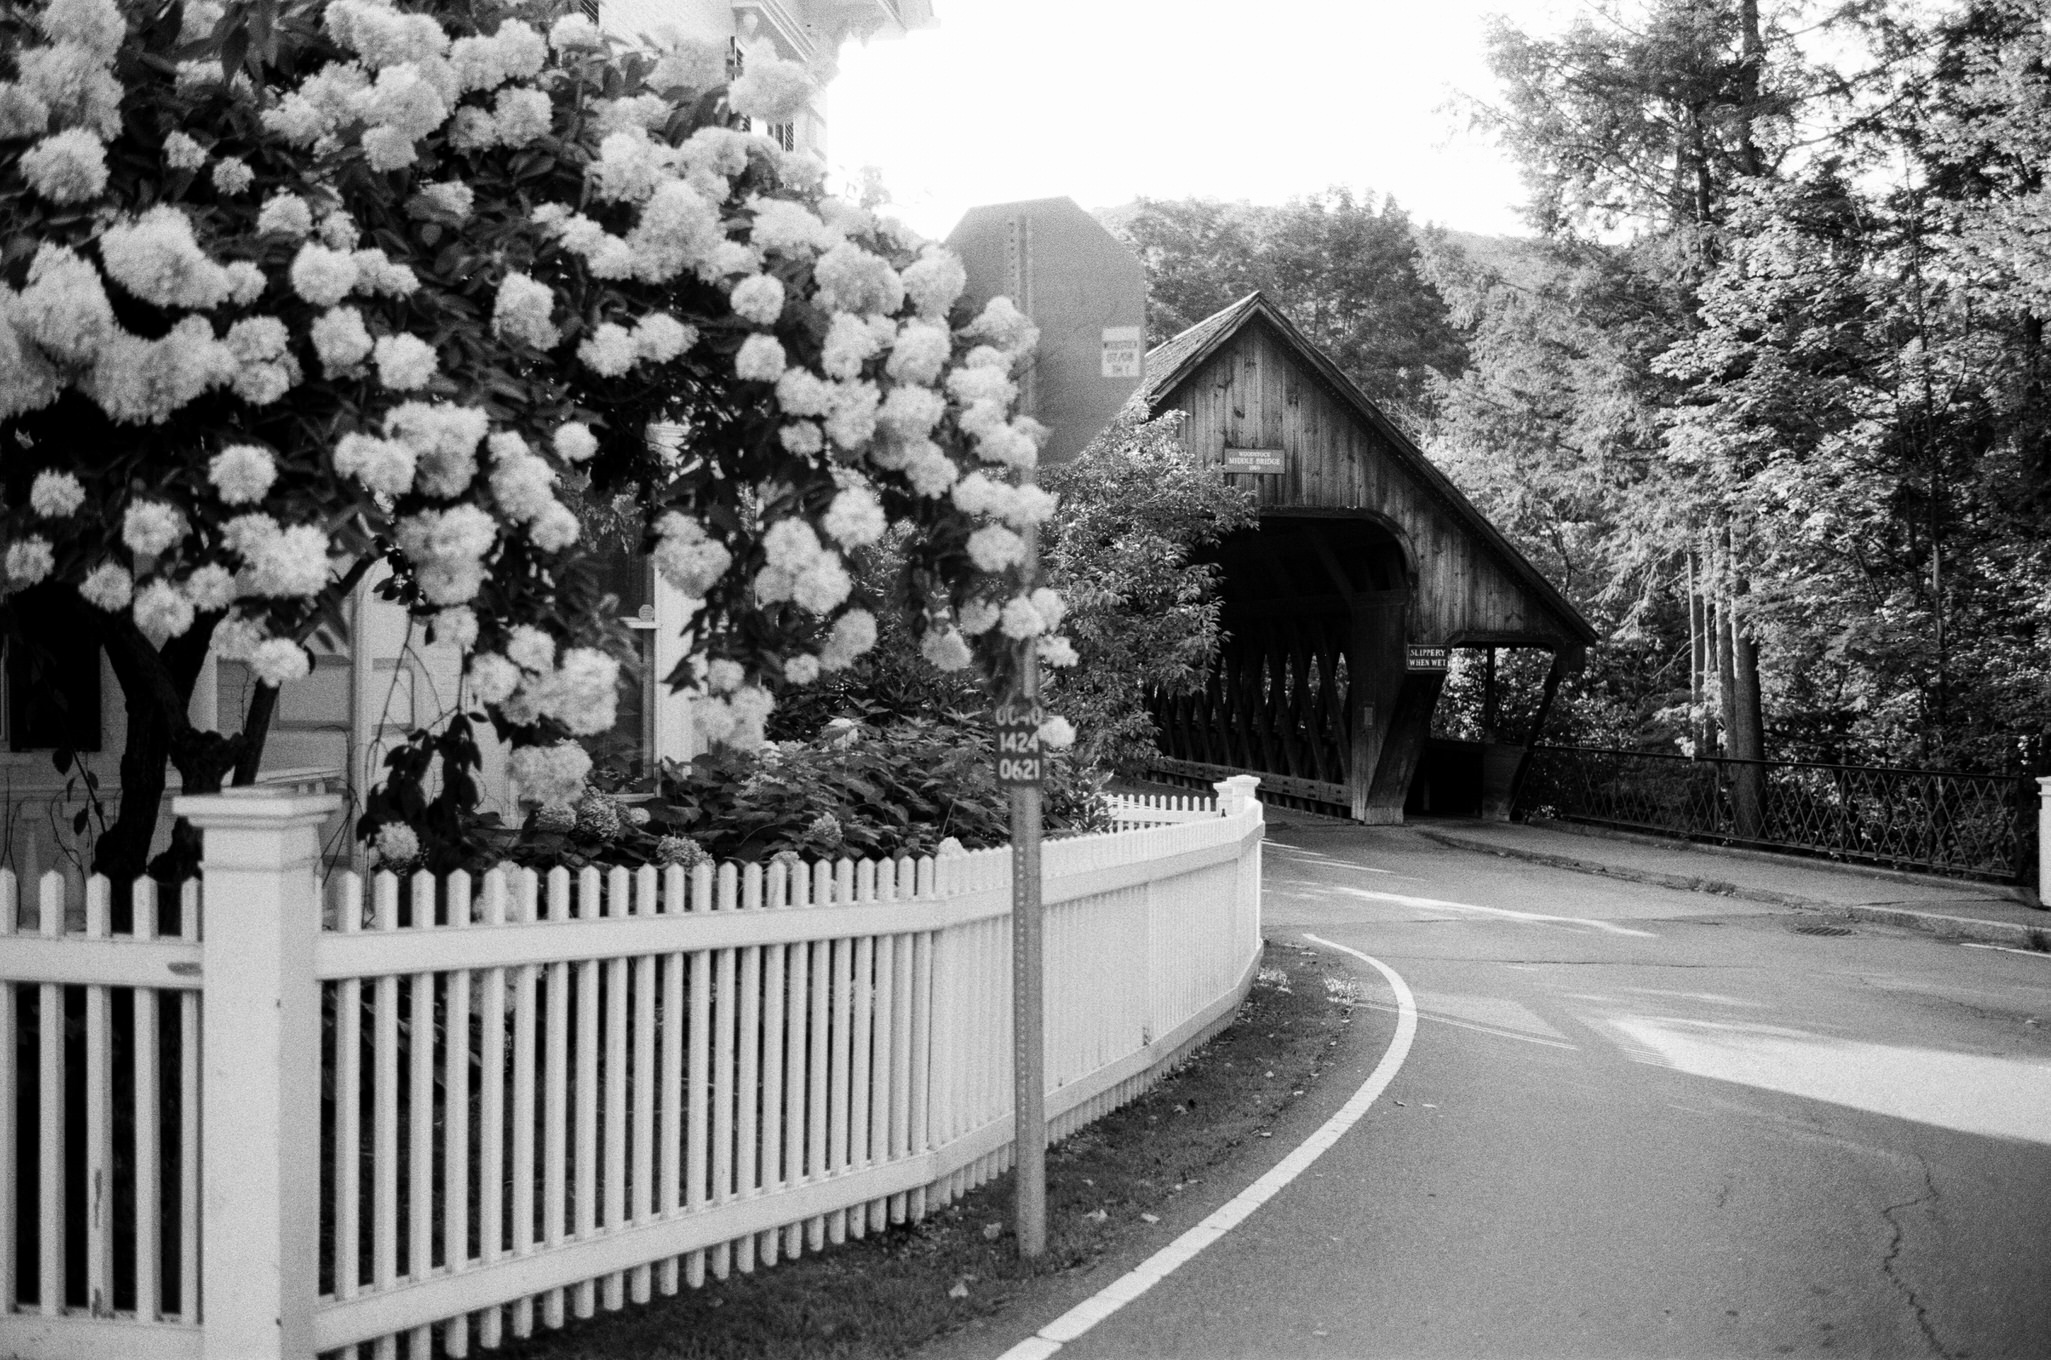
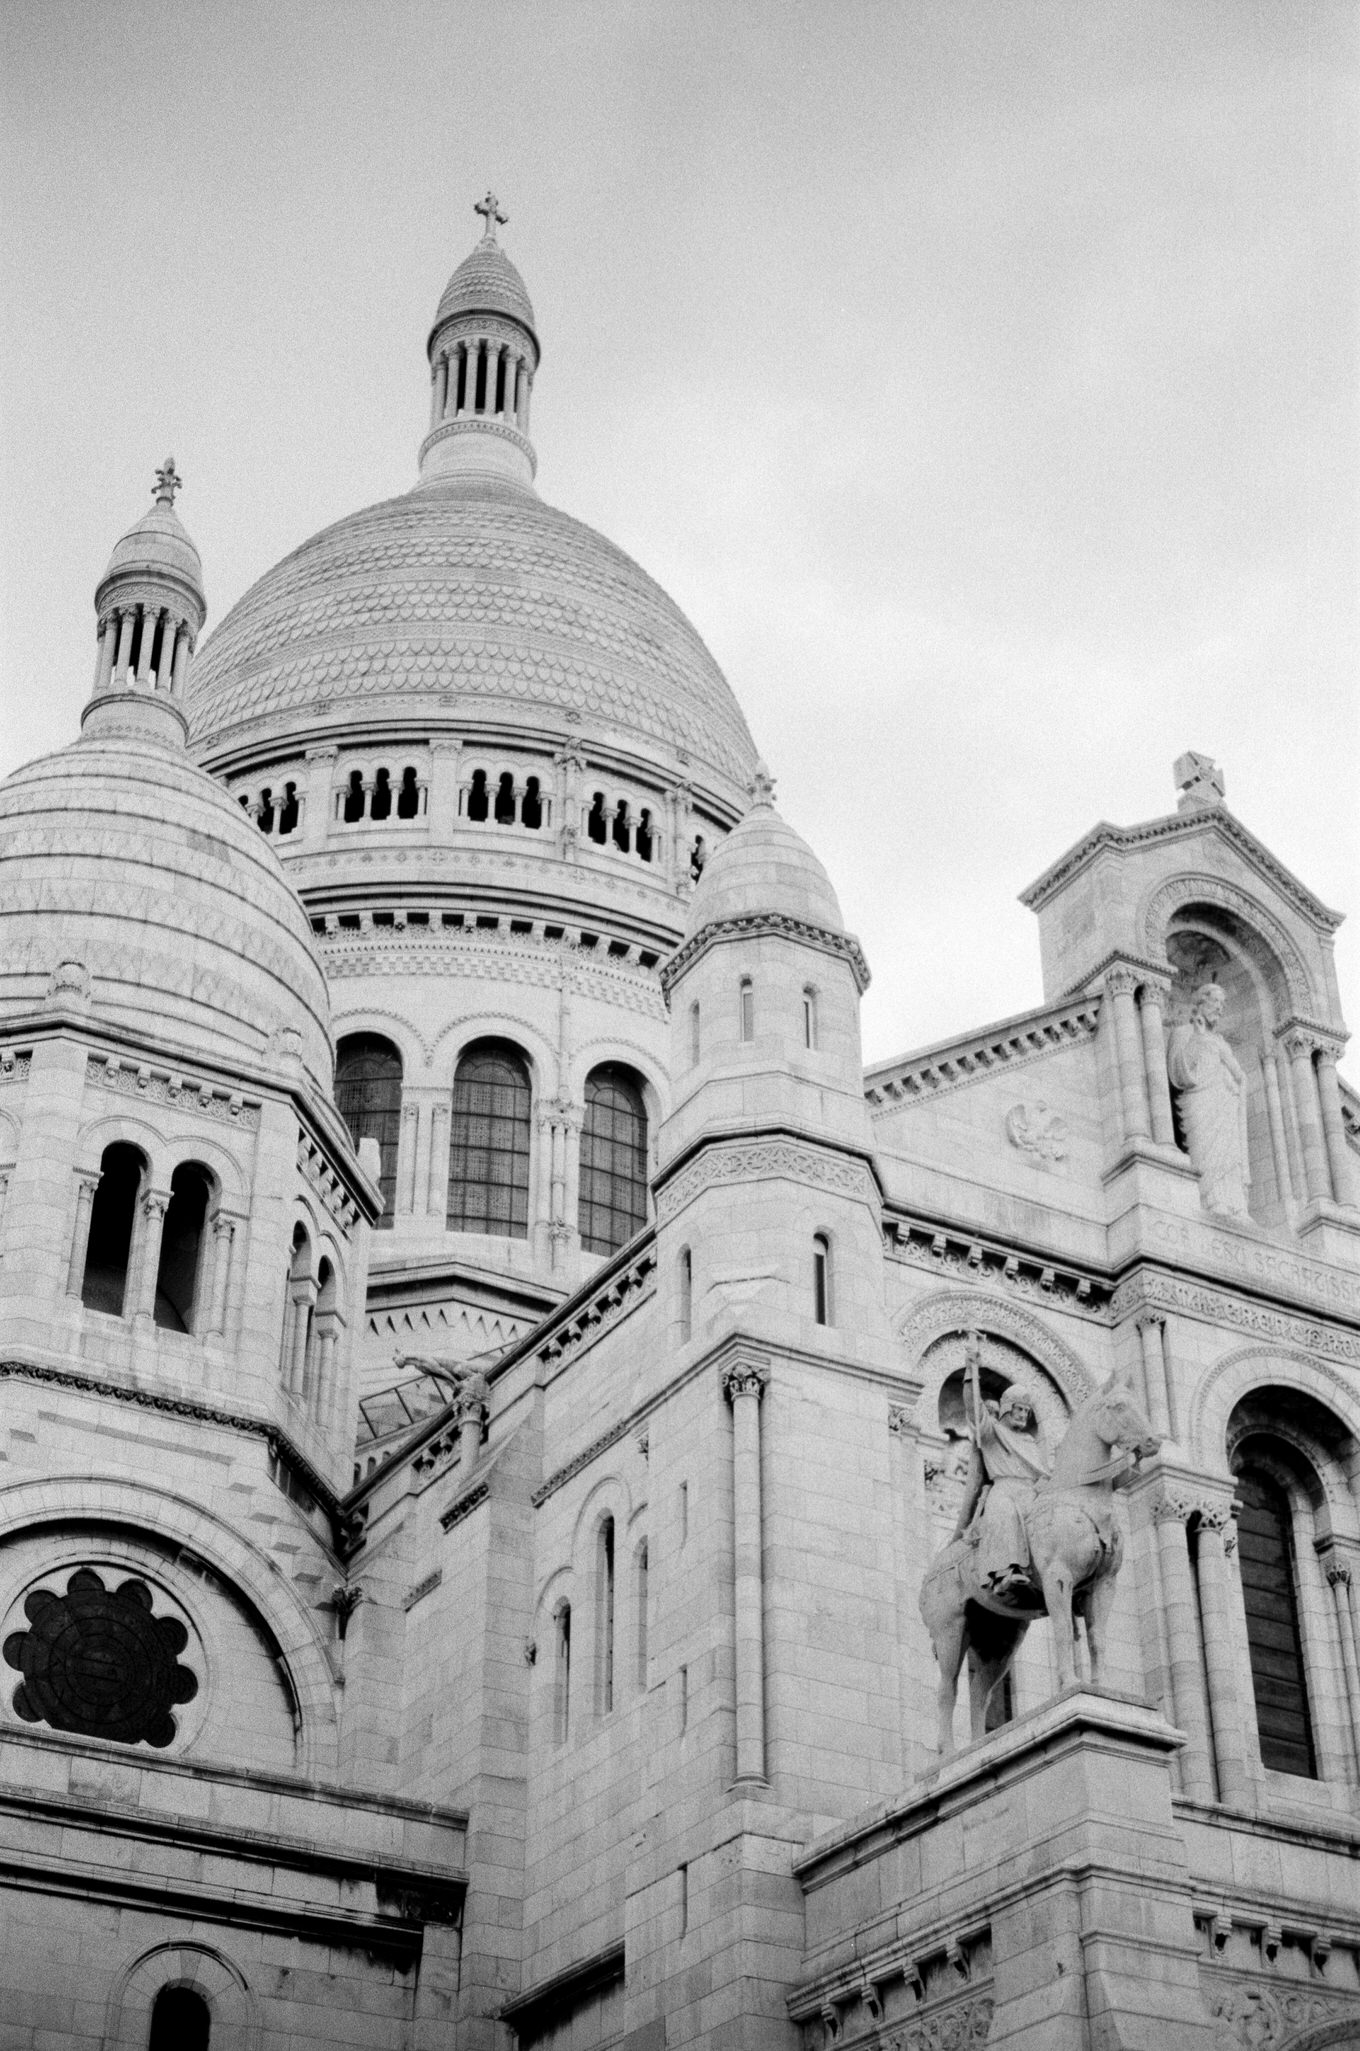
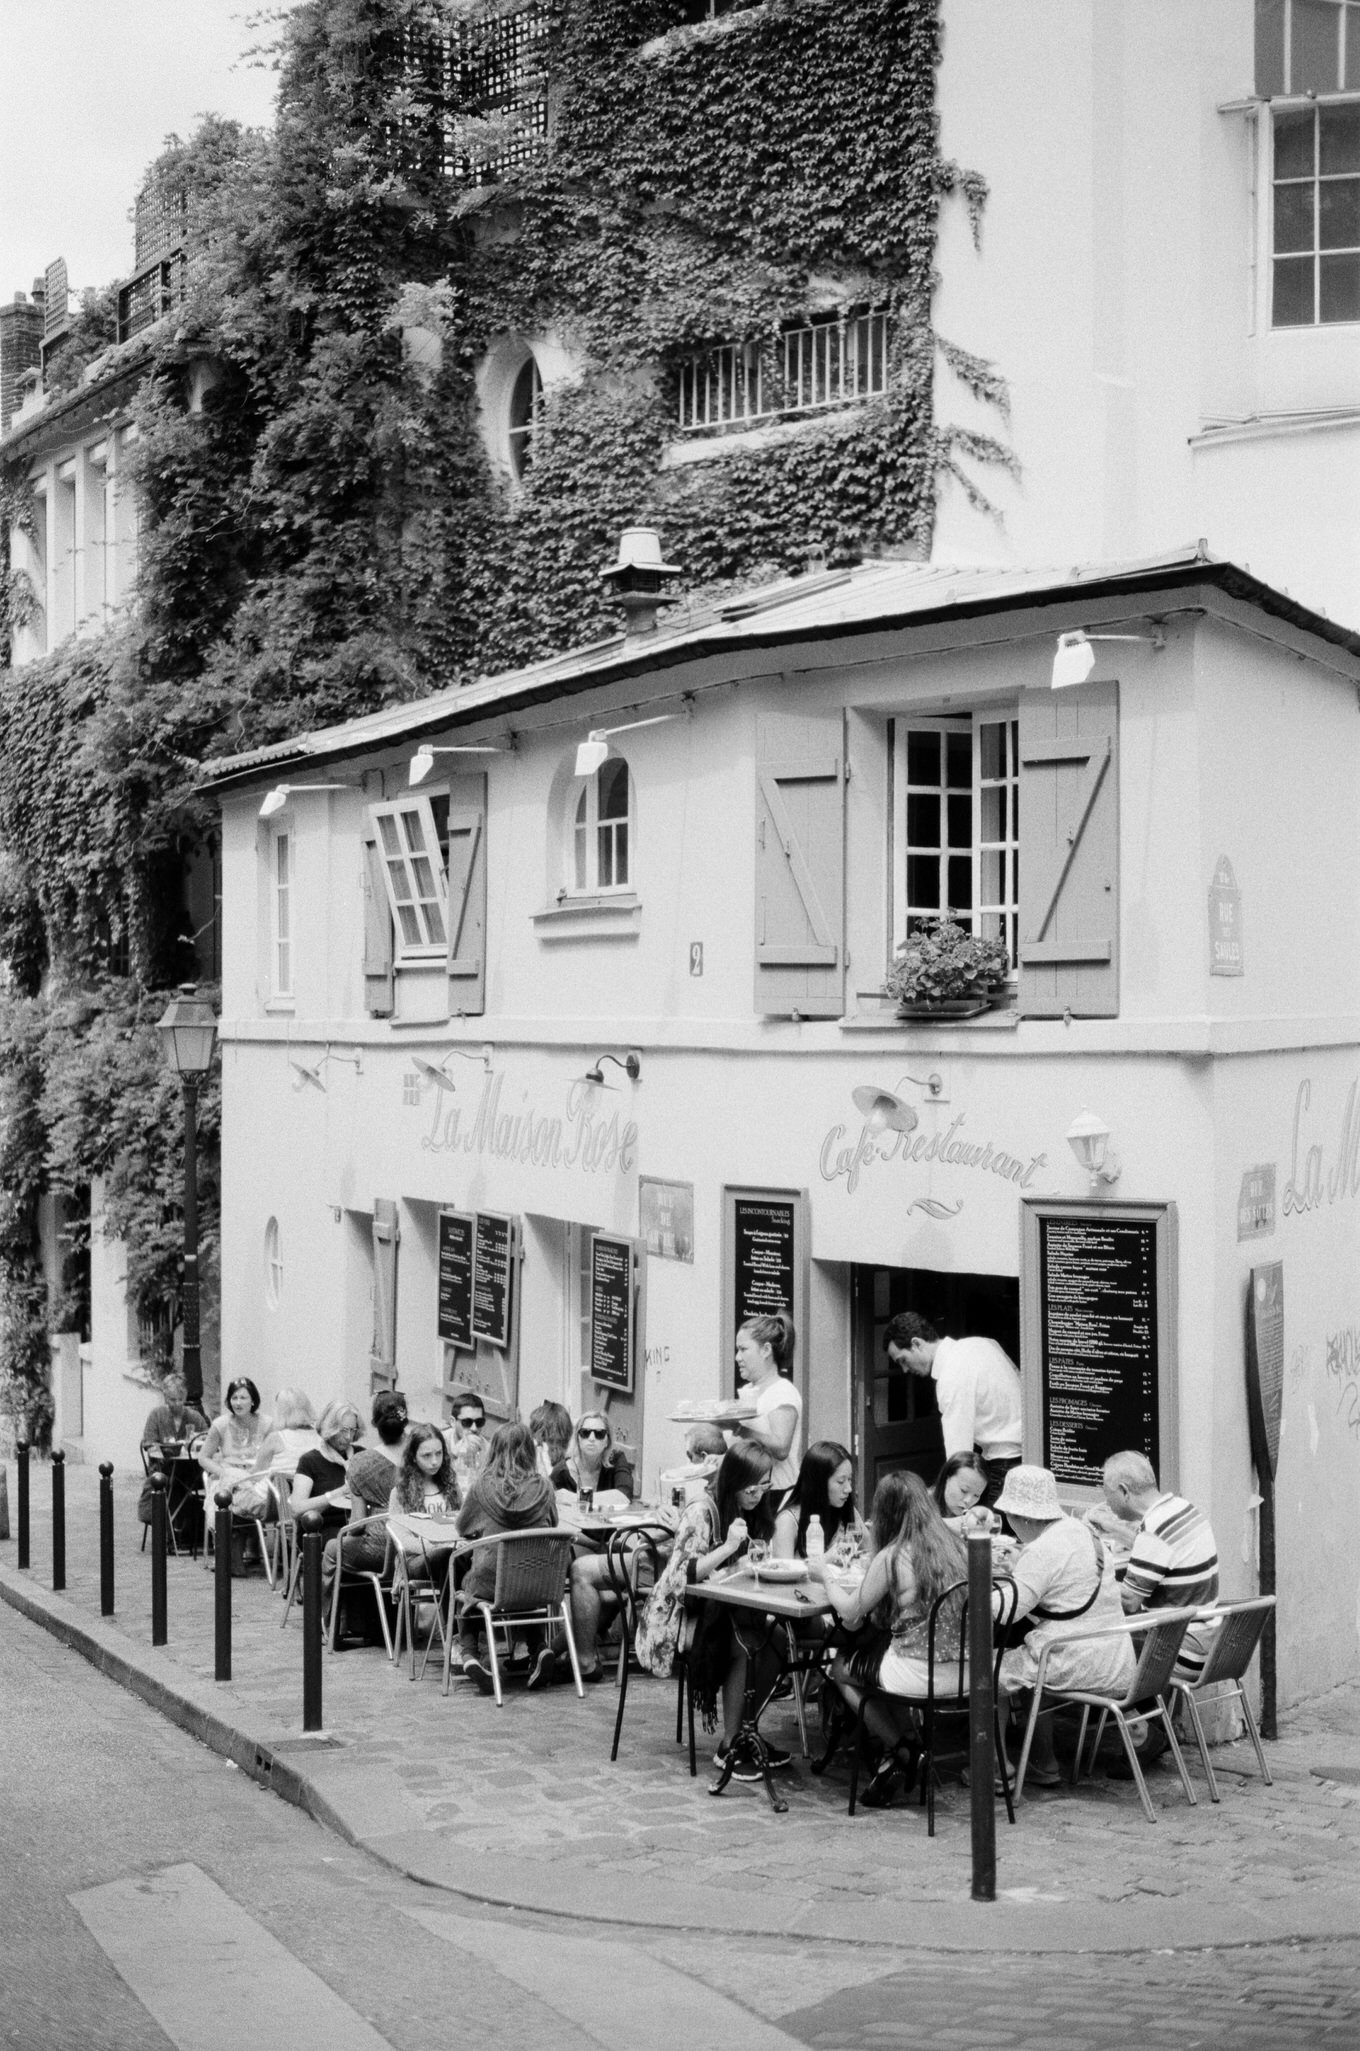
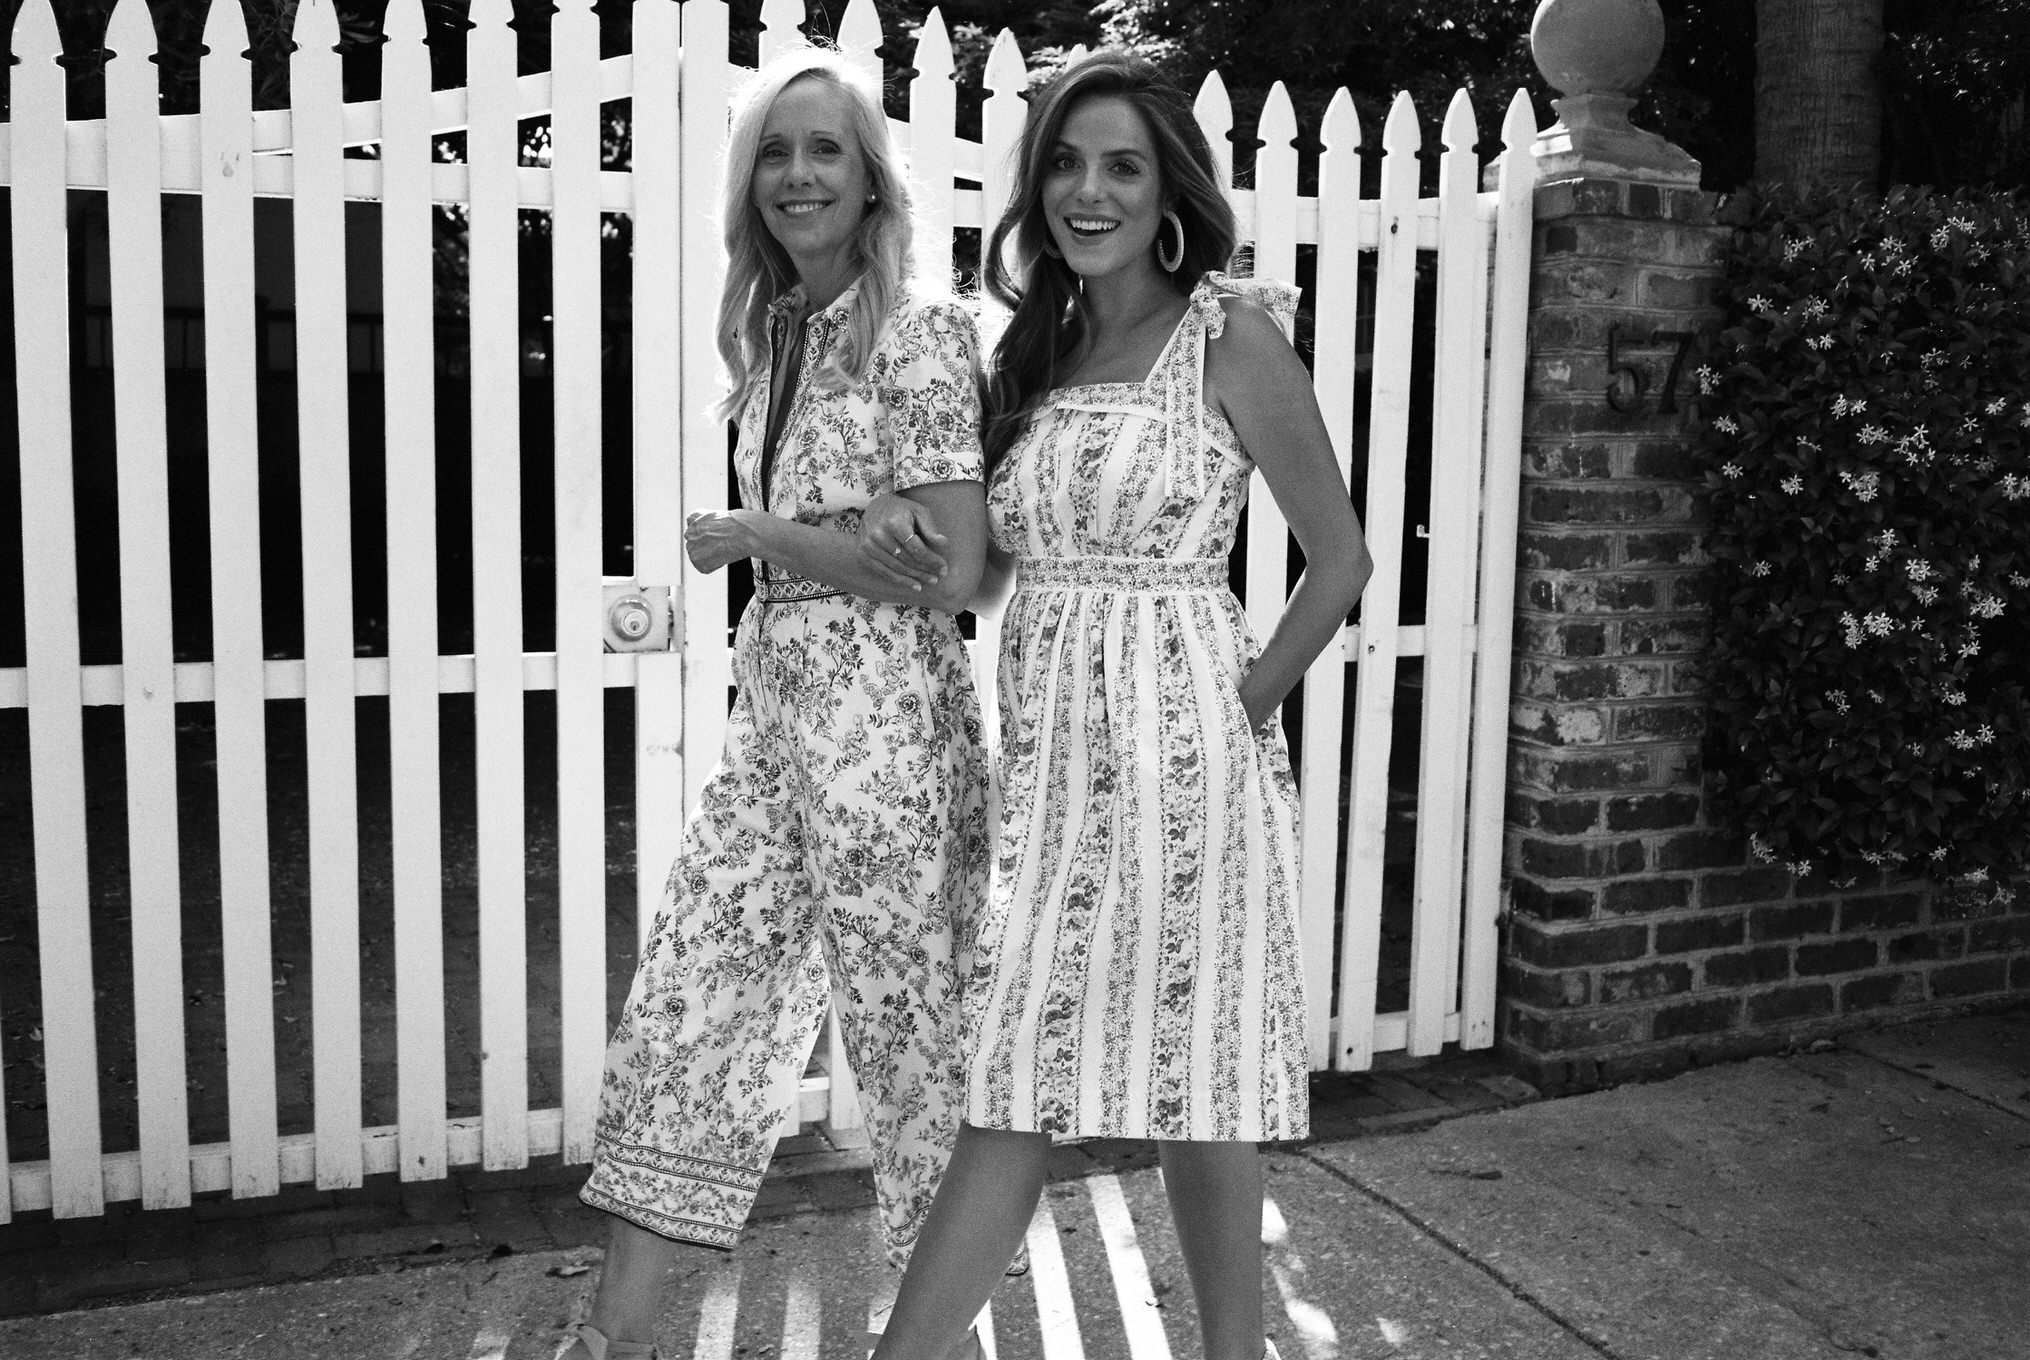
If you’re considering trying out film, you’re probably doing so for some nostalgia factor. That’s one reason why starting with B&W film first might be a good idea. After all, what’s more nostalgic than black & white? This is completely subjective, but another reason to start with B&W is that your photos will be more interesting and there’s greater margin for error, as any issues with exposure or focus are less noticeable. My favorite B&W film is Ilford HP5 Plus 400.
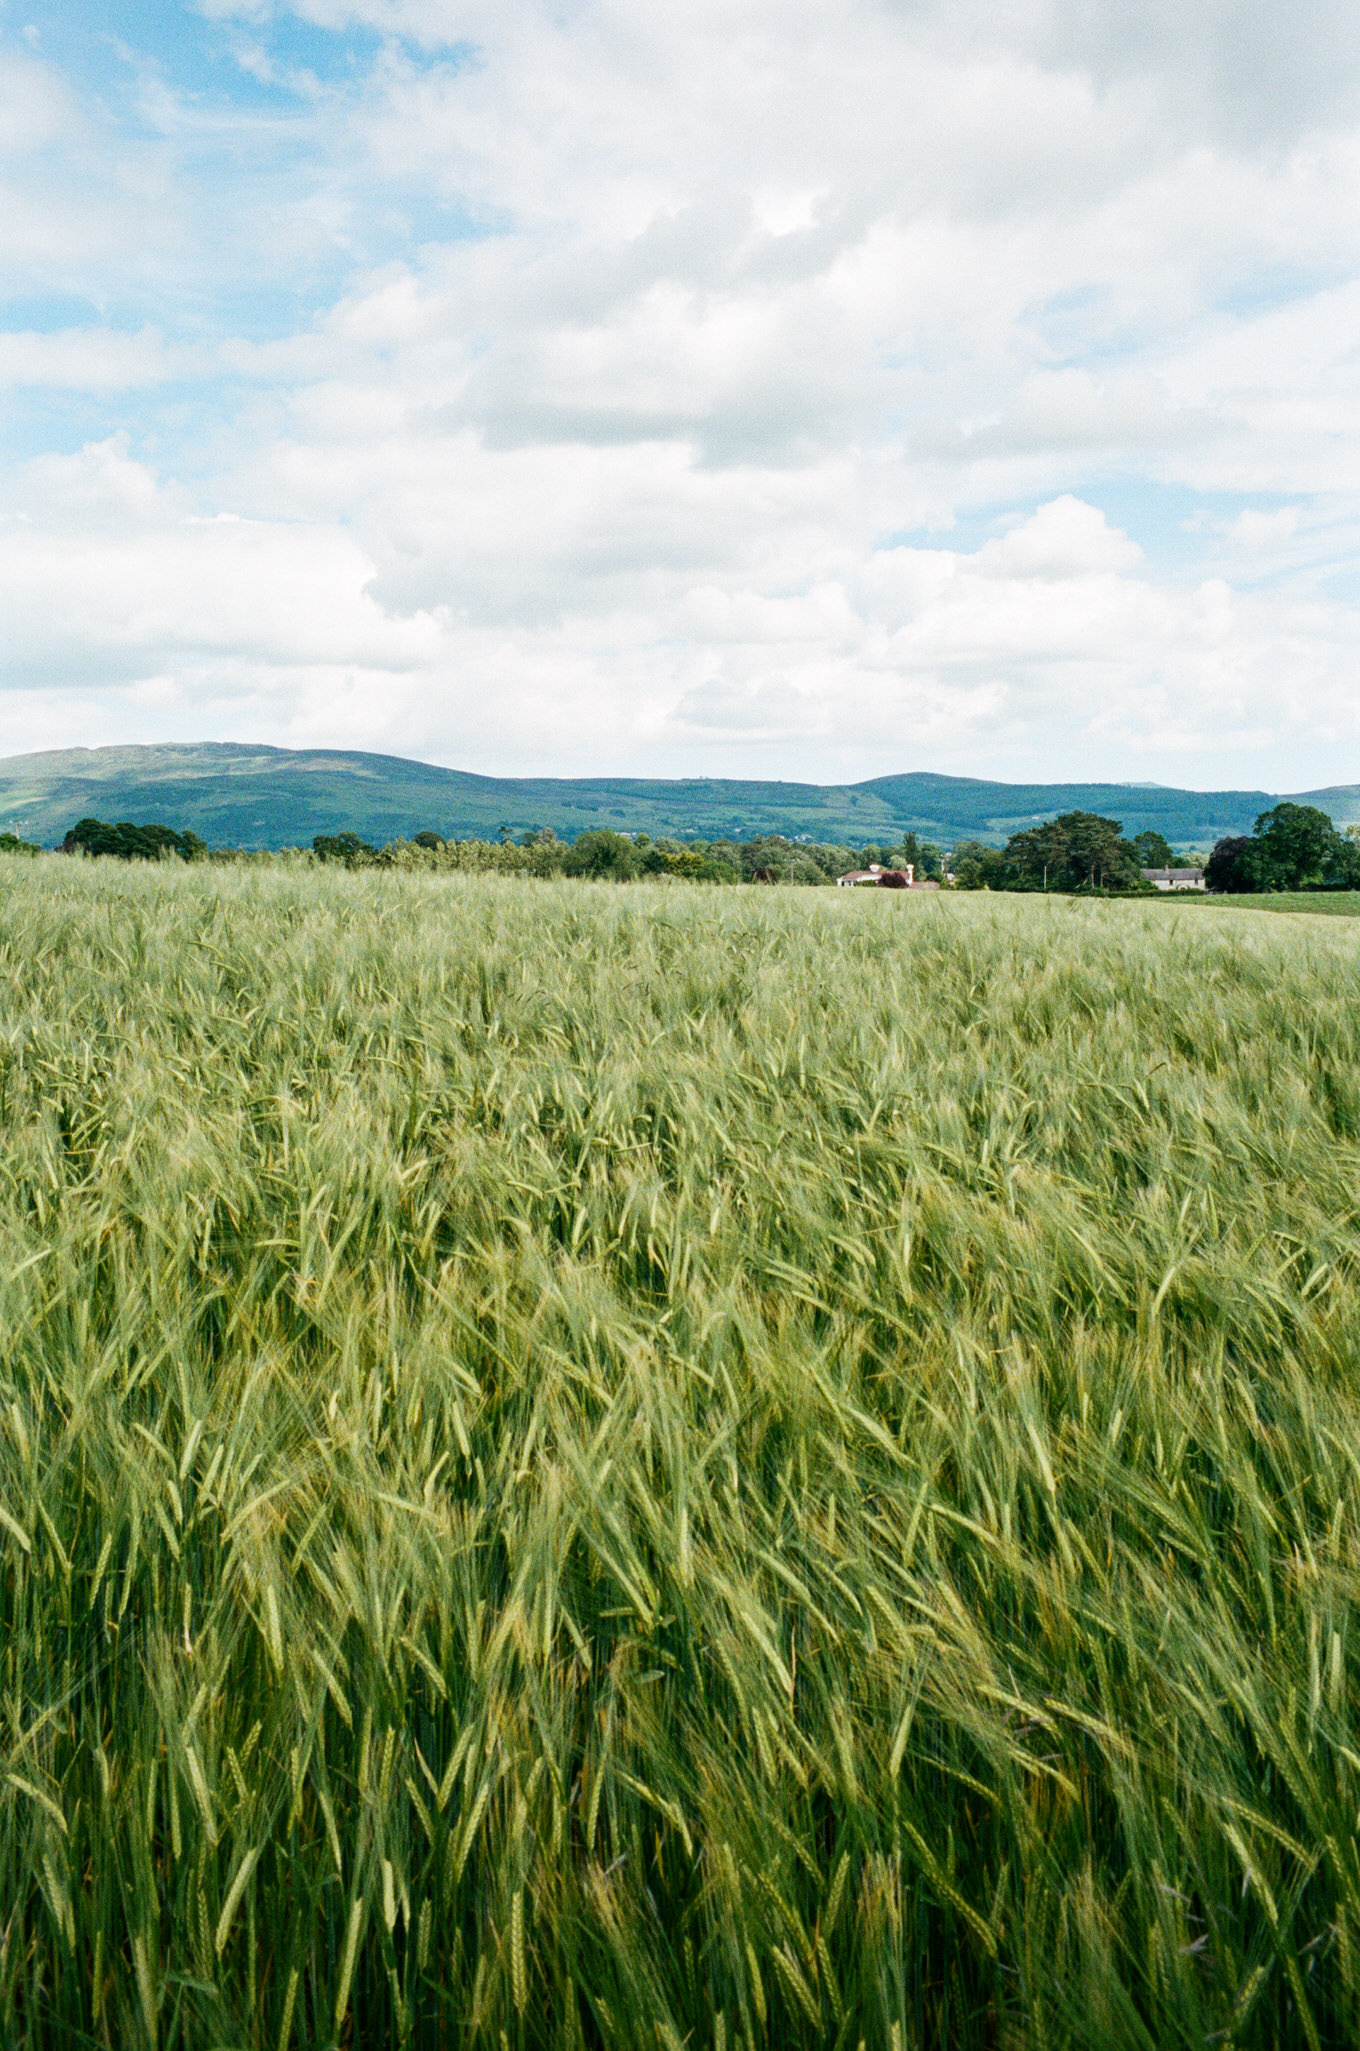
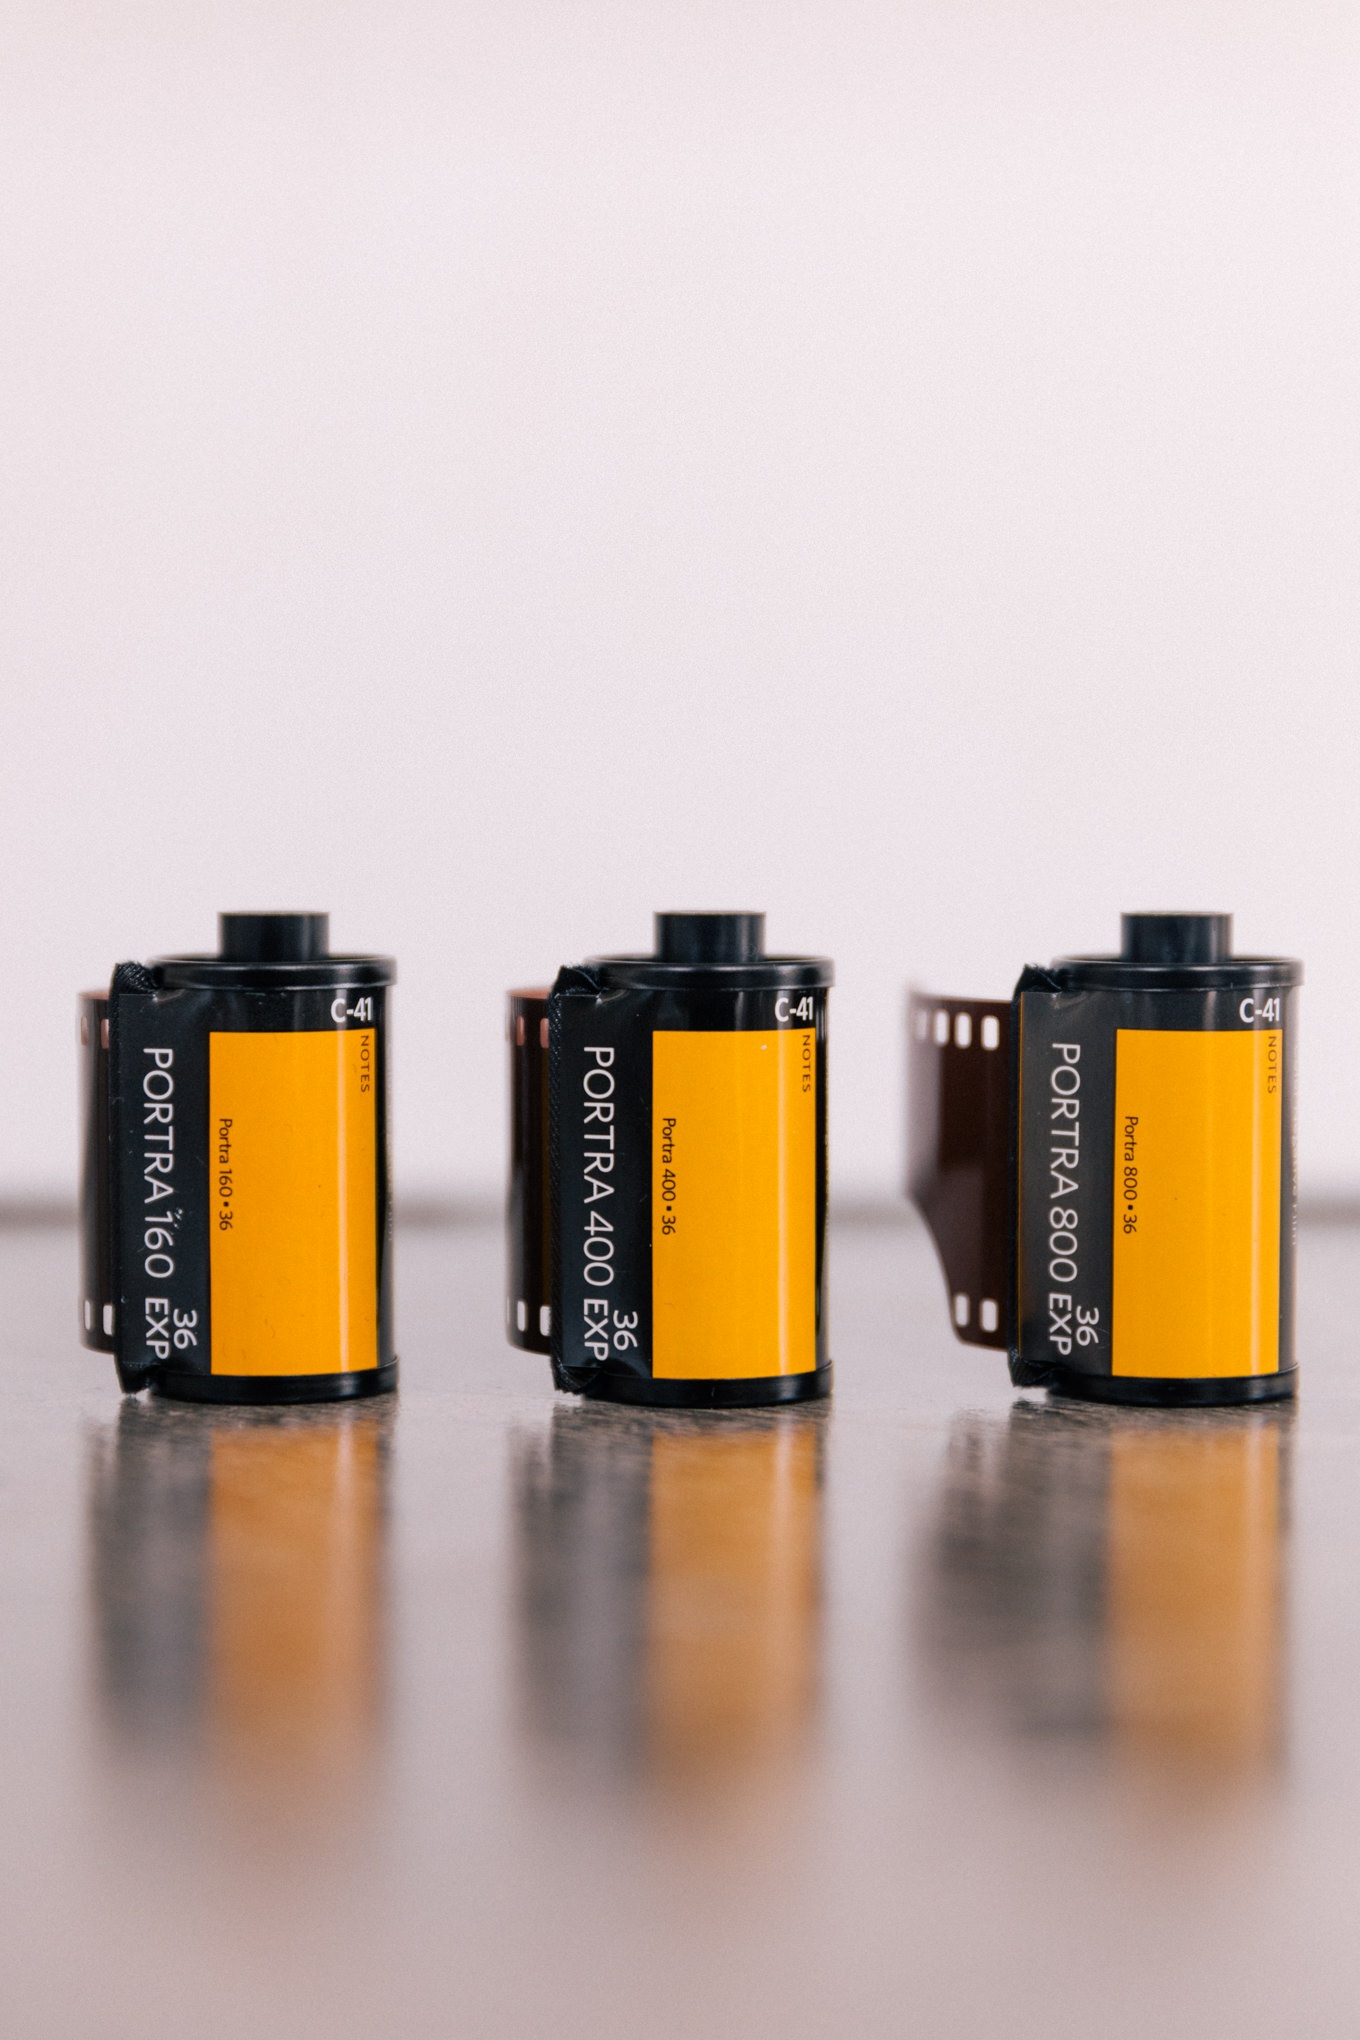
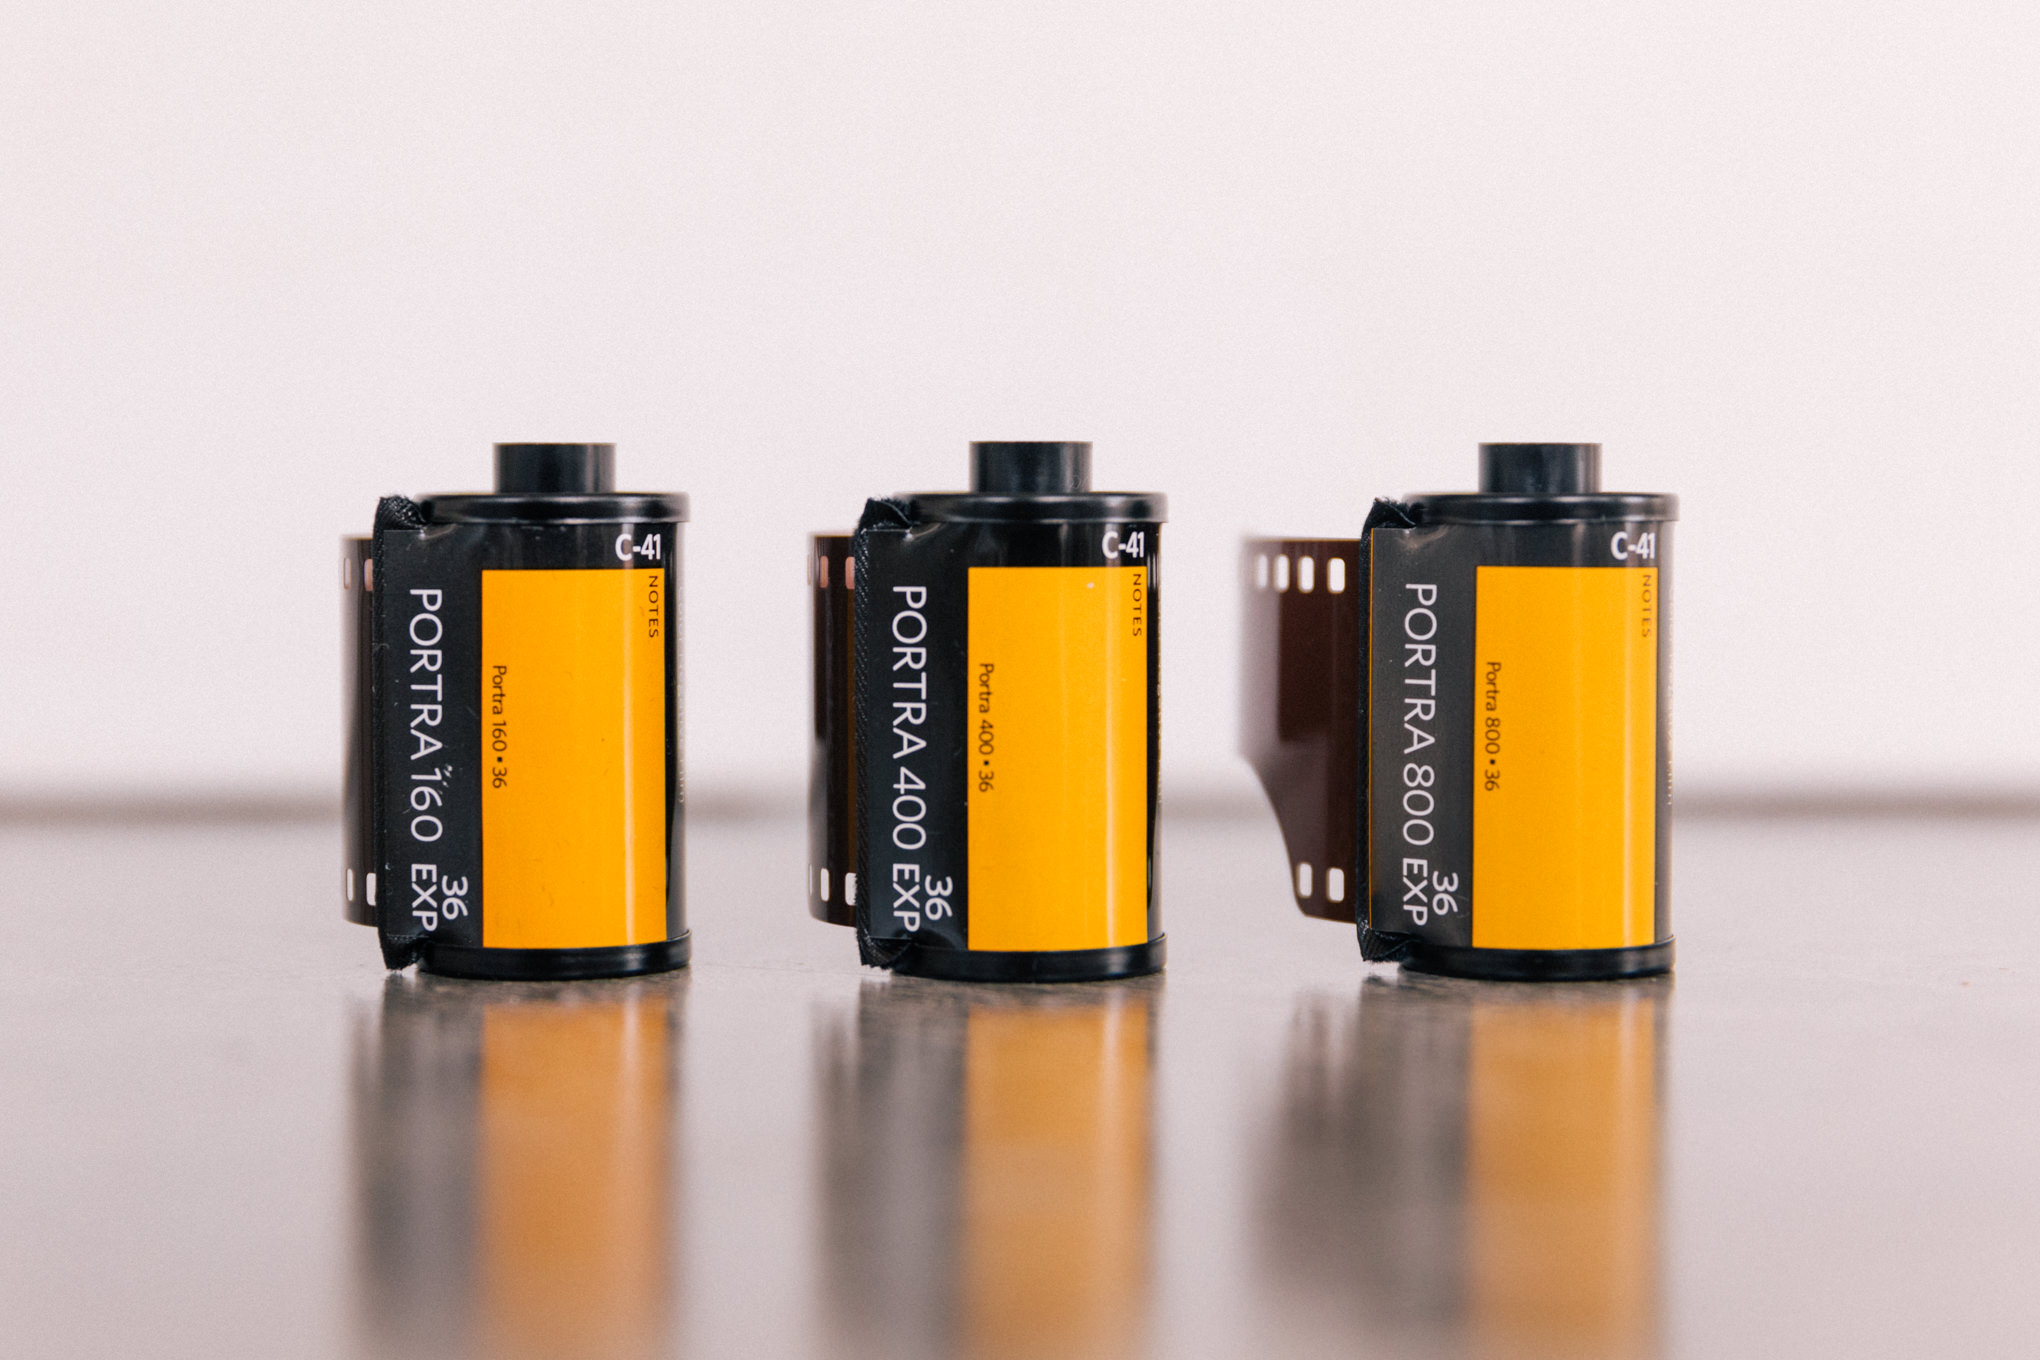
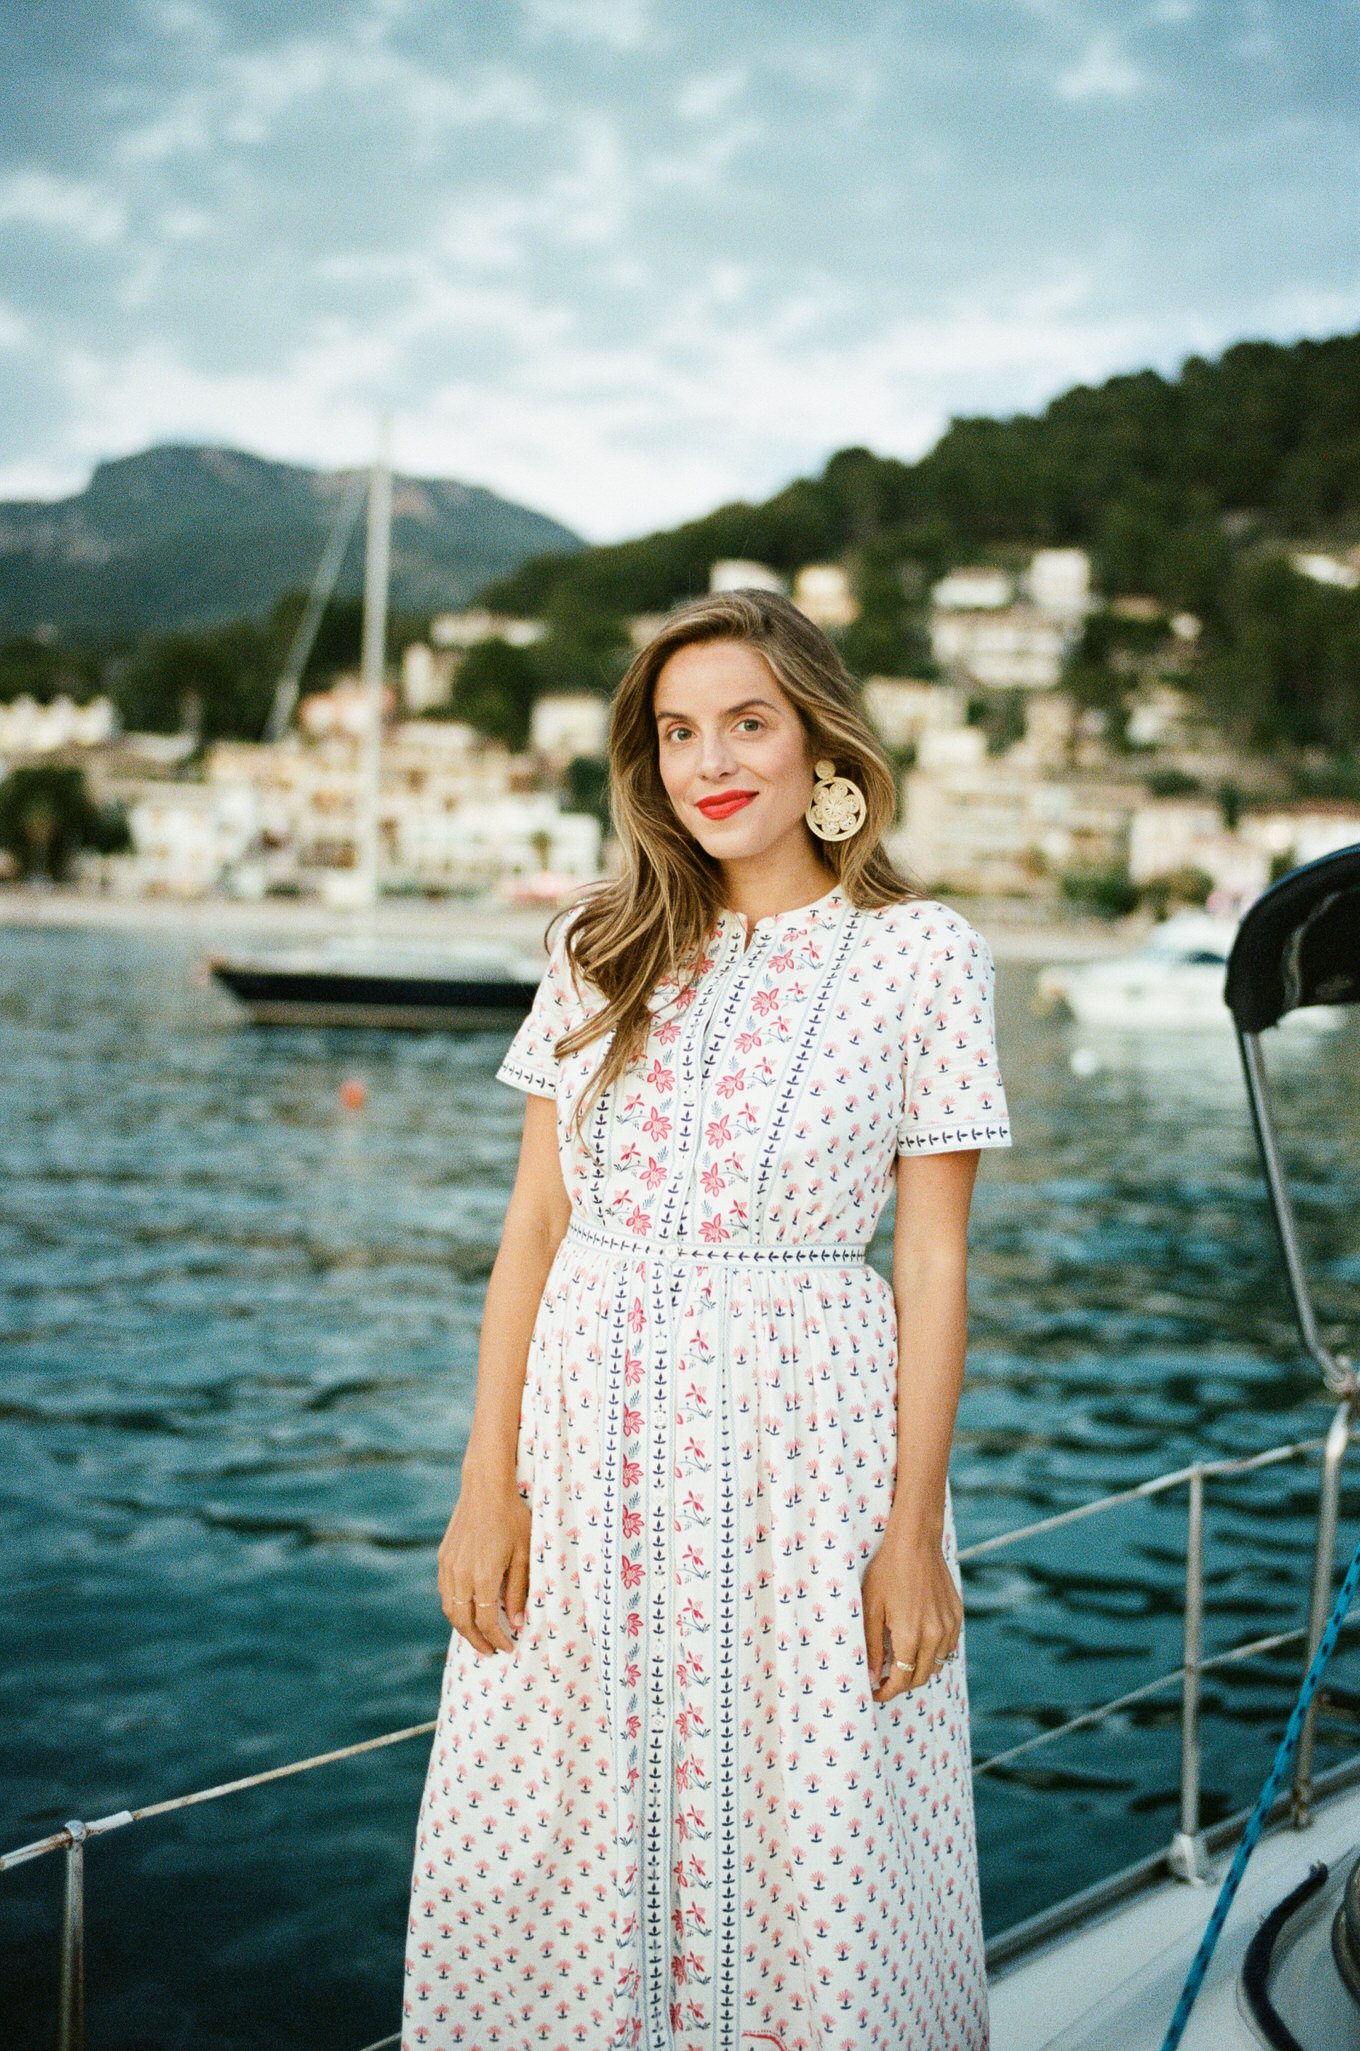
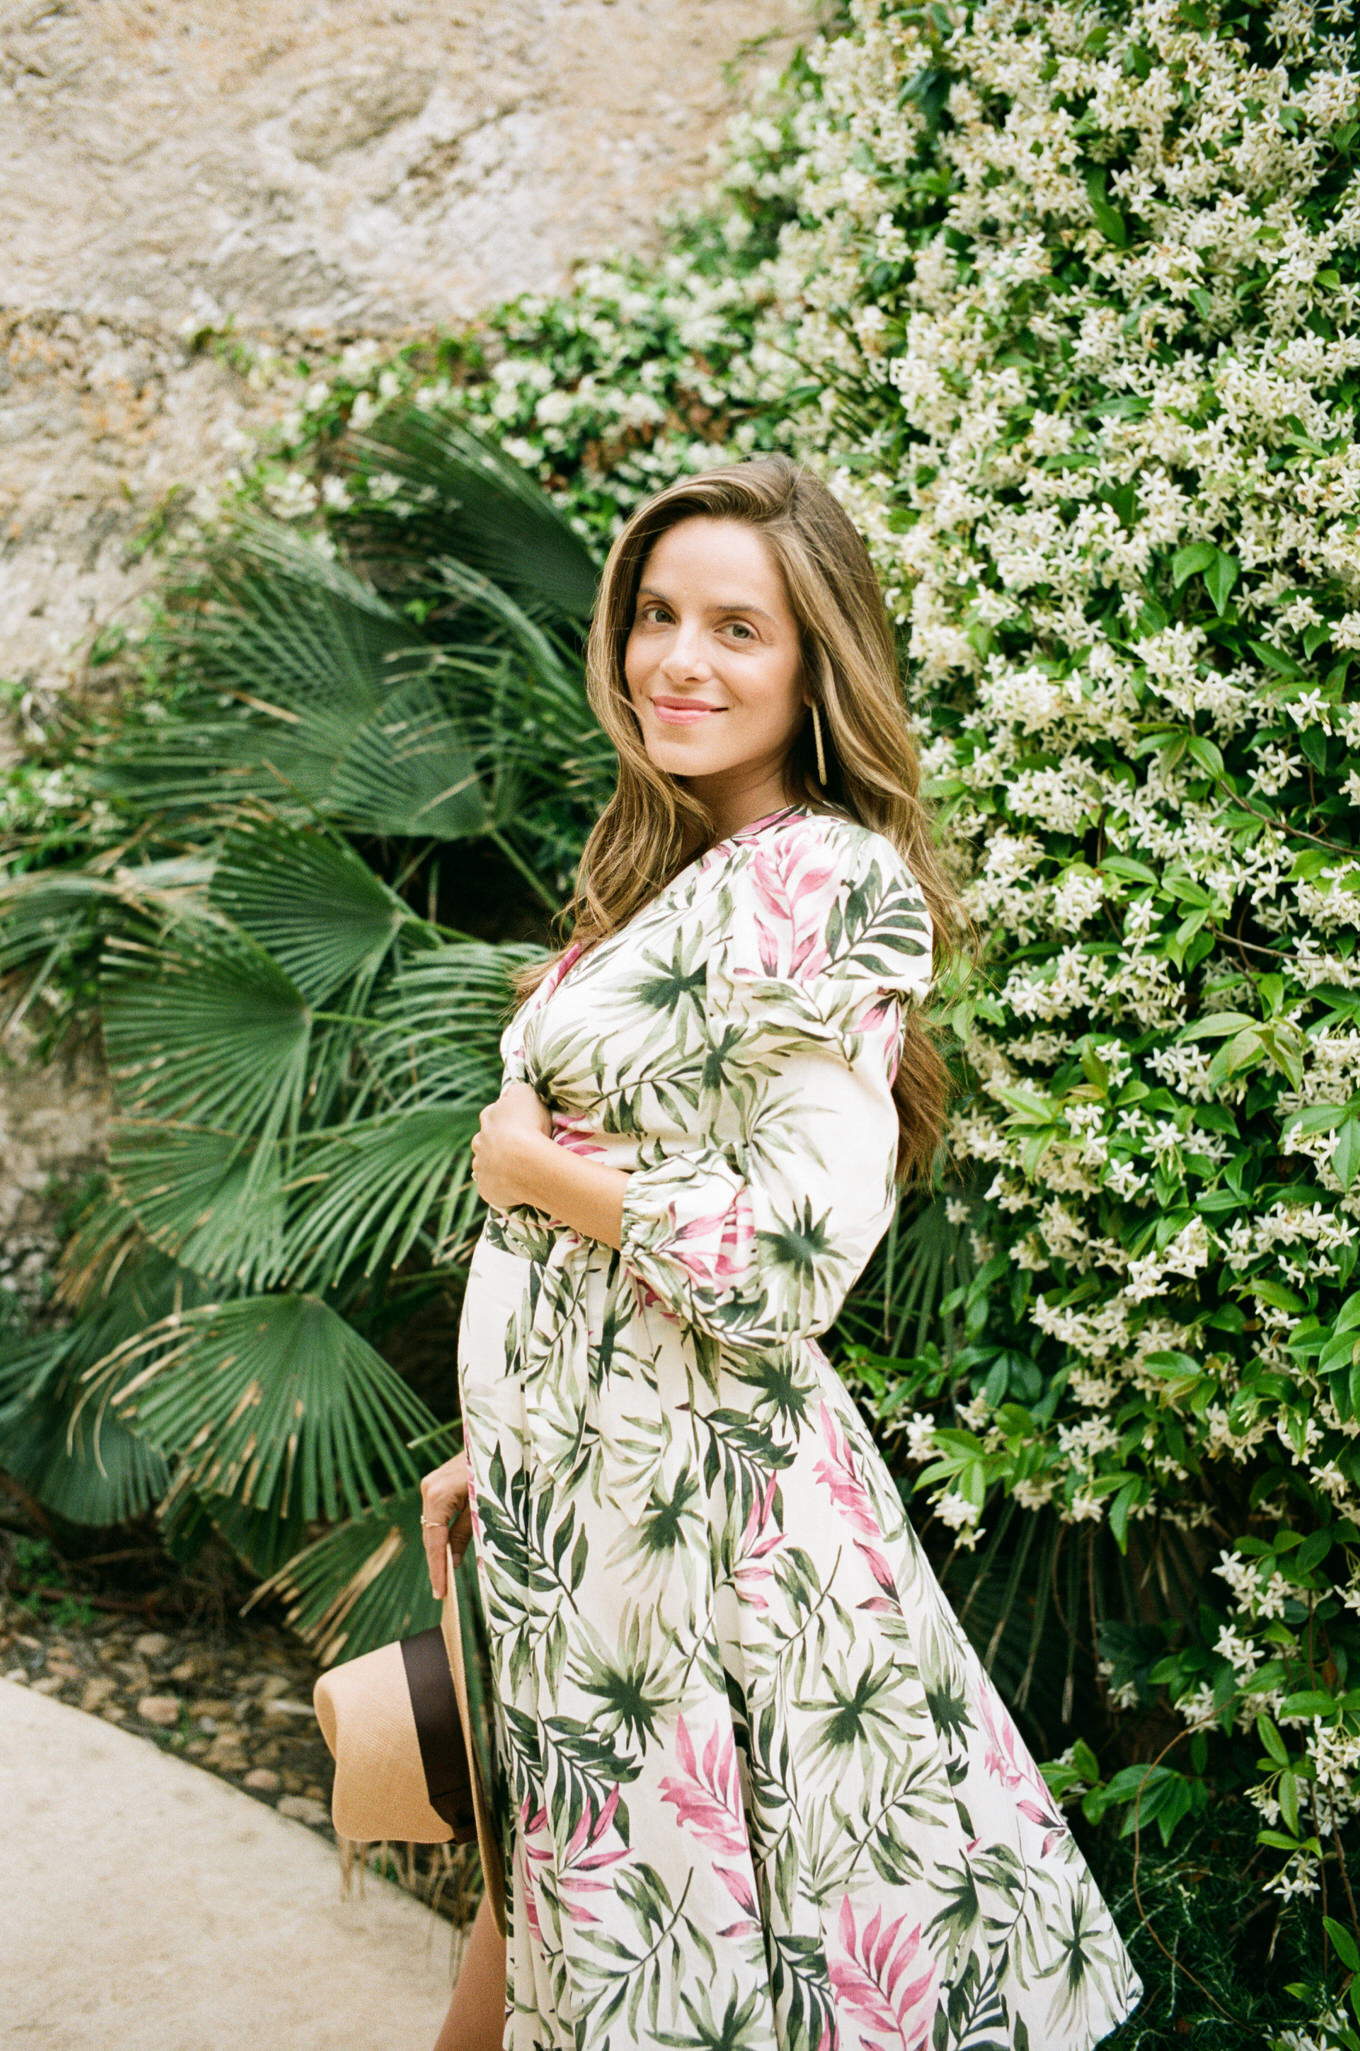
For color, my go-to film is Kodak Portra 400. I love it for the warmth of the images, especially in skin tones. At 400 ISO, it’s flexible enough to use all day long, whether in the bright daytime sun, in the shade, or just past golden hour.
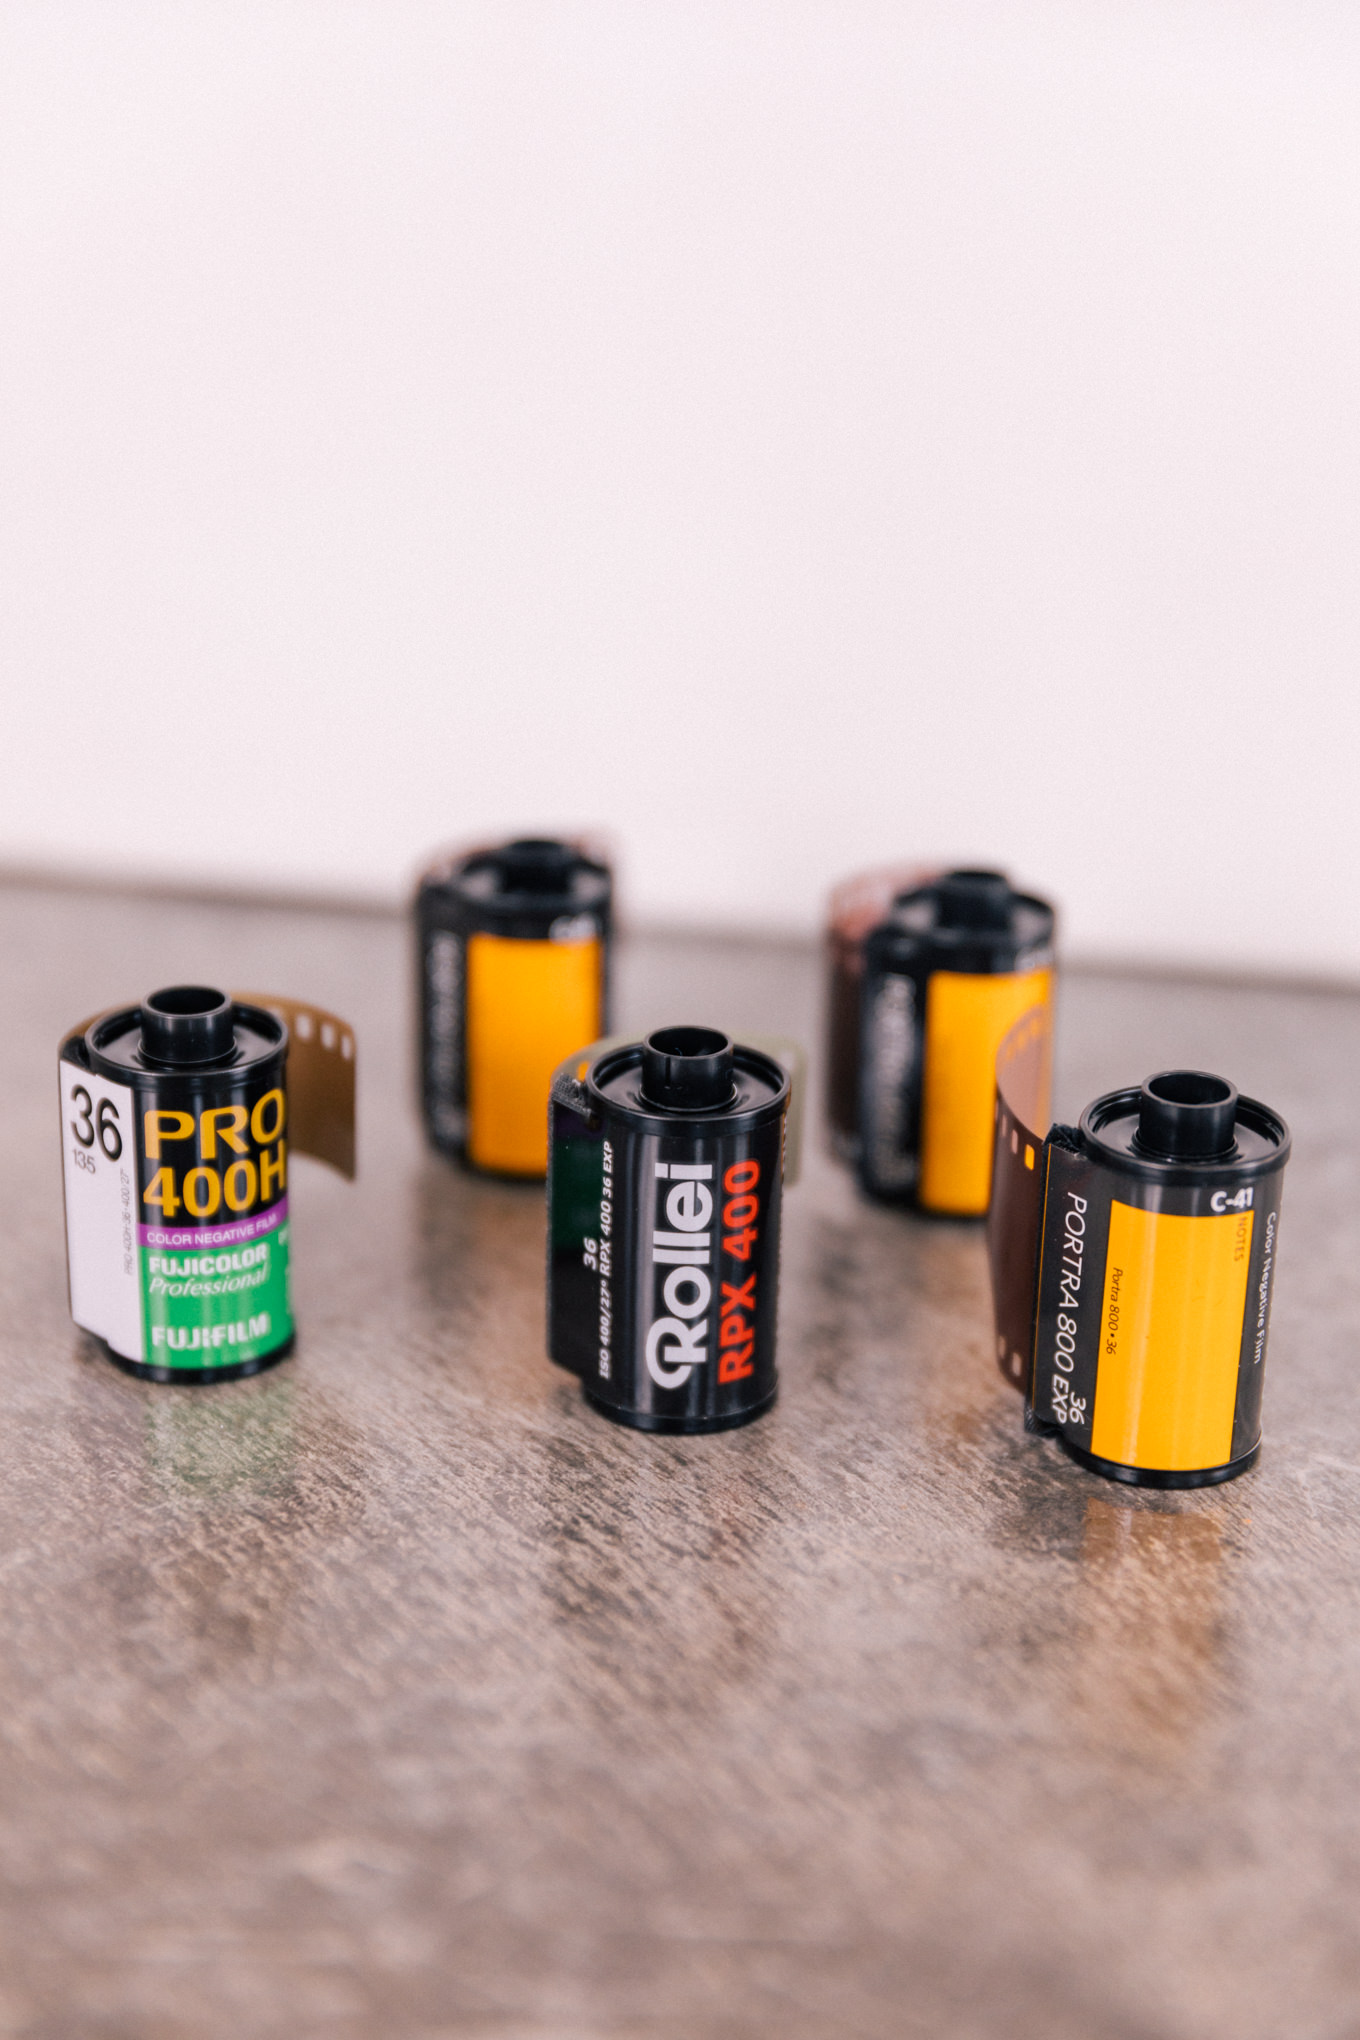
In any case, make sure you purchase the right film size for your camera. Most film cameras are 35mm (or you might see them called 135) and typically have either 24 or 36 exposures per roll. Medium format film cameras will use 120 film and, depending on the size of the medium format camera, you’ll get anywhere from 10-16 exposures per roll.
A note on price: When buying film, I rarely factor the price of the film into my decision. What I mean by that is you’ll end up spending more money on the development, scanning, and the prints than you will on the film. The difference between a $4 roll and an $8 roll is not that big when you consider it’s about $20 or more per roll for developing and scanning.
What is ISO?
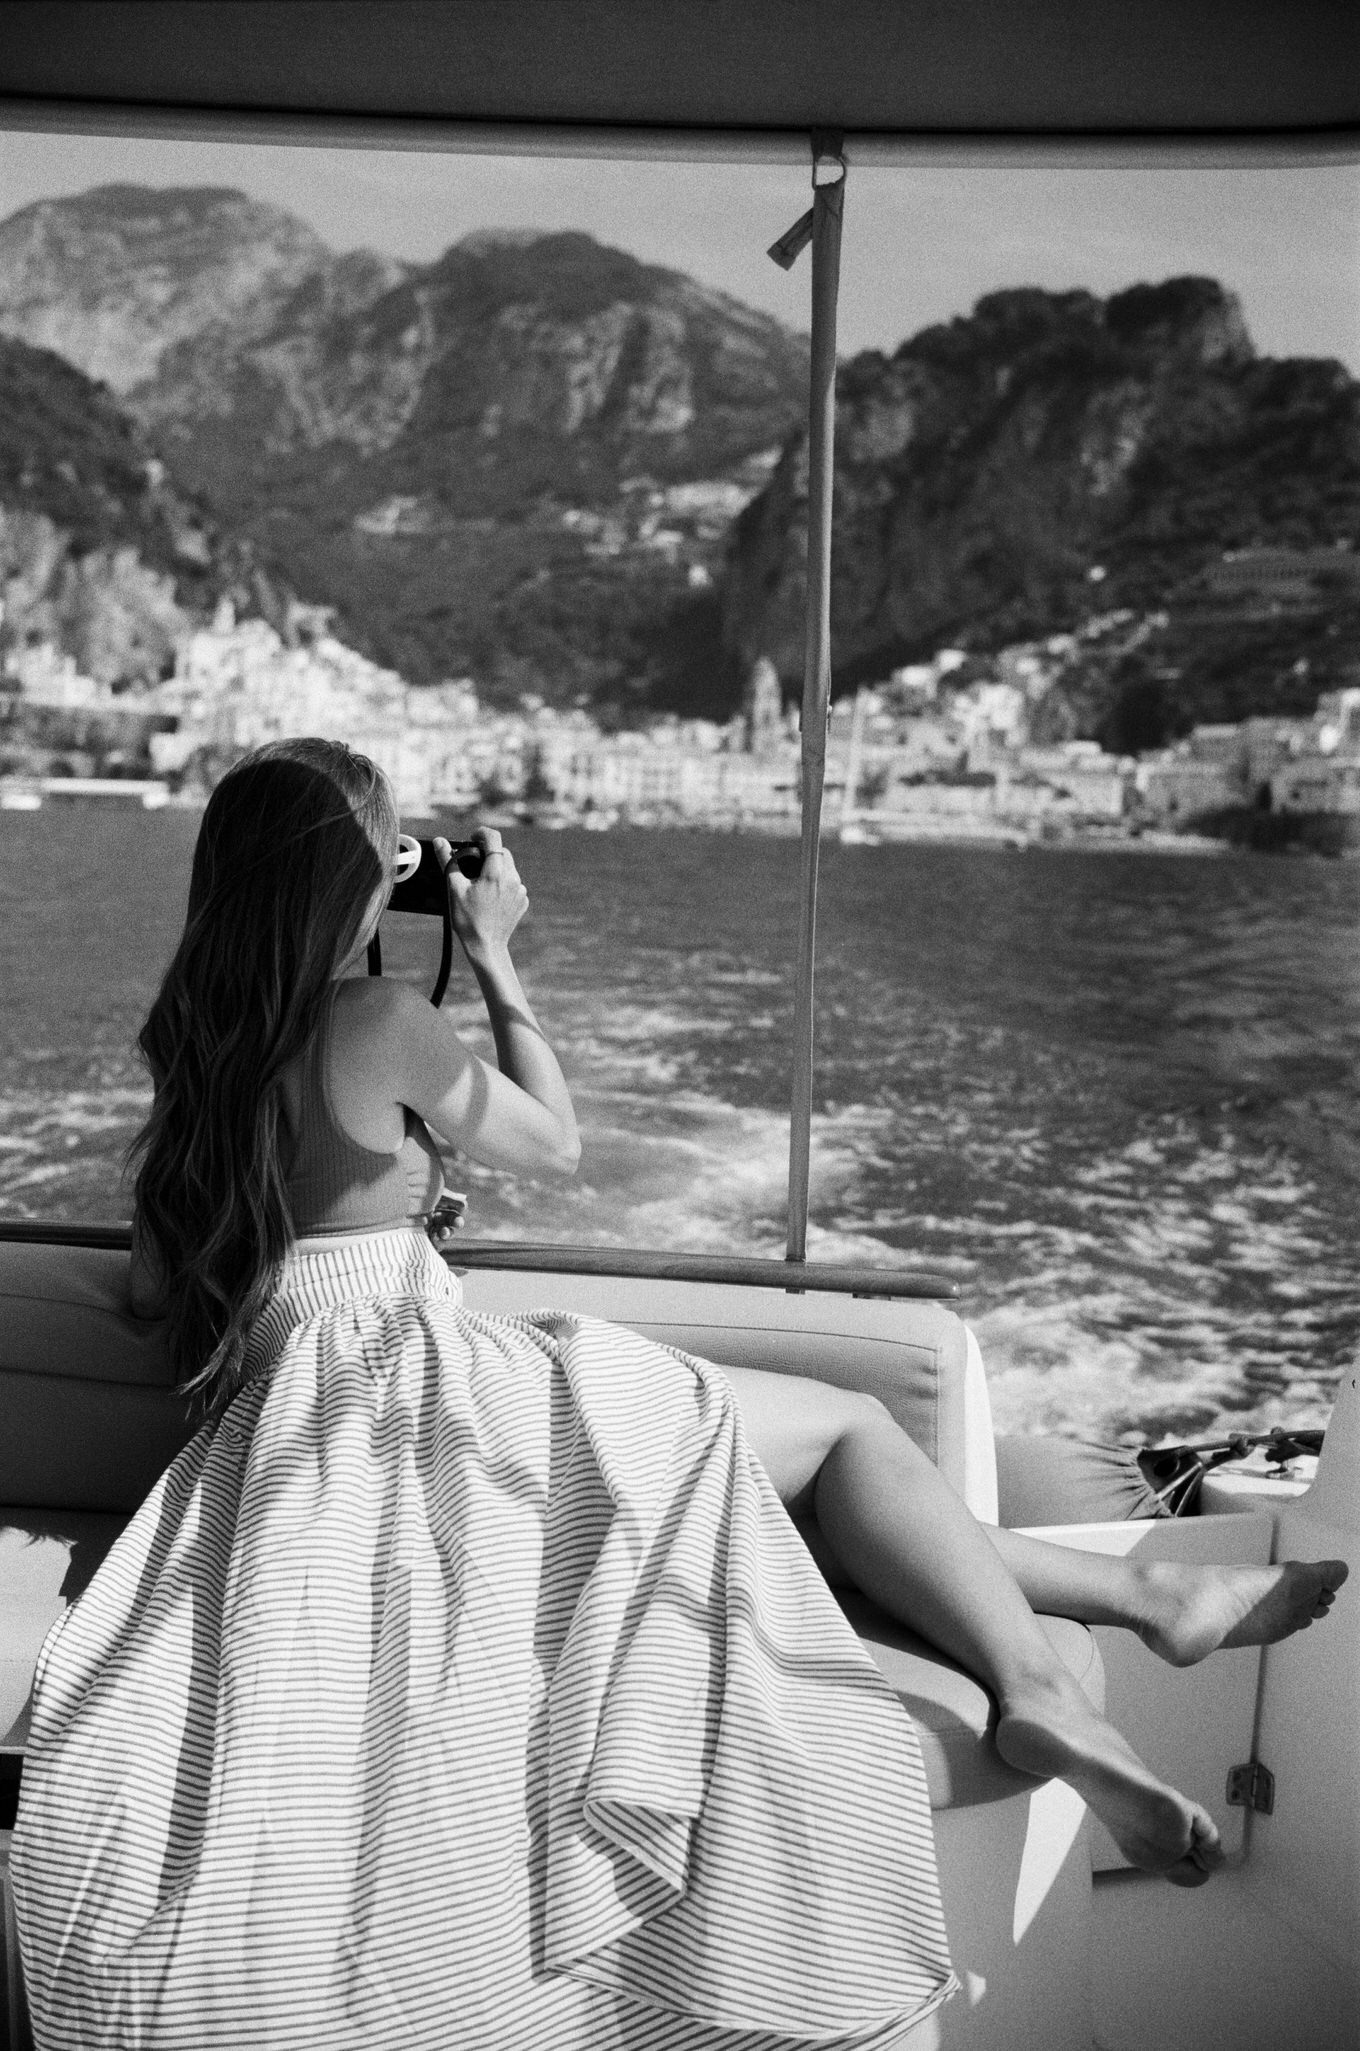
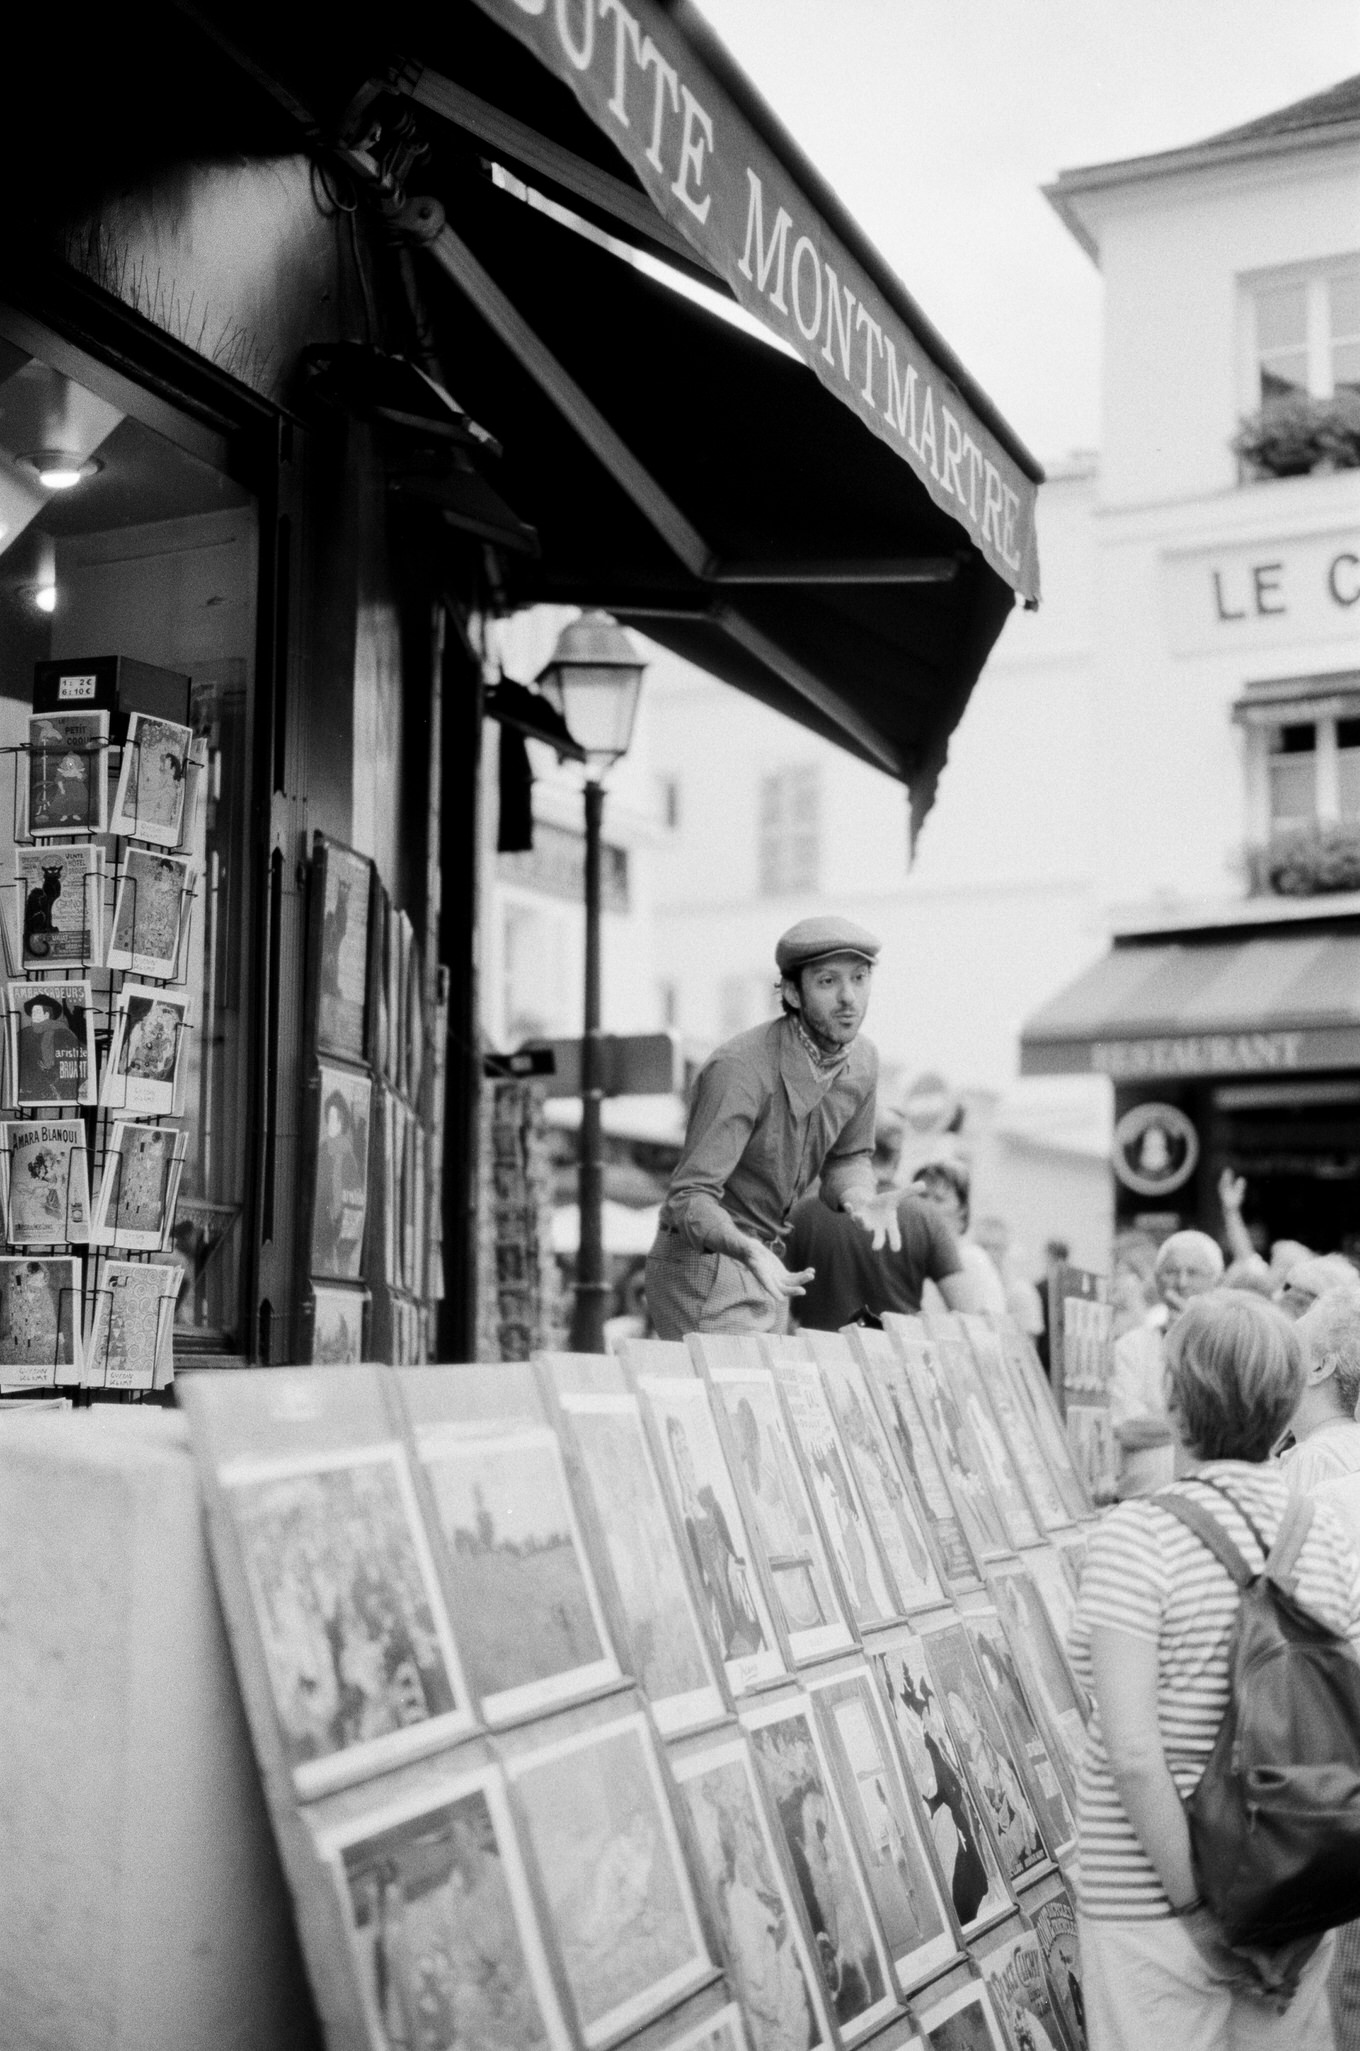
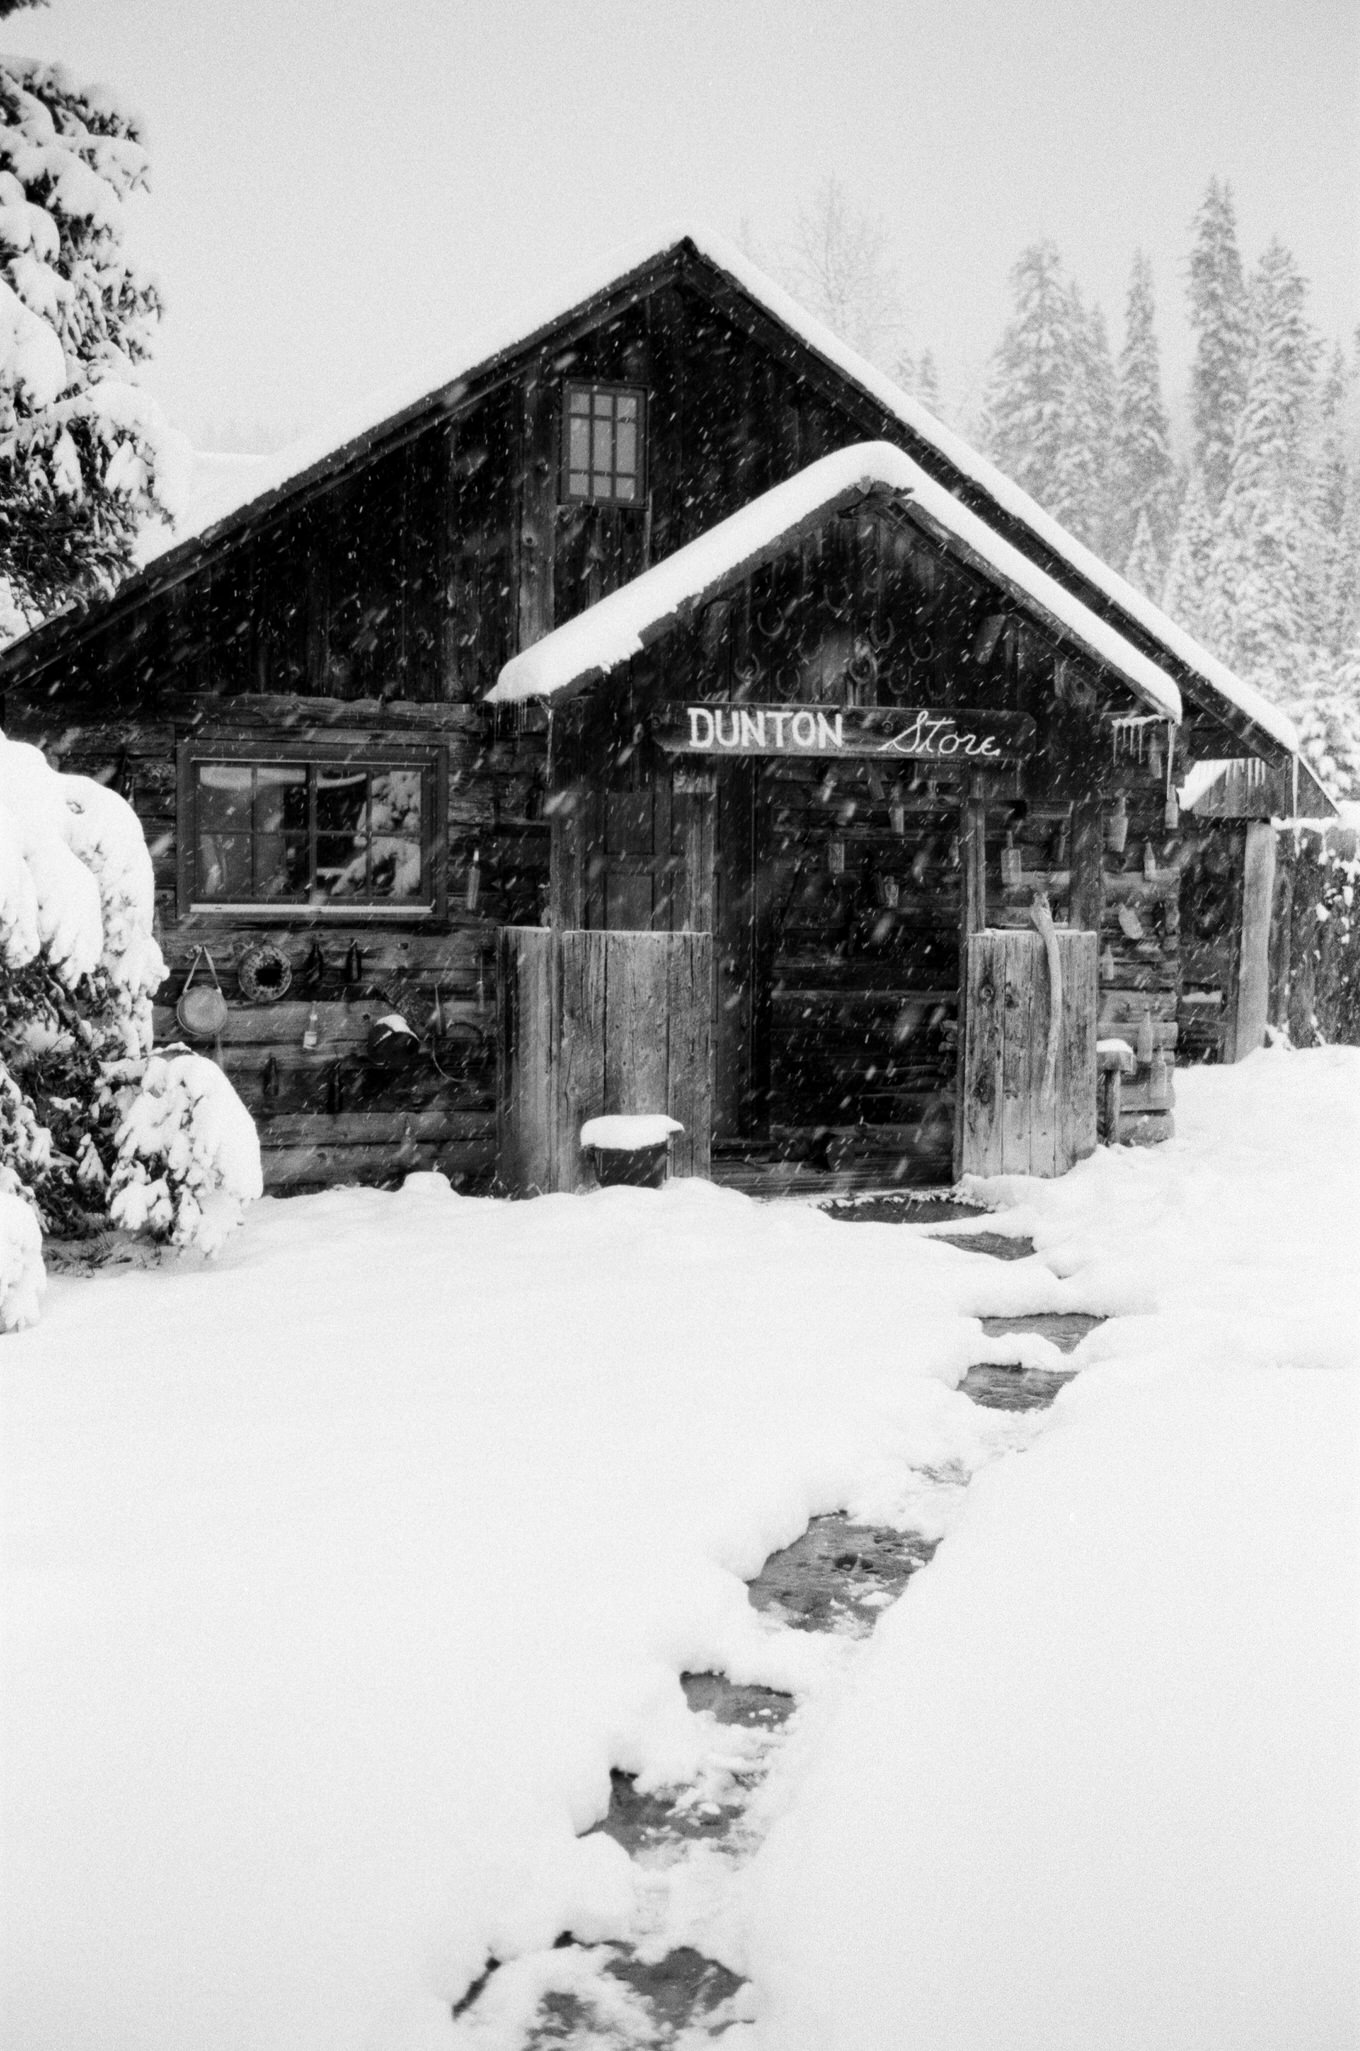
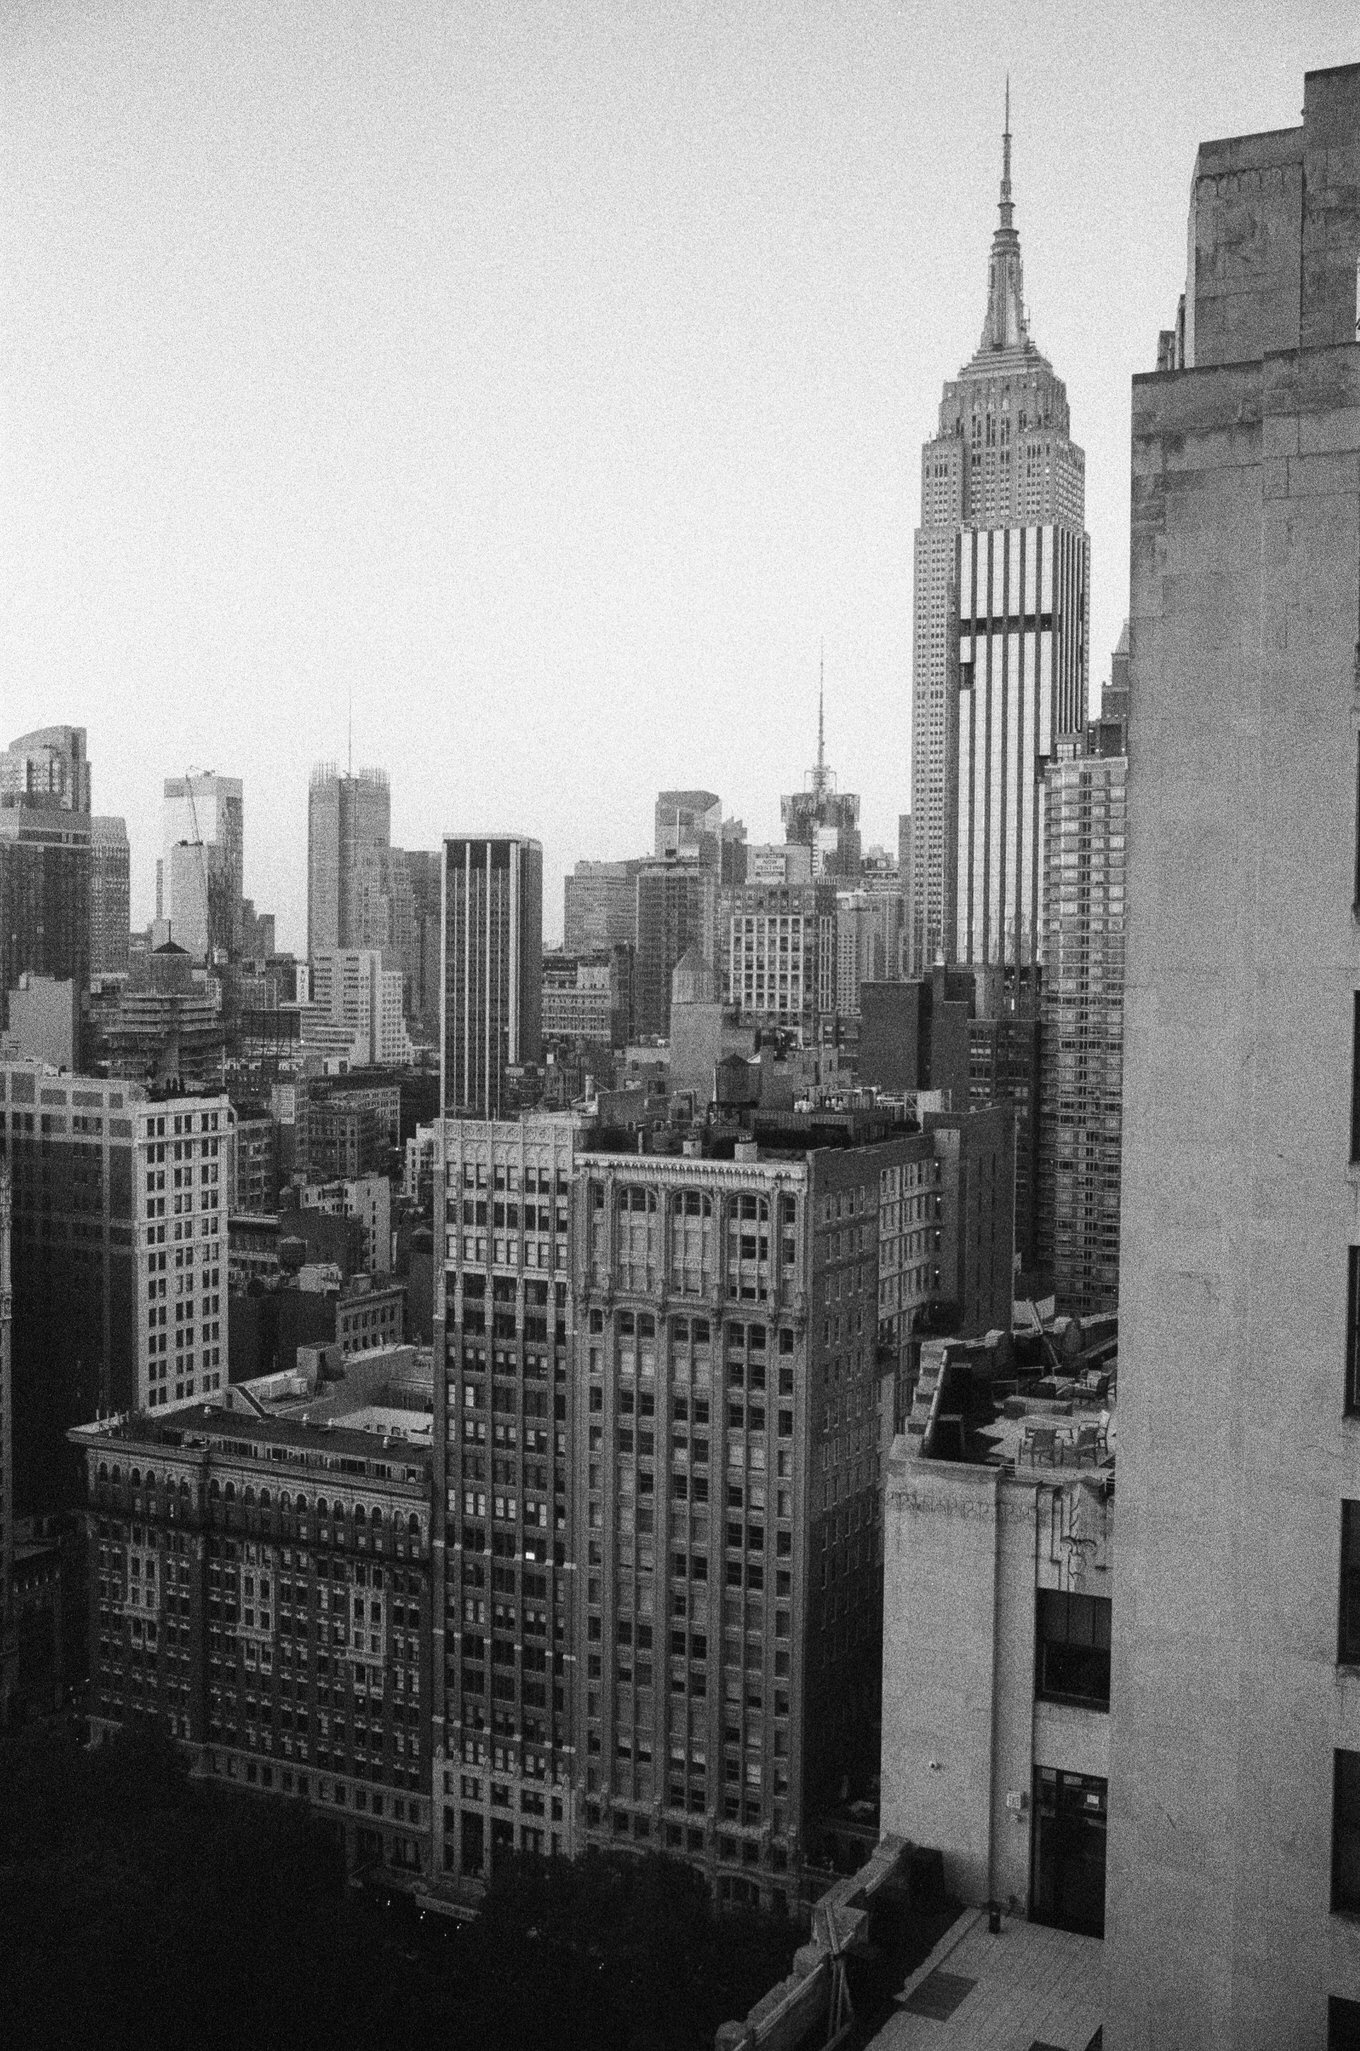
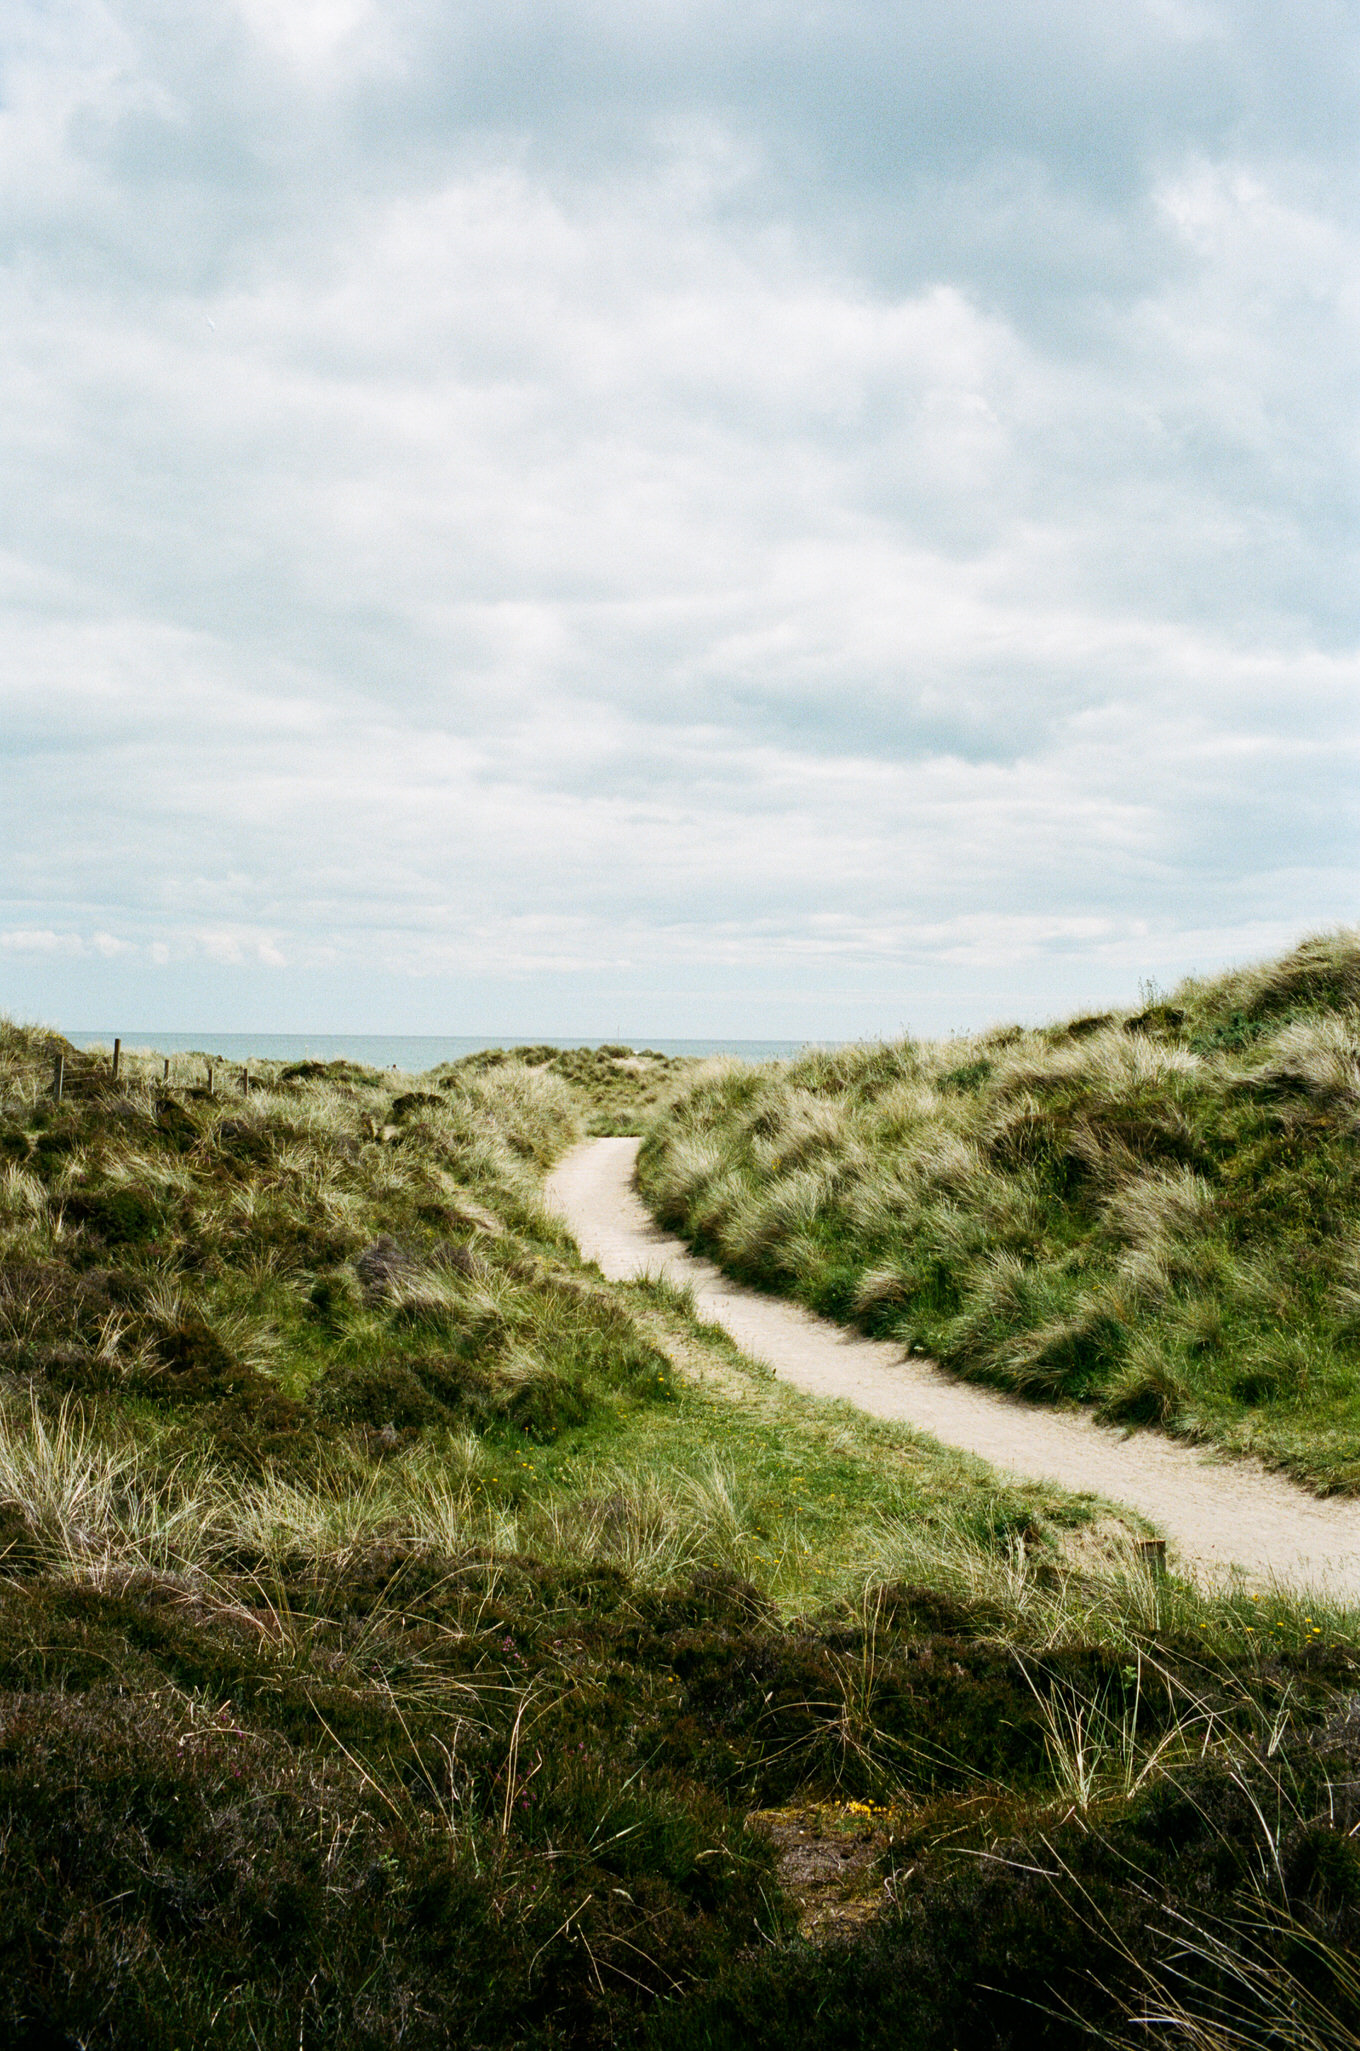
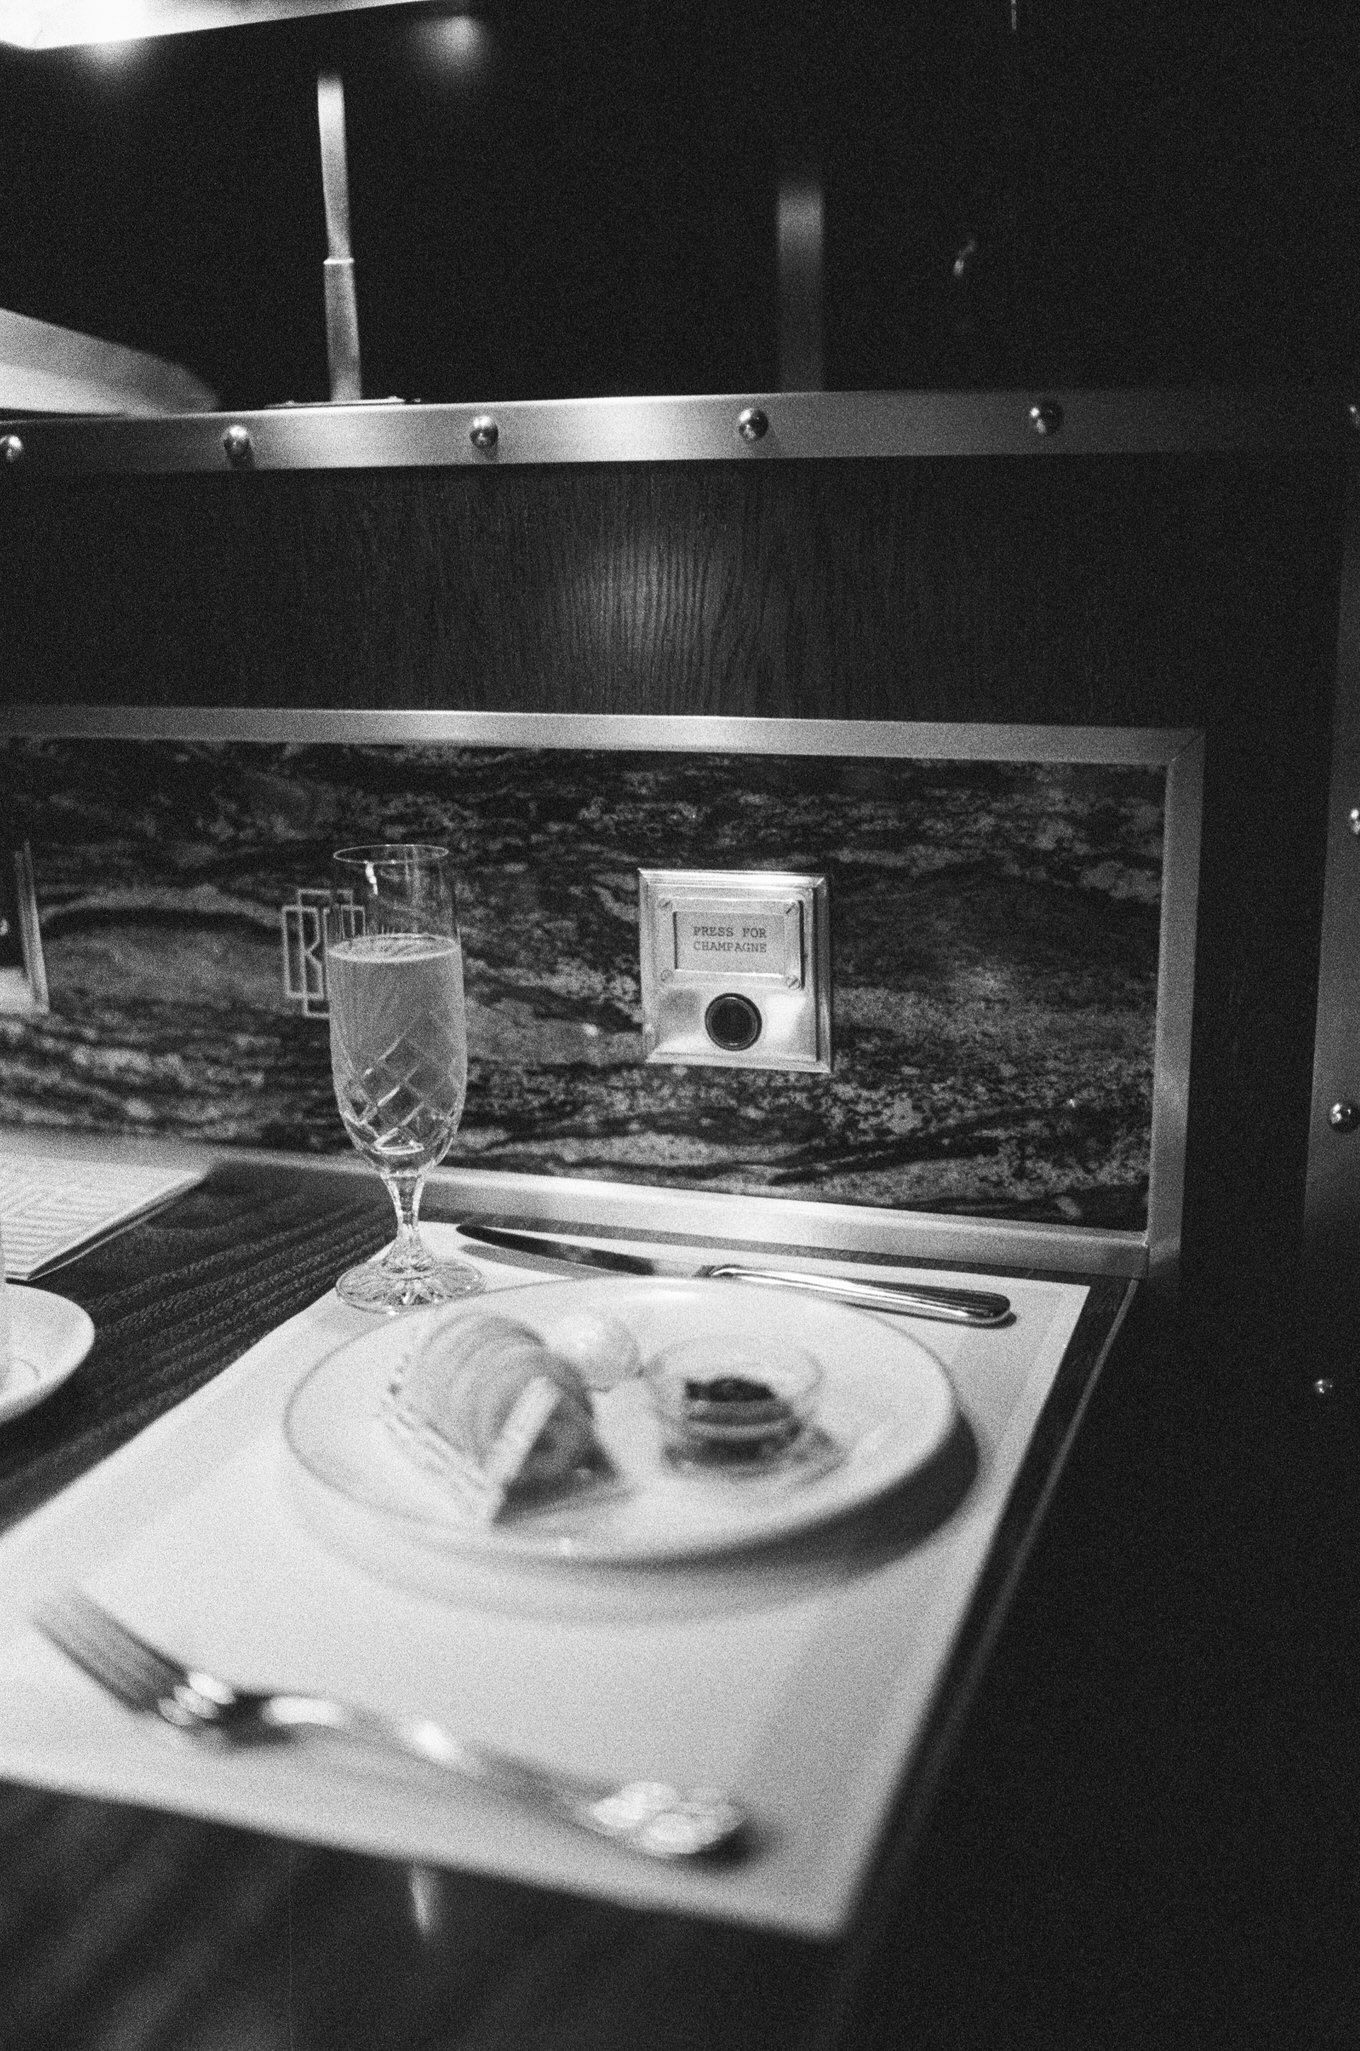
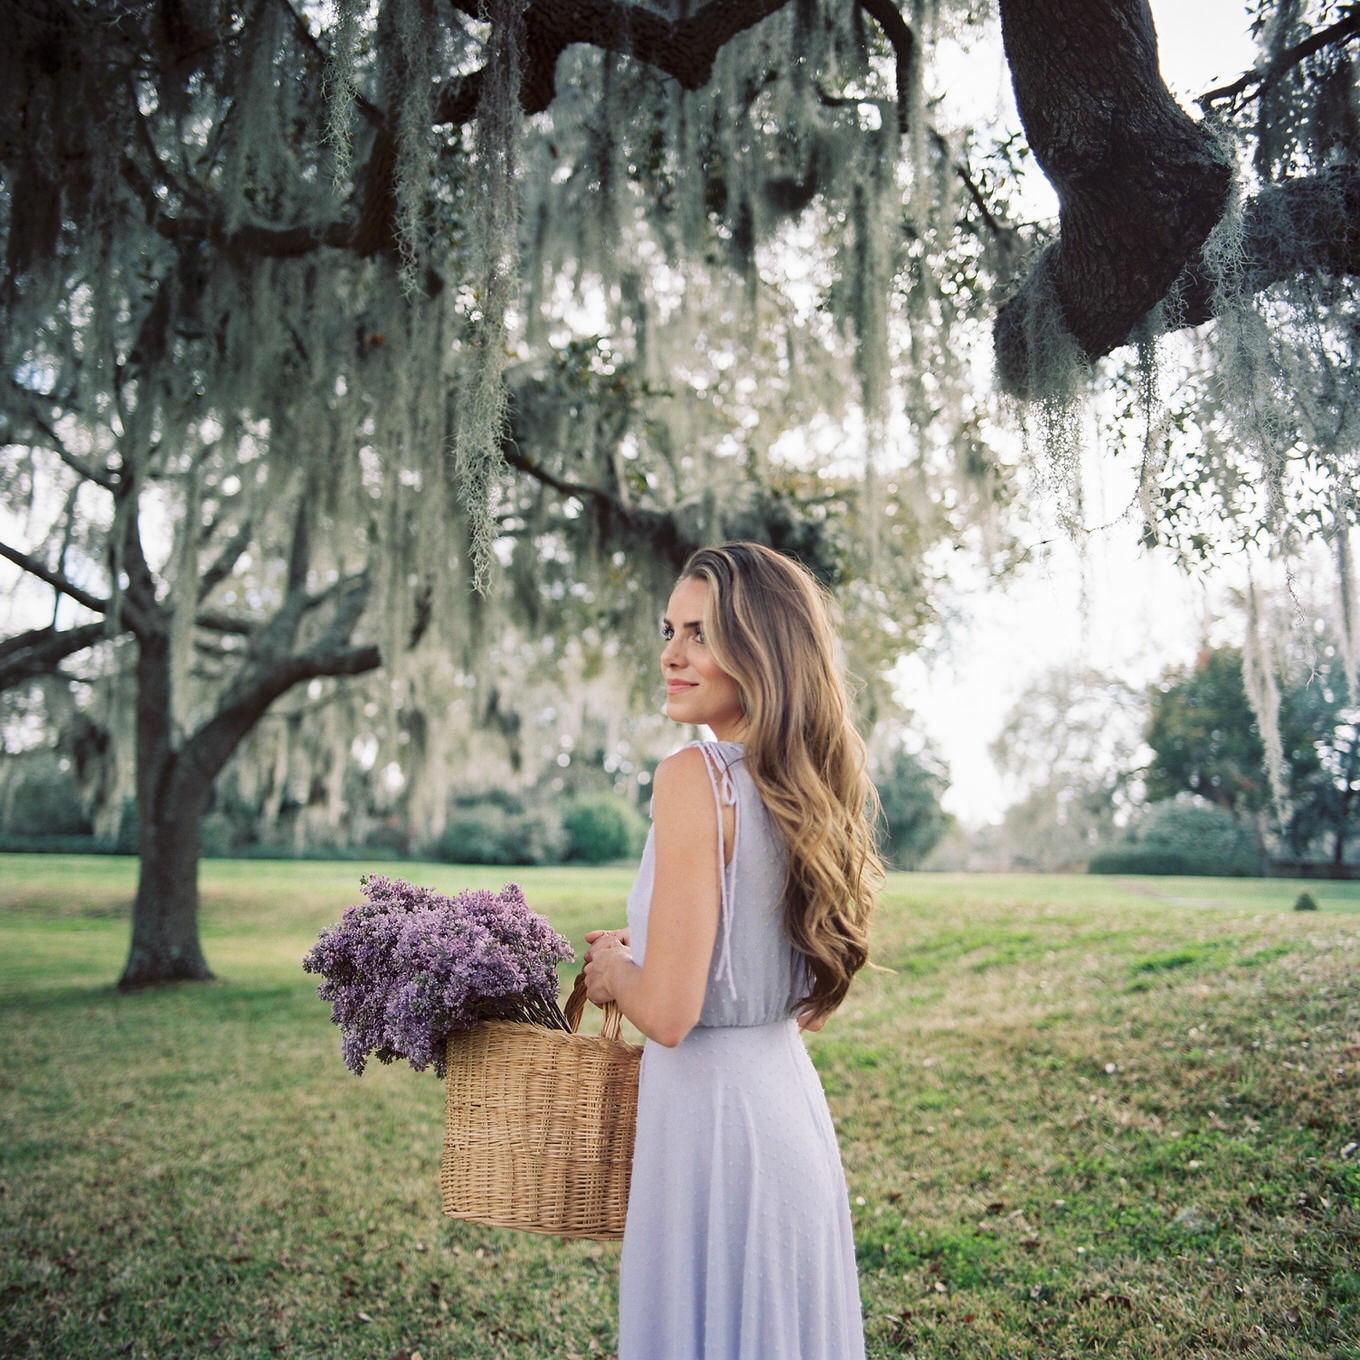
If you’re relatively new to photography or you’re an all-Auto photographer, ISO can be a complicated topic. ISO is essentially the sensitivity of the film to light. The film’s ISO, or Speed, as it’s also referred to, has both an exposure and an artistic effect on your final image. The higher the ISO, the more sensitive the film is to light and the shorter the exposure needed. Higher ISOs also have more graininess (often a desired characteristic for film lovers). So how does this impact you? When shooting outside in the daytime (like the below image on the left), I typically shoot film in the range of 100-400 ISO. If I’m shooting inside or at night, I’ll reach for 800 ISO for color or 3200 for B&W (like the image on the right). You can take a look at the two image examples to see the difference.

How do I load film?
This was actually the number one question which prevented me from starting to shoot film earlier in my photography career. It’s tough at first, but loading film is something you’ll quickly grow accustomed to. My first roll of film, I loaded incorrectly. Another roll, I unloaded incorrectly. I lost those rolls, which was sad in the moment. Most cameras are different, so I recommend finding YouTube videos for your model and/or buying a cheap roll of film and using that as your test roll.
How do I expose my film properly?
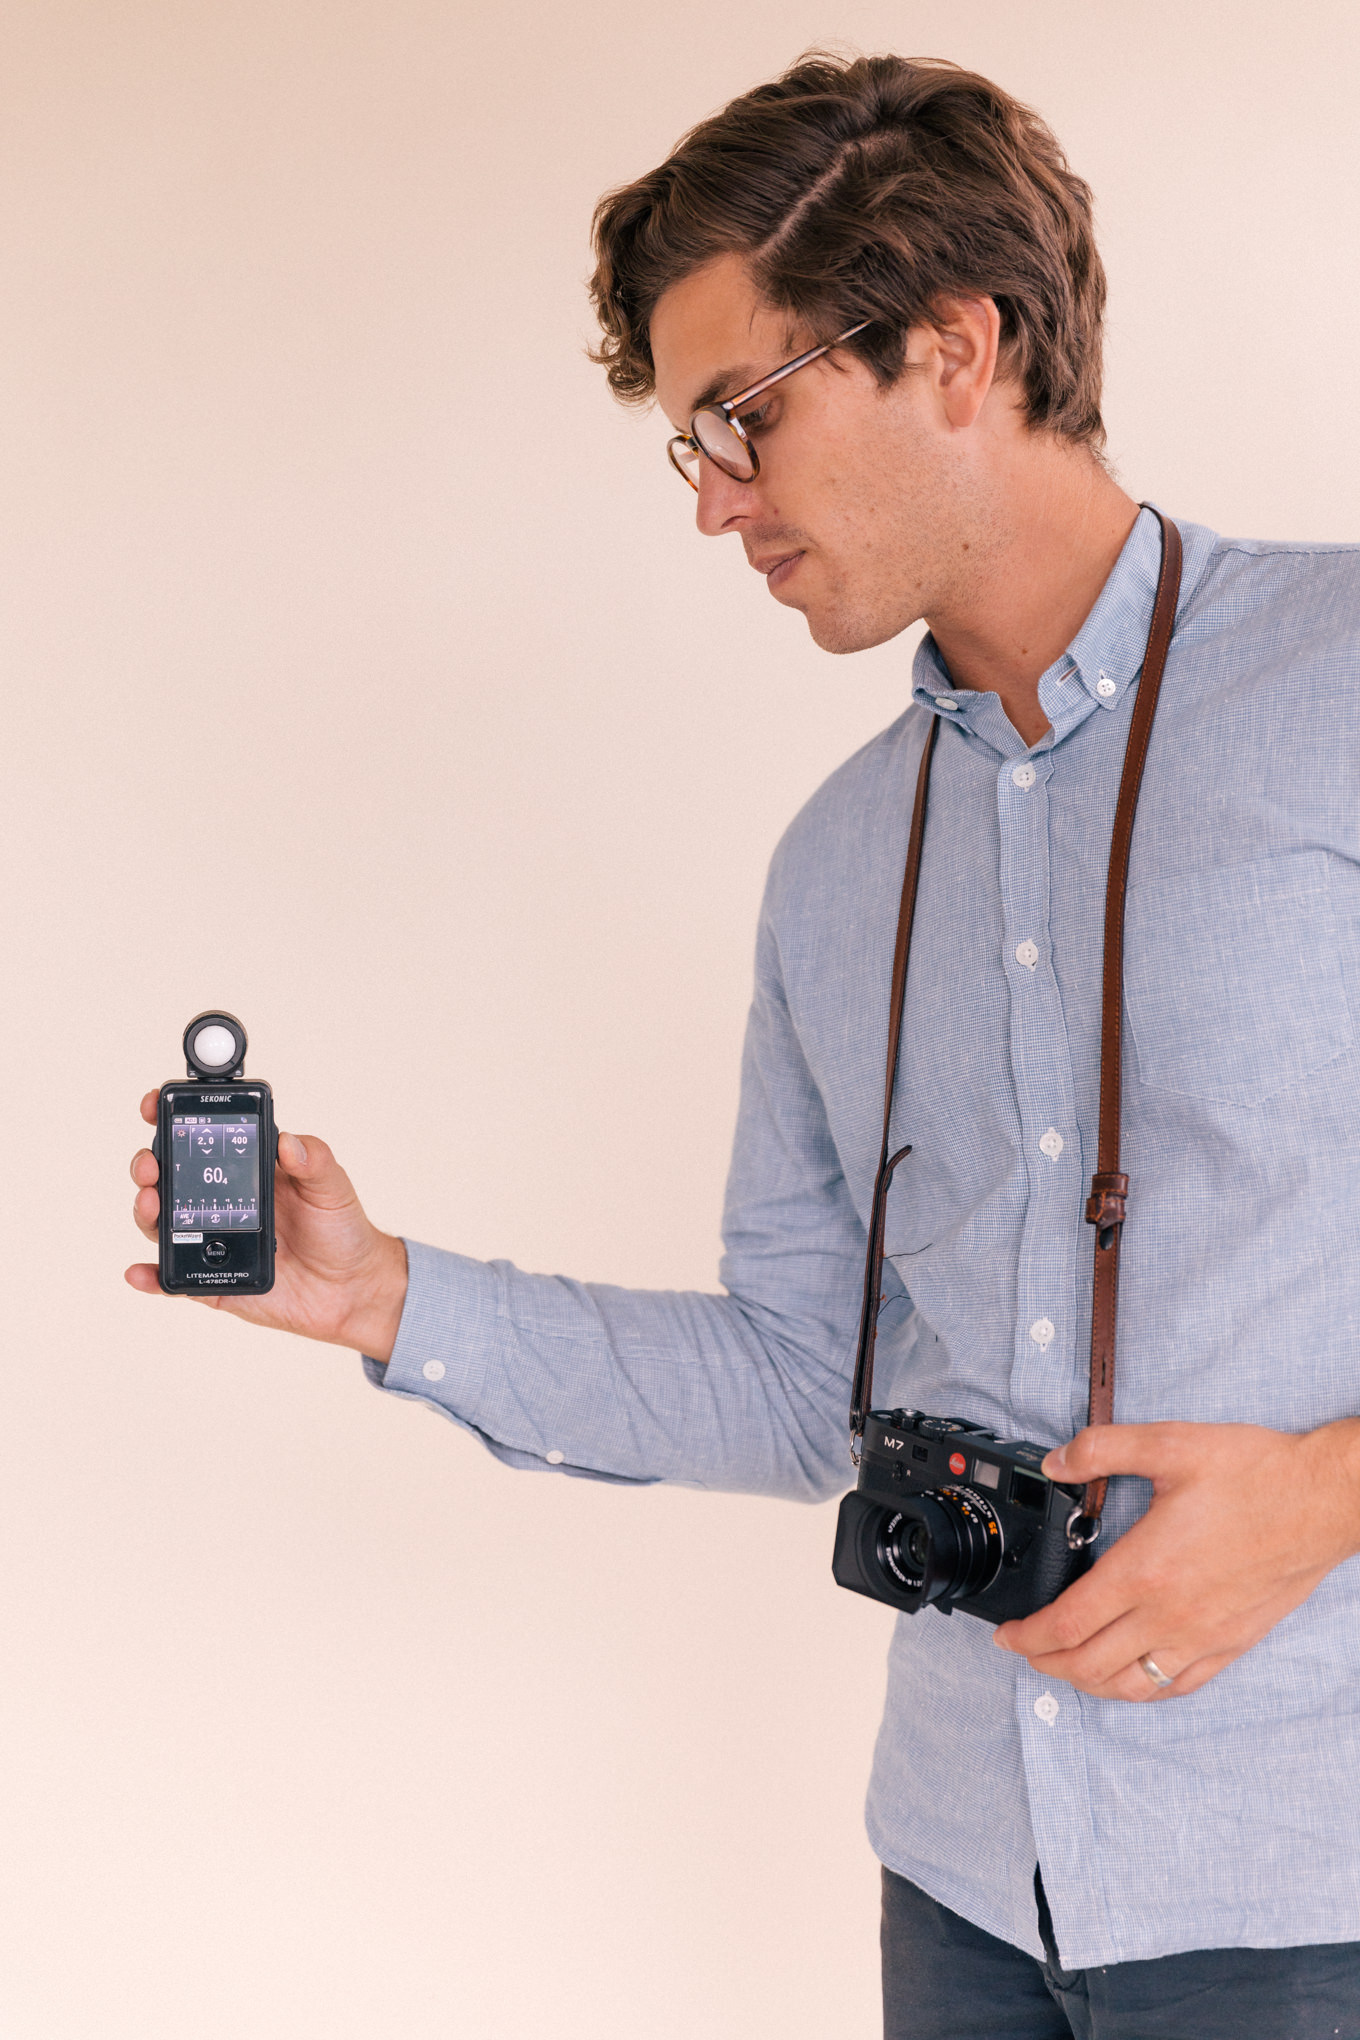
I think the most daunting thing about shooting film photos is that all of your effort, time, and money might be wasted on images that are overexposed (too bright) or underexposed (too dark). Depending on the age of your film camera, it may or may not contain an internal light meter, which essentially measures the amount of light and can auto-change your shutter speed. Even if your camera does have an internal light meter, it’s important to verify its accuracy a few times per shoot or prior to every shot with a separate light meter.
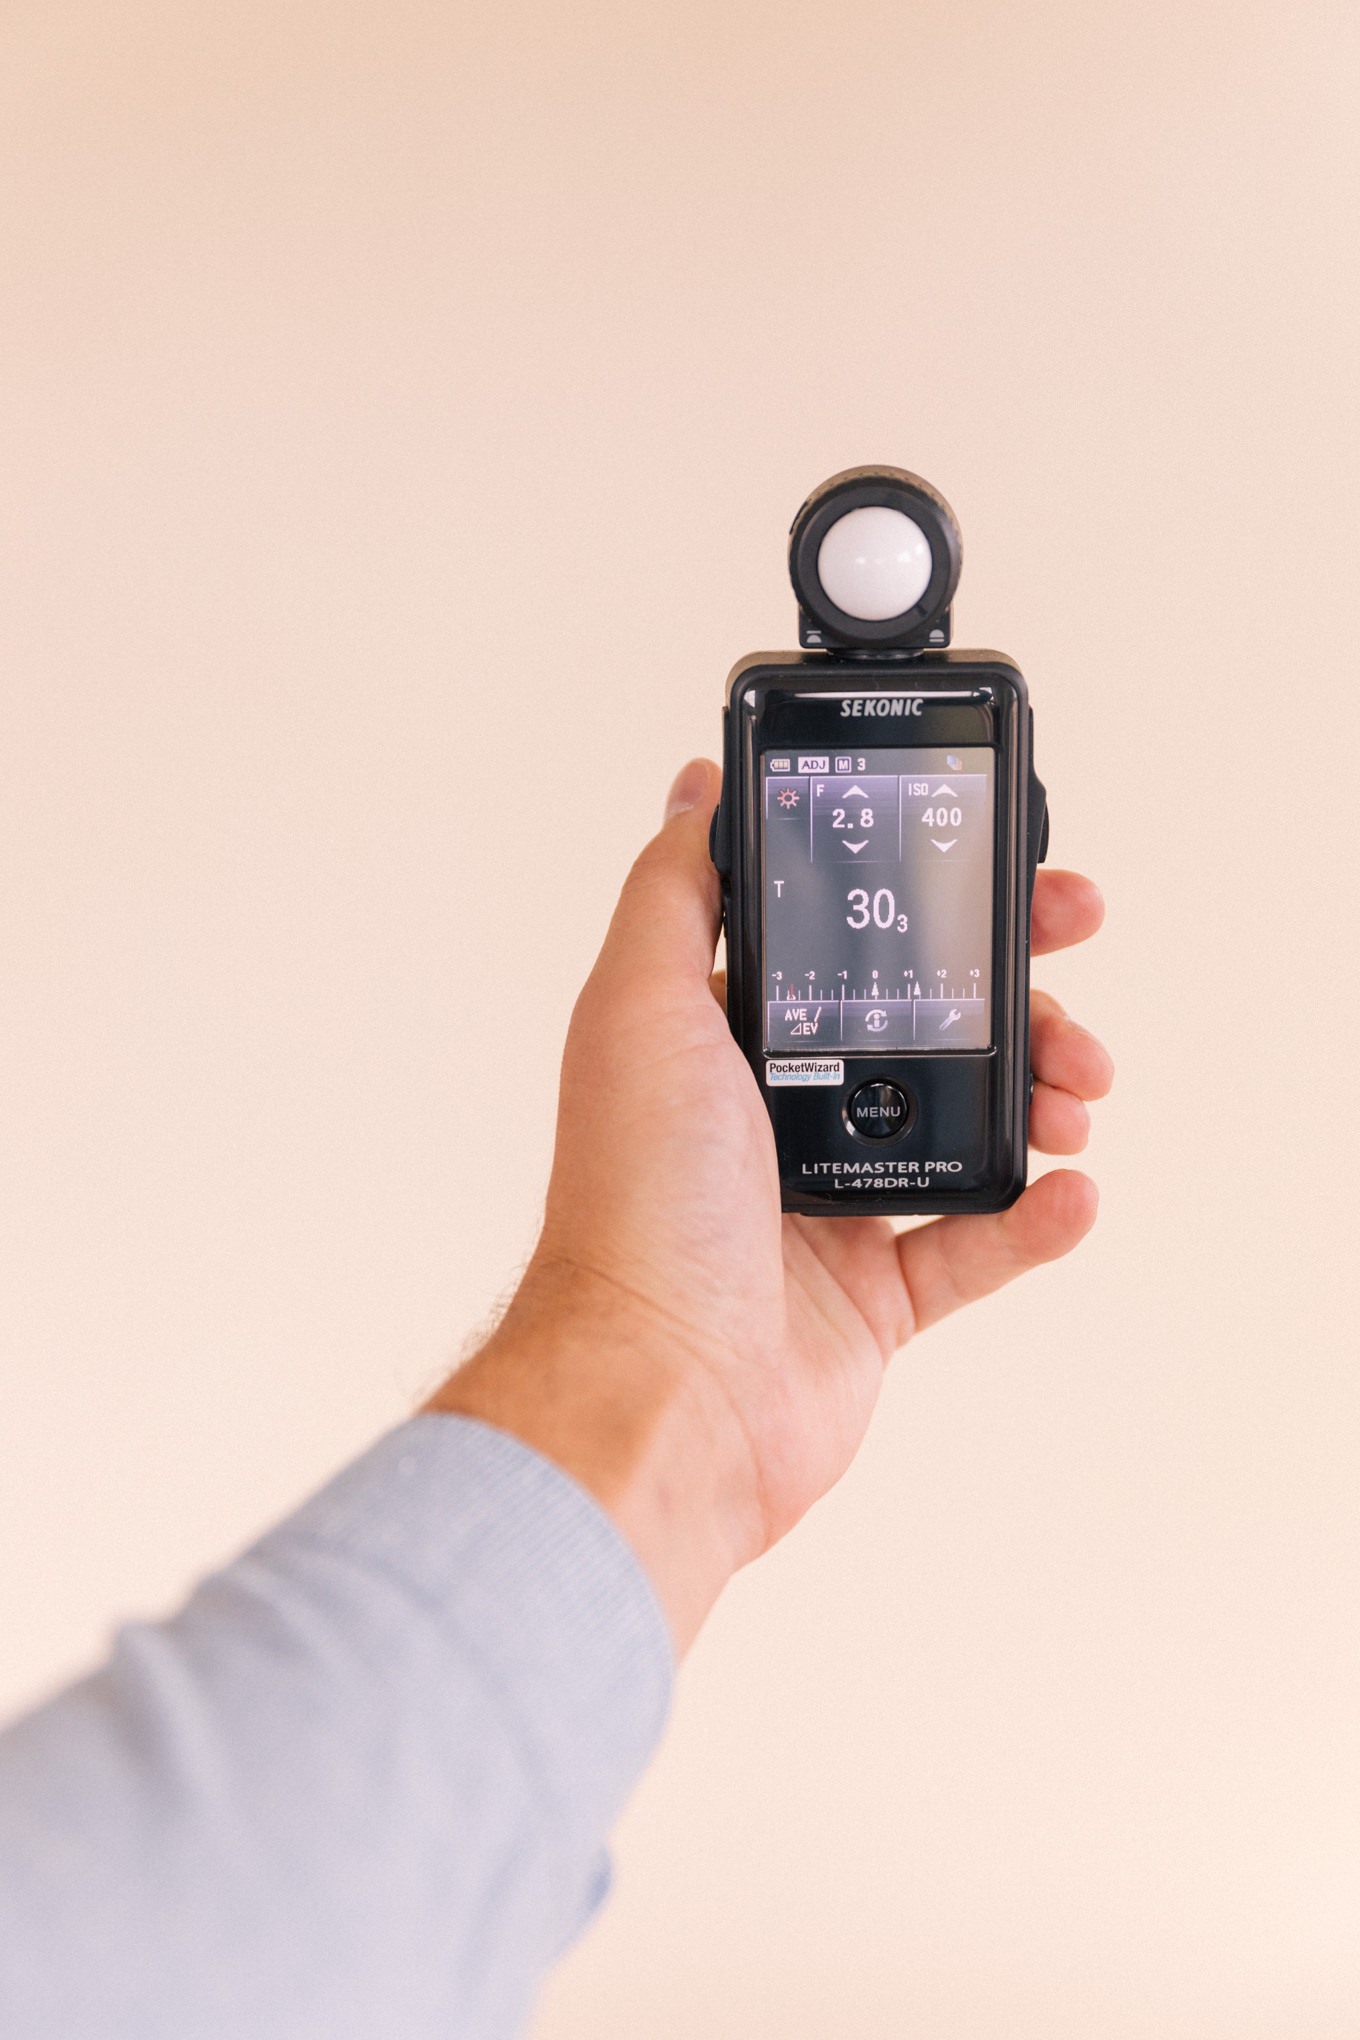
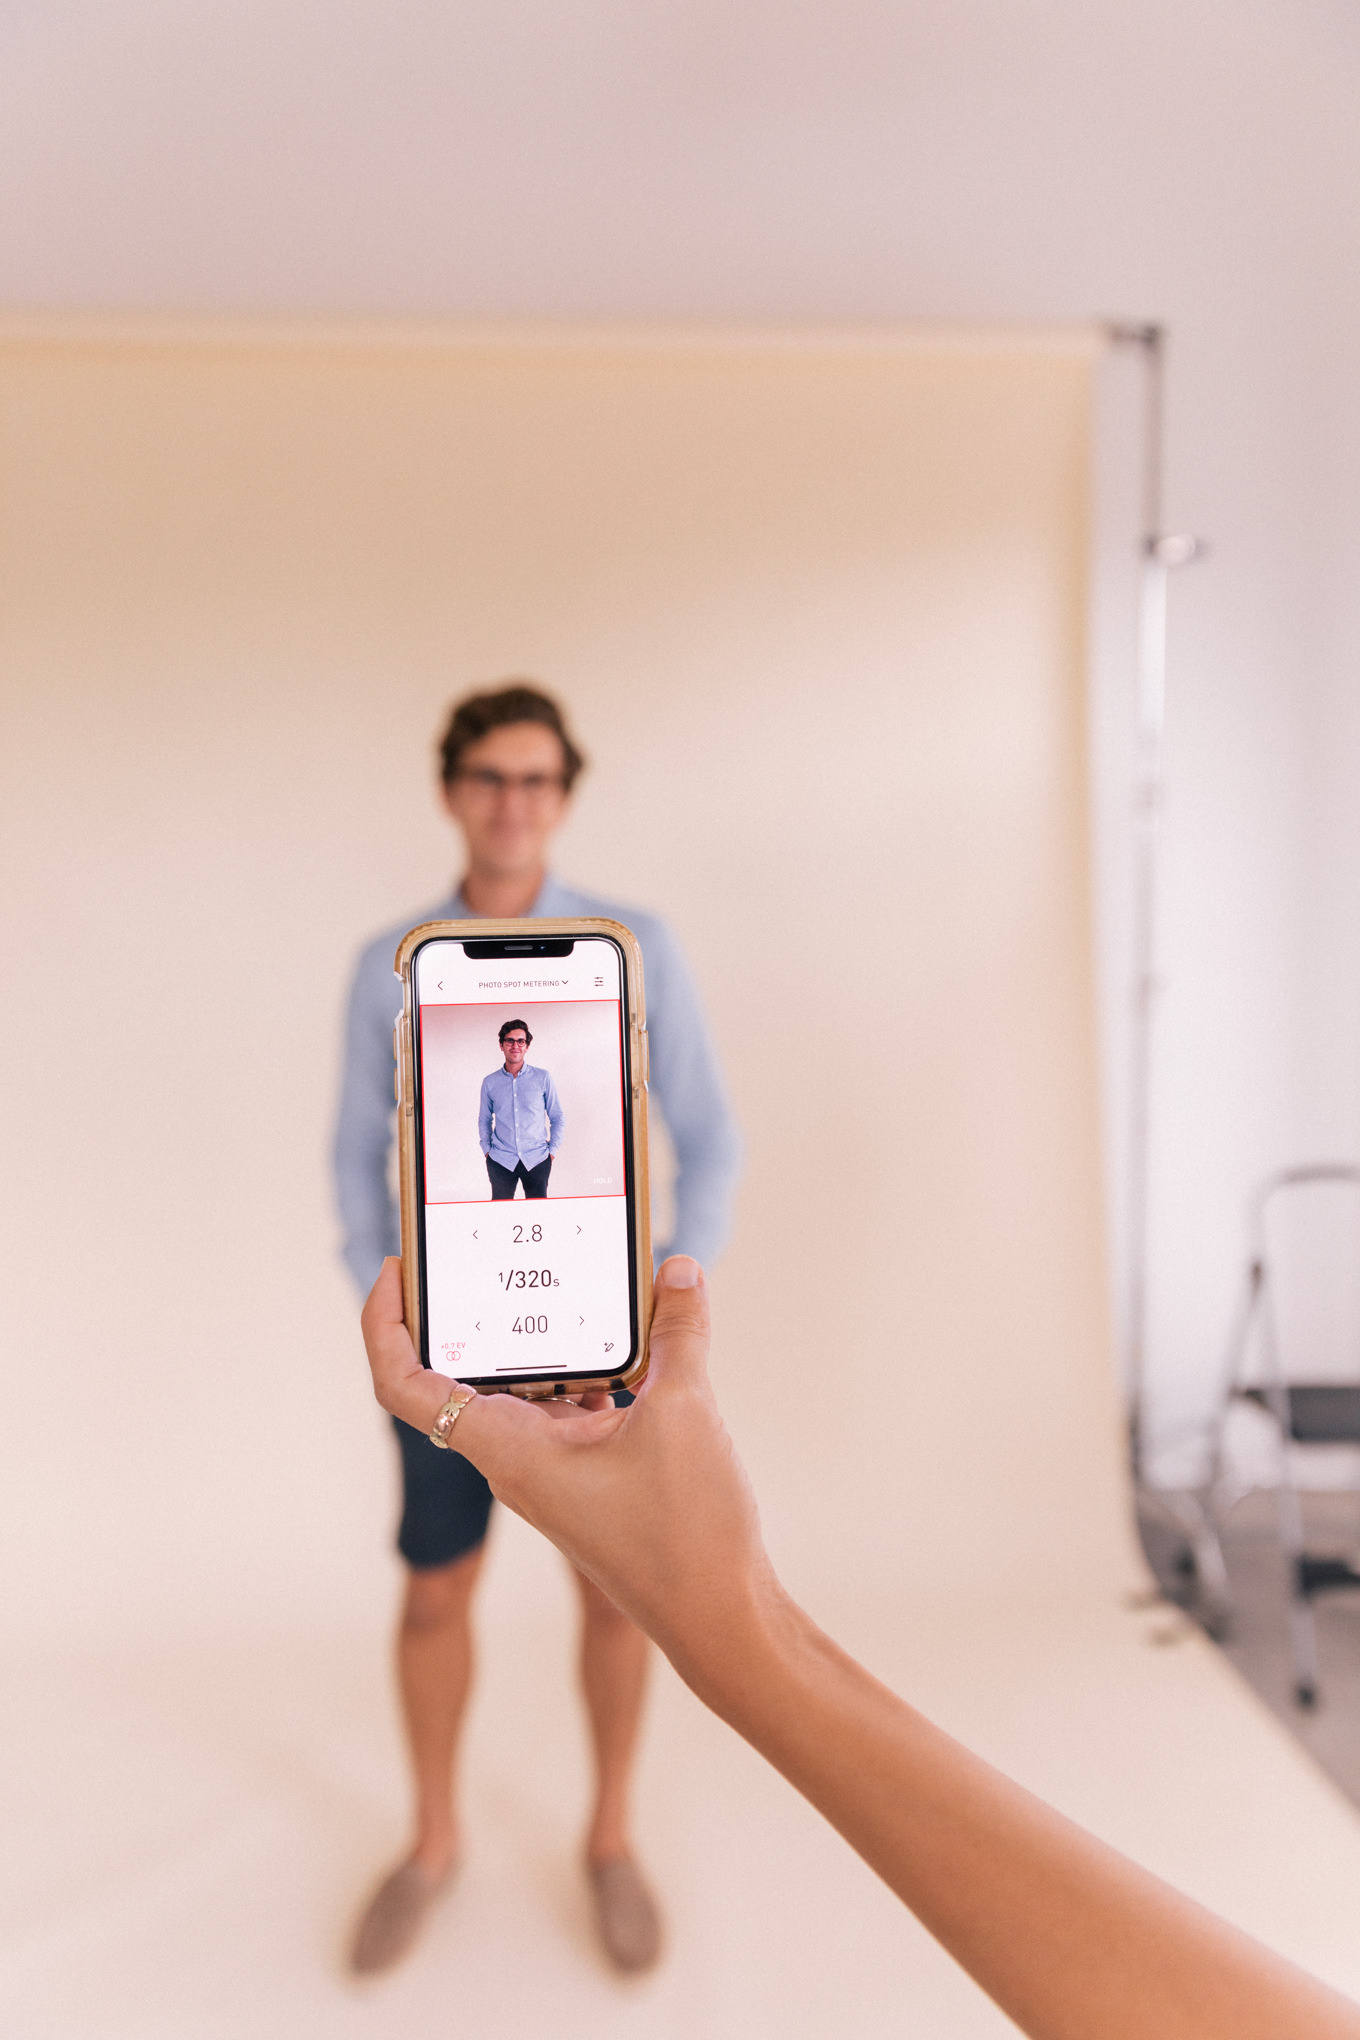
You can spend $100 or more on a professional light meter (like the Sekonic one I have here) or, if starting out, you can download this app. It’s easy to use and uses your camera on your phone to read the reflected light in a scene. To use a light meter, input your film ISO, then choose Aperture or Shutter Speed priority and the meter will suggest the proper settings. In the sample below, our film ISO is fixed at 400, we’ve set our Aperture at 2.8 (to achieve the depth of field we want), and based on the reading, it’s suggesting a shutter speed of 1/320 seconds.
If you are extra nervous and don’t mind also carrying a digital camera, a technique I’ve used is I’ll set my digital camera to match the ISO of the film I’m using and I’ll snap sample photos on the digital camera to figure out what settings to use on film.

What are some good ideas for first things to shoot?
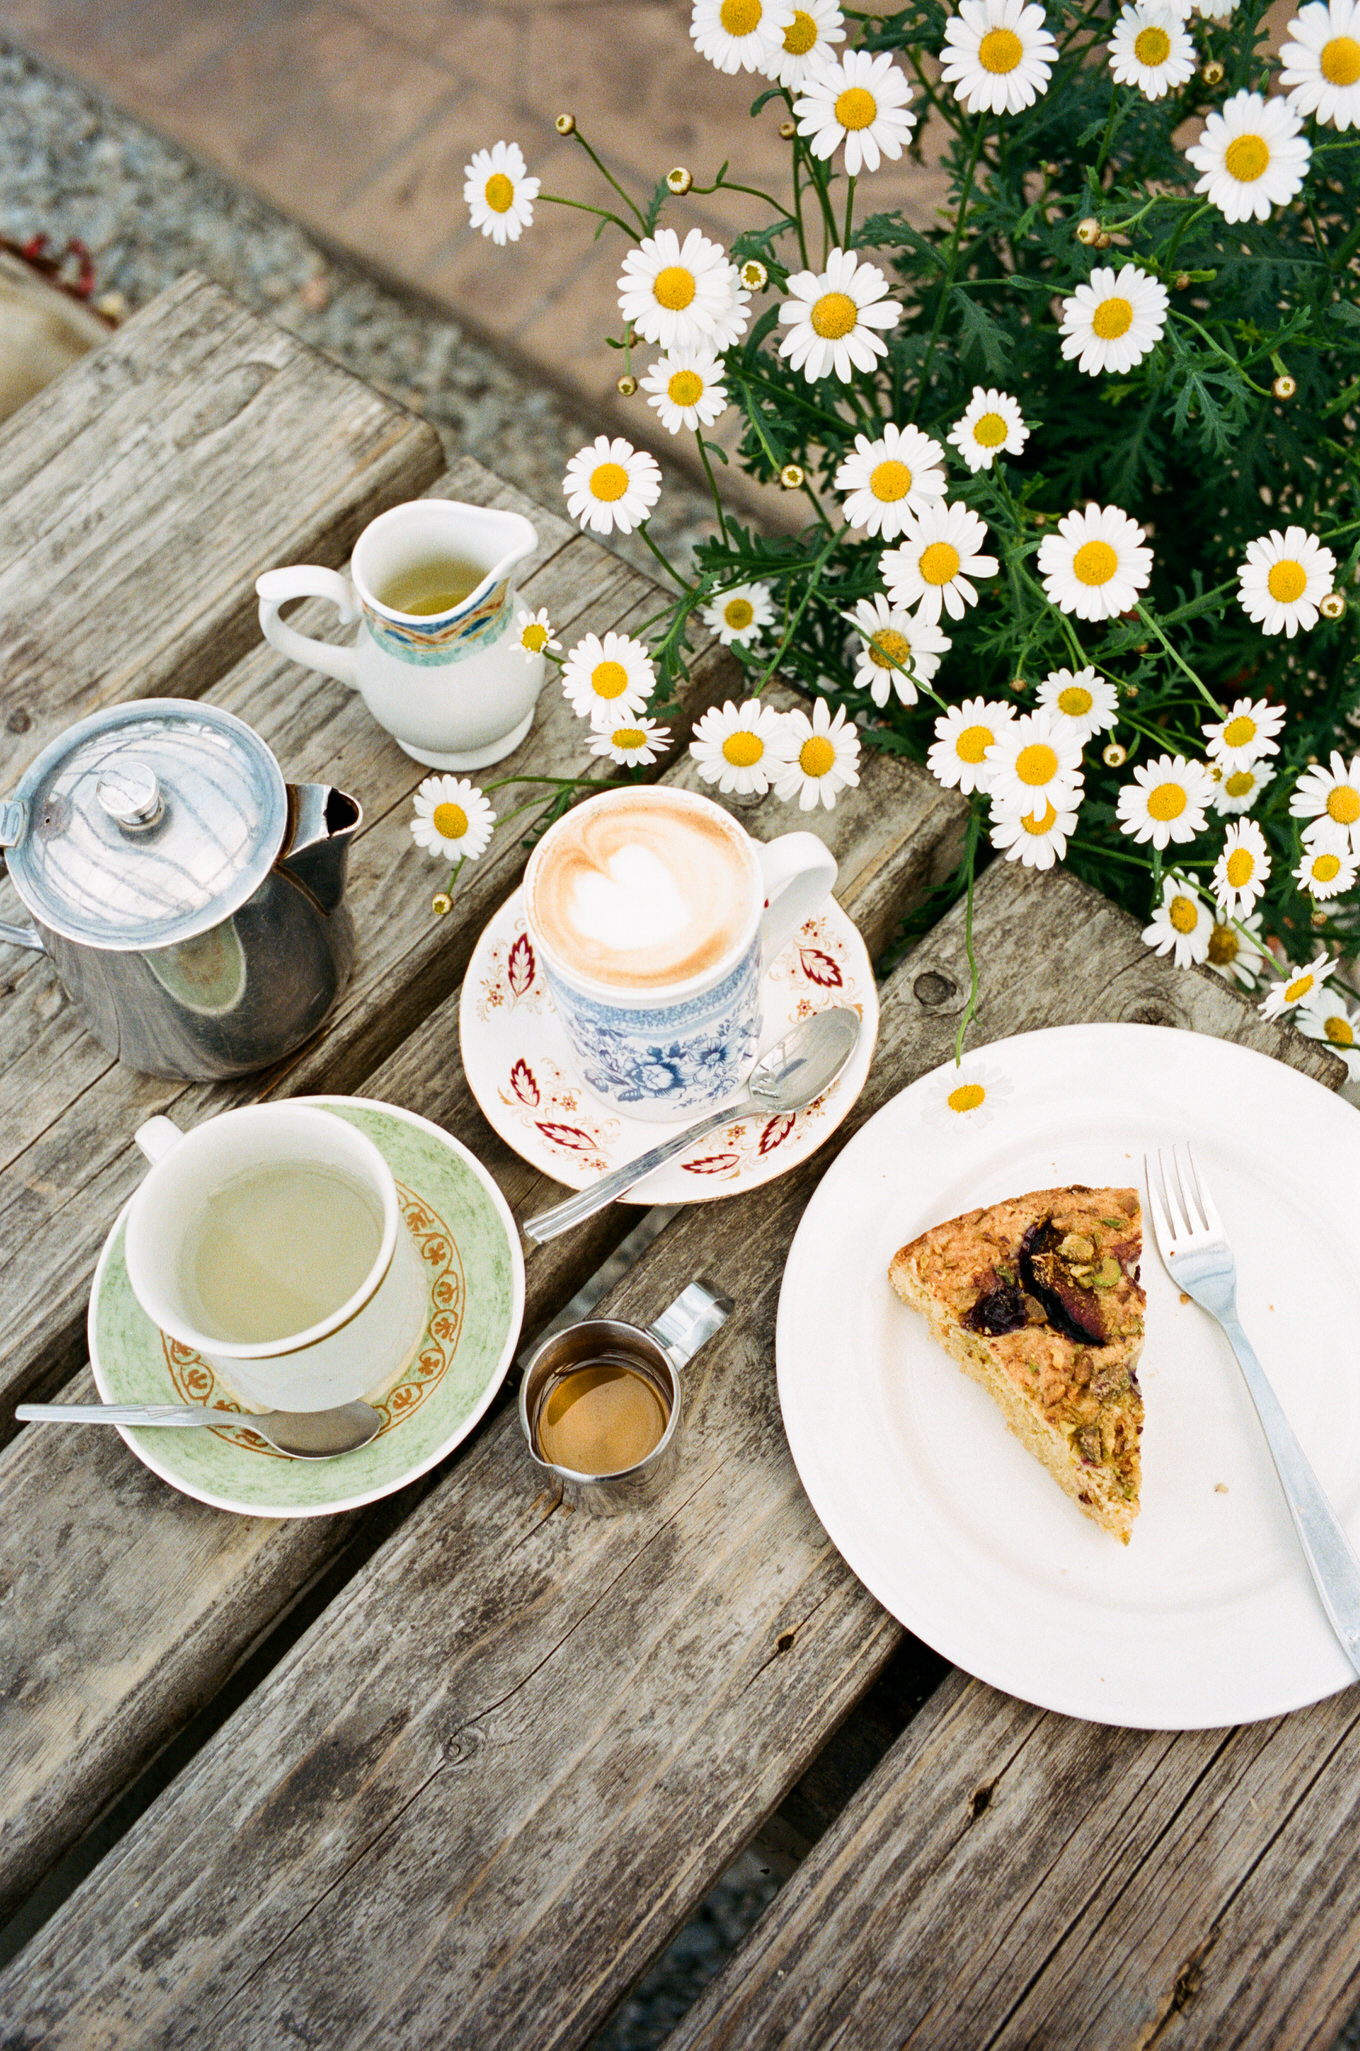
Travel Days – I love shooting our travels on film. What’s great is that when we get the film back, it’s like a timeline of the whole trip. These images are also great candidates for framing since they are tied to fun travel memories.
Portrait Sessions – Most film cameras, especially entry level ones, are going to be manual focus. Add that to the fact that you will be taking your time to get exposure correct, and chances are, the time it takes you to shoot a full roll (36 shots) will be a turtle’s pace compared to snapping away on your phone. My advice: find a friend who may also have a passion for photography and offer a free portrait session of them.
Where or how do I develop my film?
These were the top questions I received when asking everyone on Instagram. How to develop? Where to develop? Is self-developing worth the hassle? And once the film is developed, what happens then?
So you can definitely learn to develop your own film–people have been doing it for decades. It has always been a curiosity of mine, but something I’m currently not willing to sacrifice image quality for. That’s why I choose to send my film to the experts at Indie Film Lab.
After the film negative is developed, it needs to be turned into a format we can use. The most common is a print or a digital scan. I only have experience working with digital scans. After the developer runs the negative through a high-resolution scanner, they are left with a high-res image file, just like you’d get if you were to shoot on a digital camera. After this, the process is pretty similar to editing digital photos, as exposure and color adjustments are then made. At Indie Film Lab, you can even send in editing inspiration for them to have on file and they can try to match it as much as possible.
If you want to develop your own film, take a look into this system: Lab-Box. It appears to be a modern approach to help pros and beginners start to develop their own film. I’m looking into buying one to try and develop on my own, but I’m concerned that might be a slippery slope, considering I’d need a scanner too.
What do I do with my developed film?
A fair amount of people will hang on to their rolls of developed film. I started doing this at first, but I don’t see the point in doing so. Very technical photographers who spend lots of time in the darkroom might like to keep them for future usage, but for the most part, I wouldn’t recommend keeping them.
I hope this information has helped inspire you to consider picking up a film camera. It’s fun to play around with and if you’re considering it, definitely think of ways you can try it before buying, such as borrowing a camera from a friend or renting. As always, I’m happy to hear what questions are still left unanswered for you.
 We have reimagined our brand and blog for a better future. Stay in the know.