
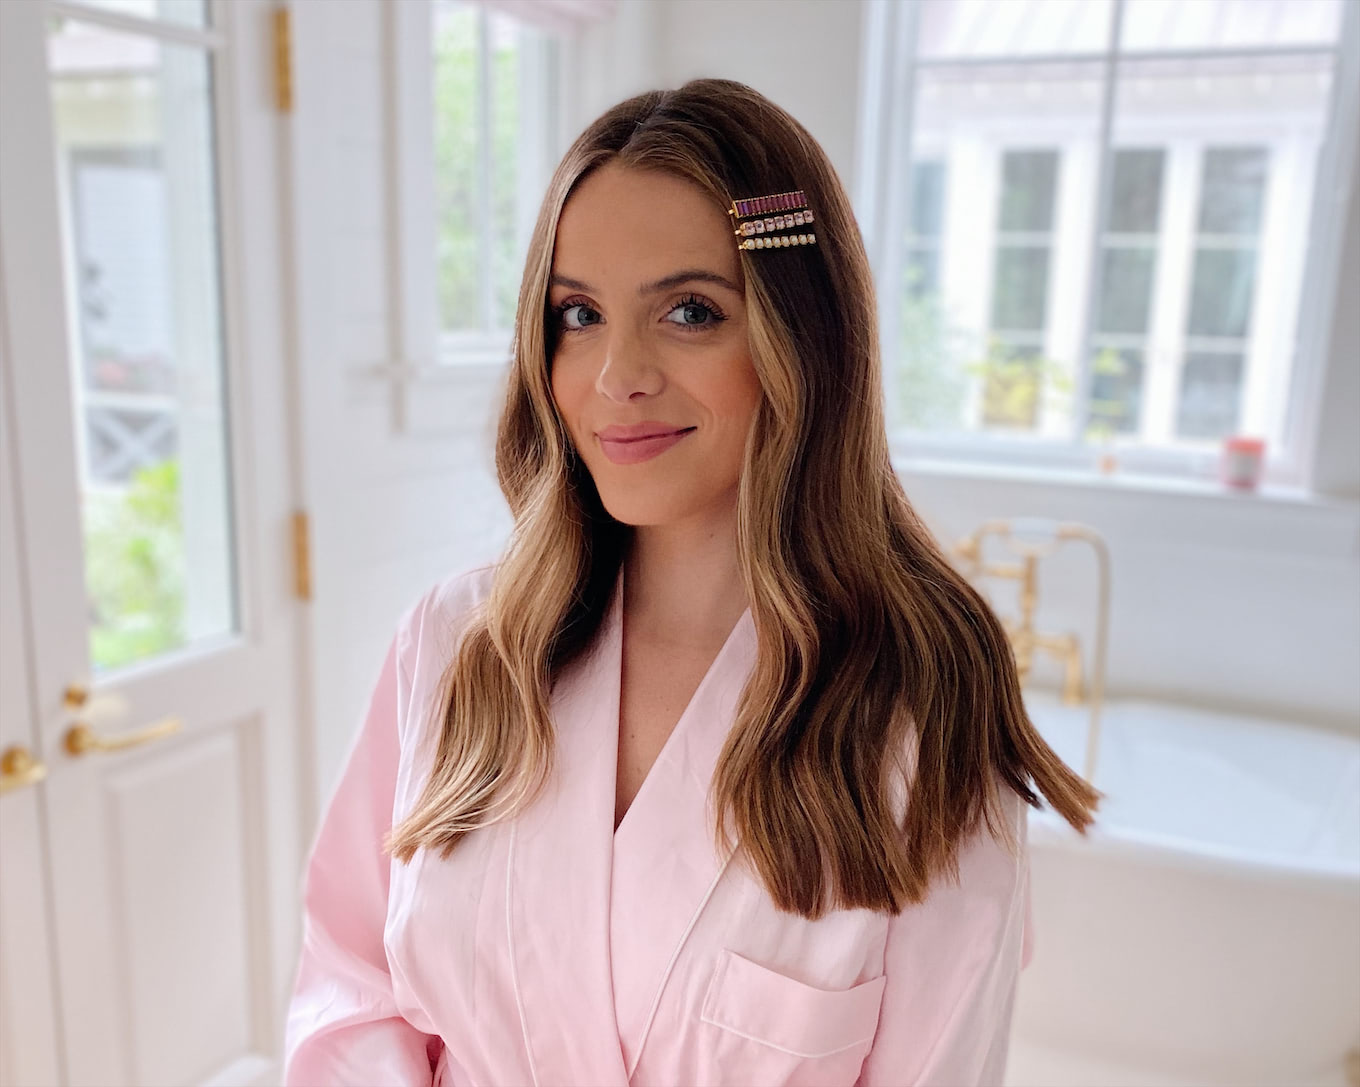
It has been quite a while since I’ve done a video here on GMG! I was excited to have my hairstylist, Meg Workman, over a few weeks ago to film this quick and easy video, styling some of our favorite hair accessories for the holidays. Meg does all of the hair and makeup for our Gal Meets Glam Collection photo shoots–she’s absolutely incredible and always achieves the perfect undone, natural looks. When she came over a few weeks after the baby was born to give me a haircut, we started talking about all of the headbands, bows, and barrettes we were loving, which inspired us to put this video together. I cannot stop wearing different headbands right now and love the two different styles—one up and one down—that Meg created. I also bought these embellished bobby pins a while ago, but wasn’t sure on how to style them in my thick hair, and was eager for Meg’s advice. If you’re looking for some pretty, but simple, ways to change things up with your hair this holiday season, keep reading for some new ideas. Before we add different accessories in the video, Meg shows how she achieves effortless-looking waves with my hair. For those of you who would rather read text, she put together step-by-step instructions below!
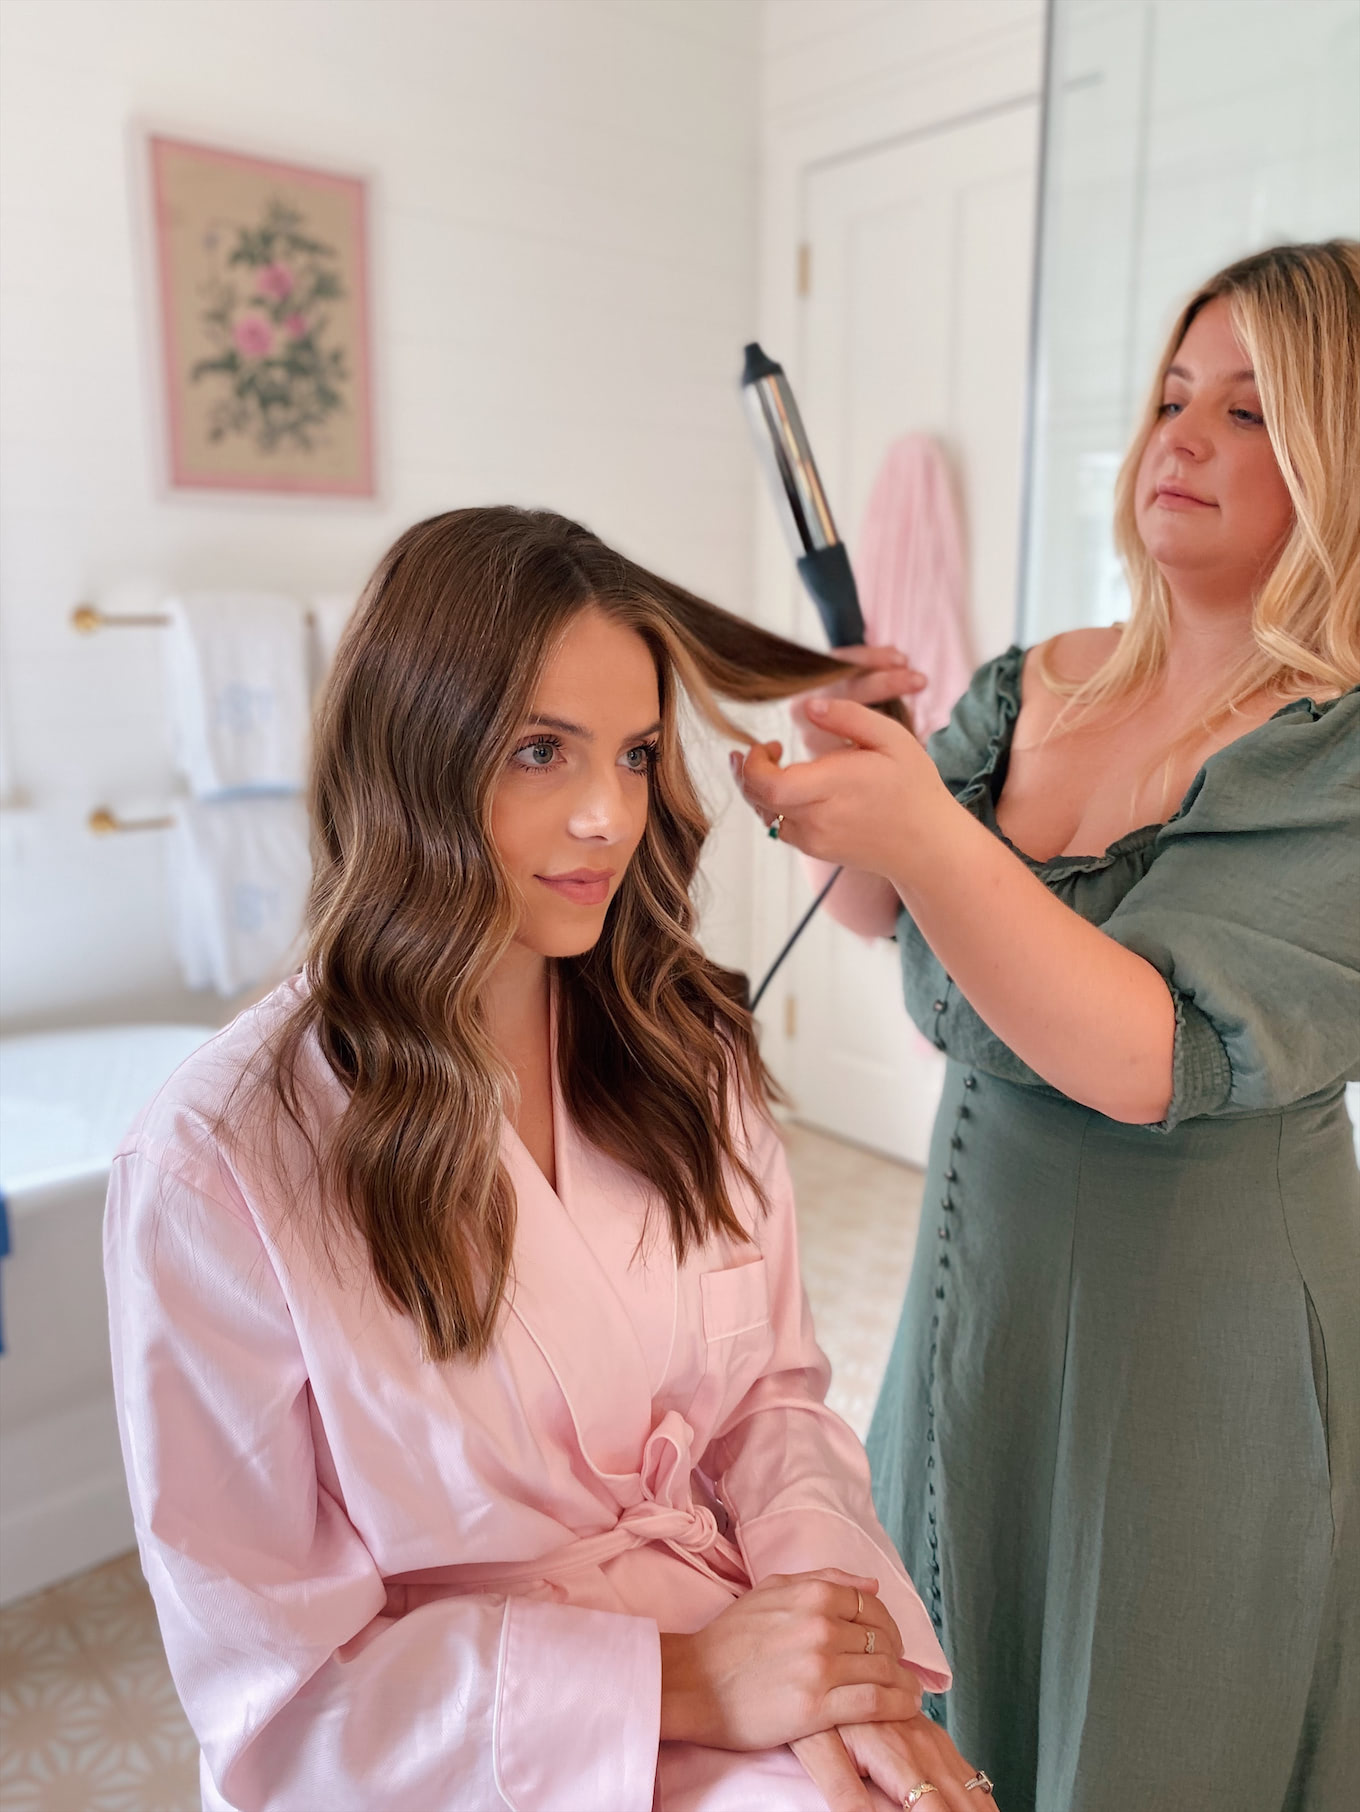
Prep – Curling:
Start by heating up the GHD Curve Classic Curl Iron.
Section the hair. Pull everything above the ears up with a hair clip to ensure it stays out of the way.
Once you’ve sectioned the hair vertically, curl hair away from the face in one-inch sections. Repeat this on both sides until you reach the back of the head.
Continue curling vertical sections of hair, moving upwards until you get to the top of the head. Shoot for three sections for fine to medium hair and possibly four if your hair is thick.
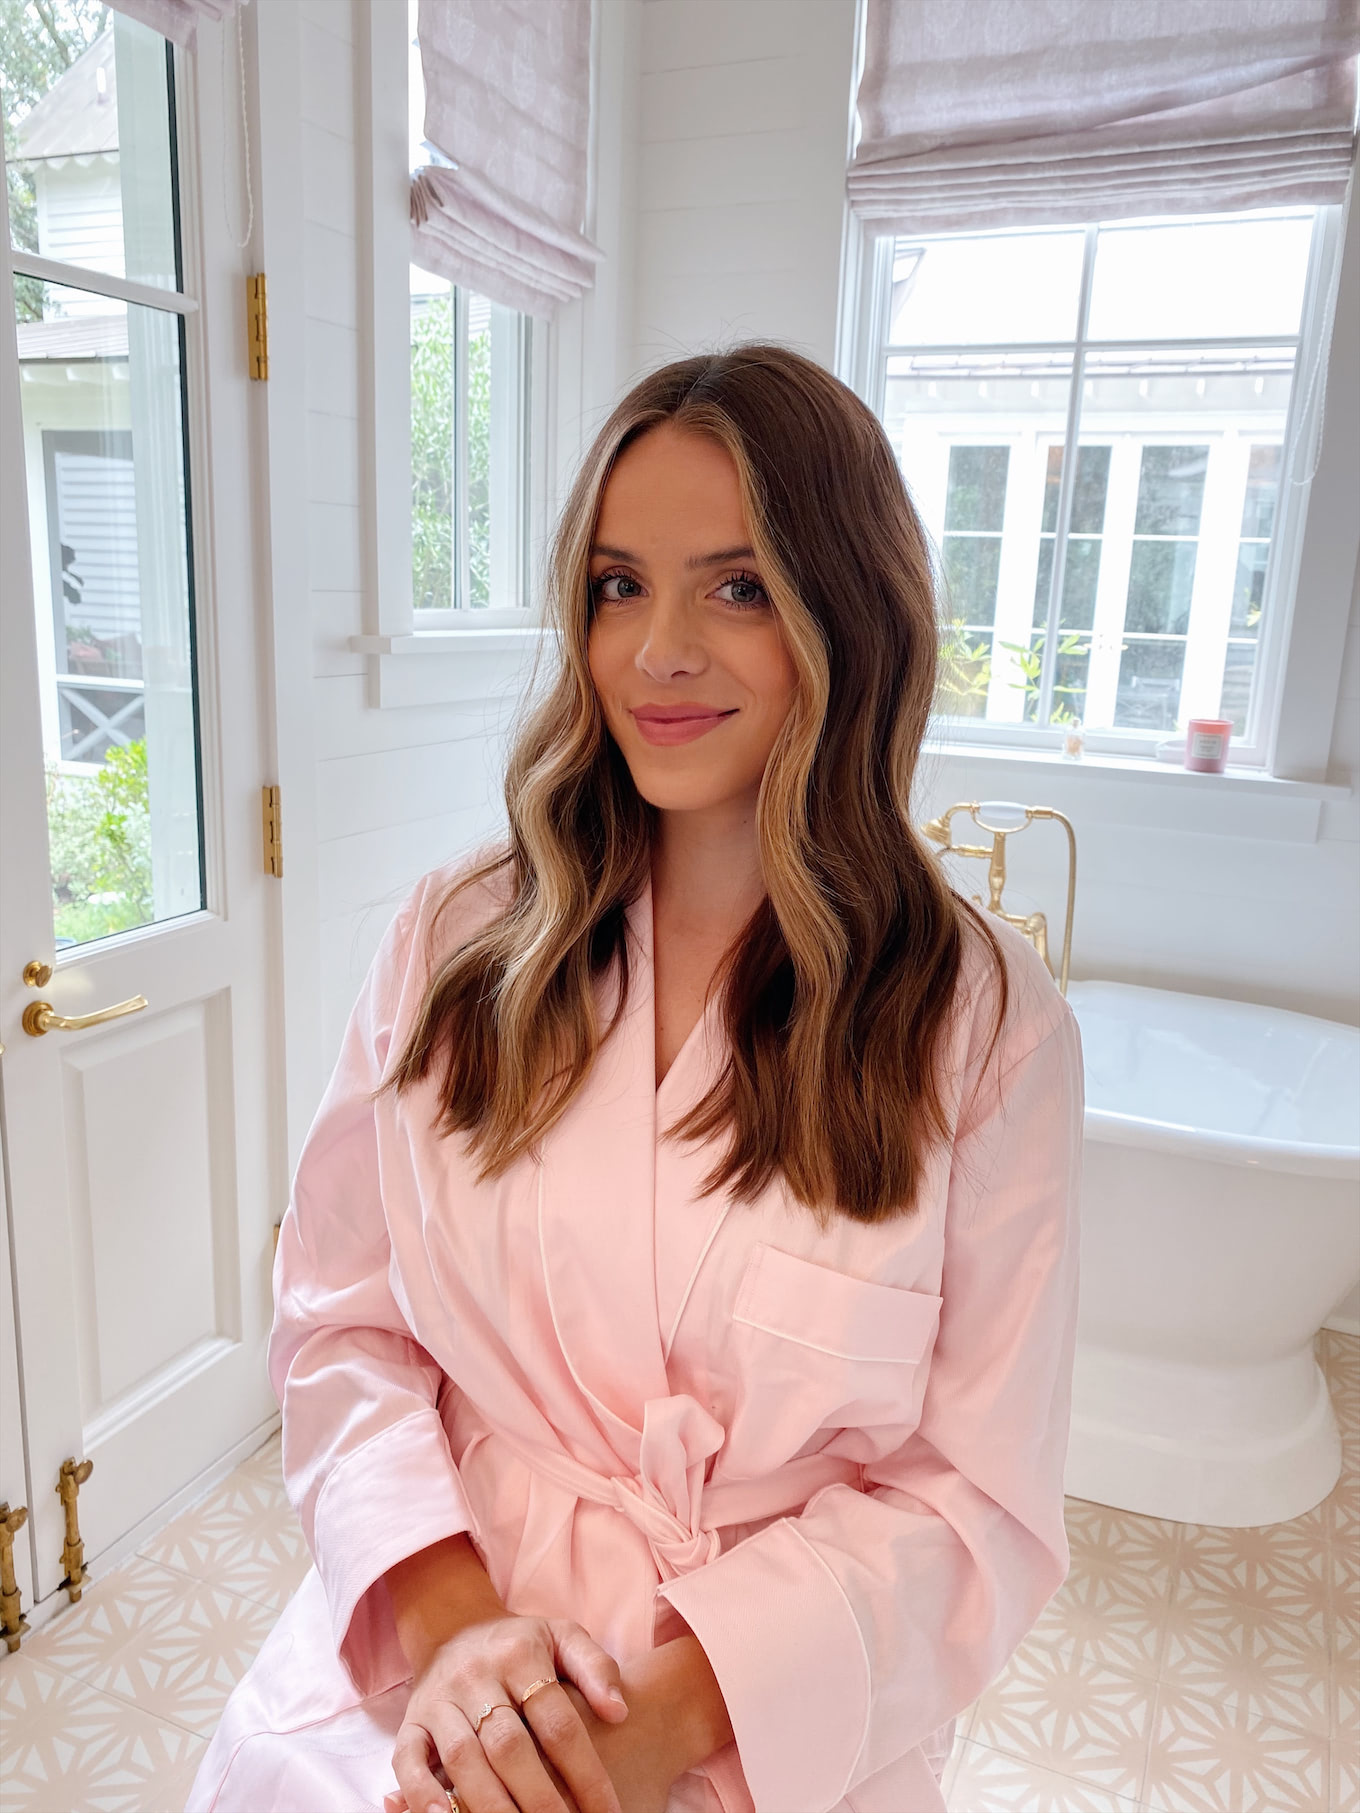
Once everything is curled, comb through your hair with your fingers. Keep working it until you get your desired curl texture. For this look, I brushed through everything once and then went back in to add detail with Nexxus texture spray.

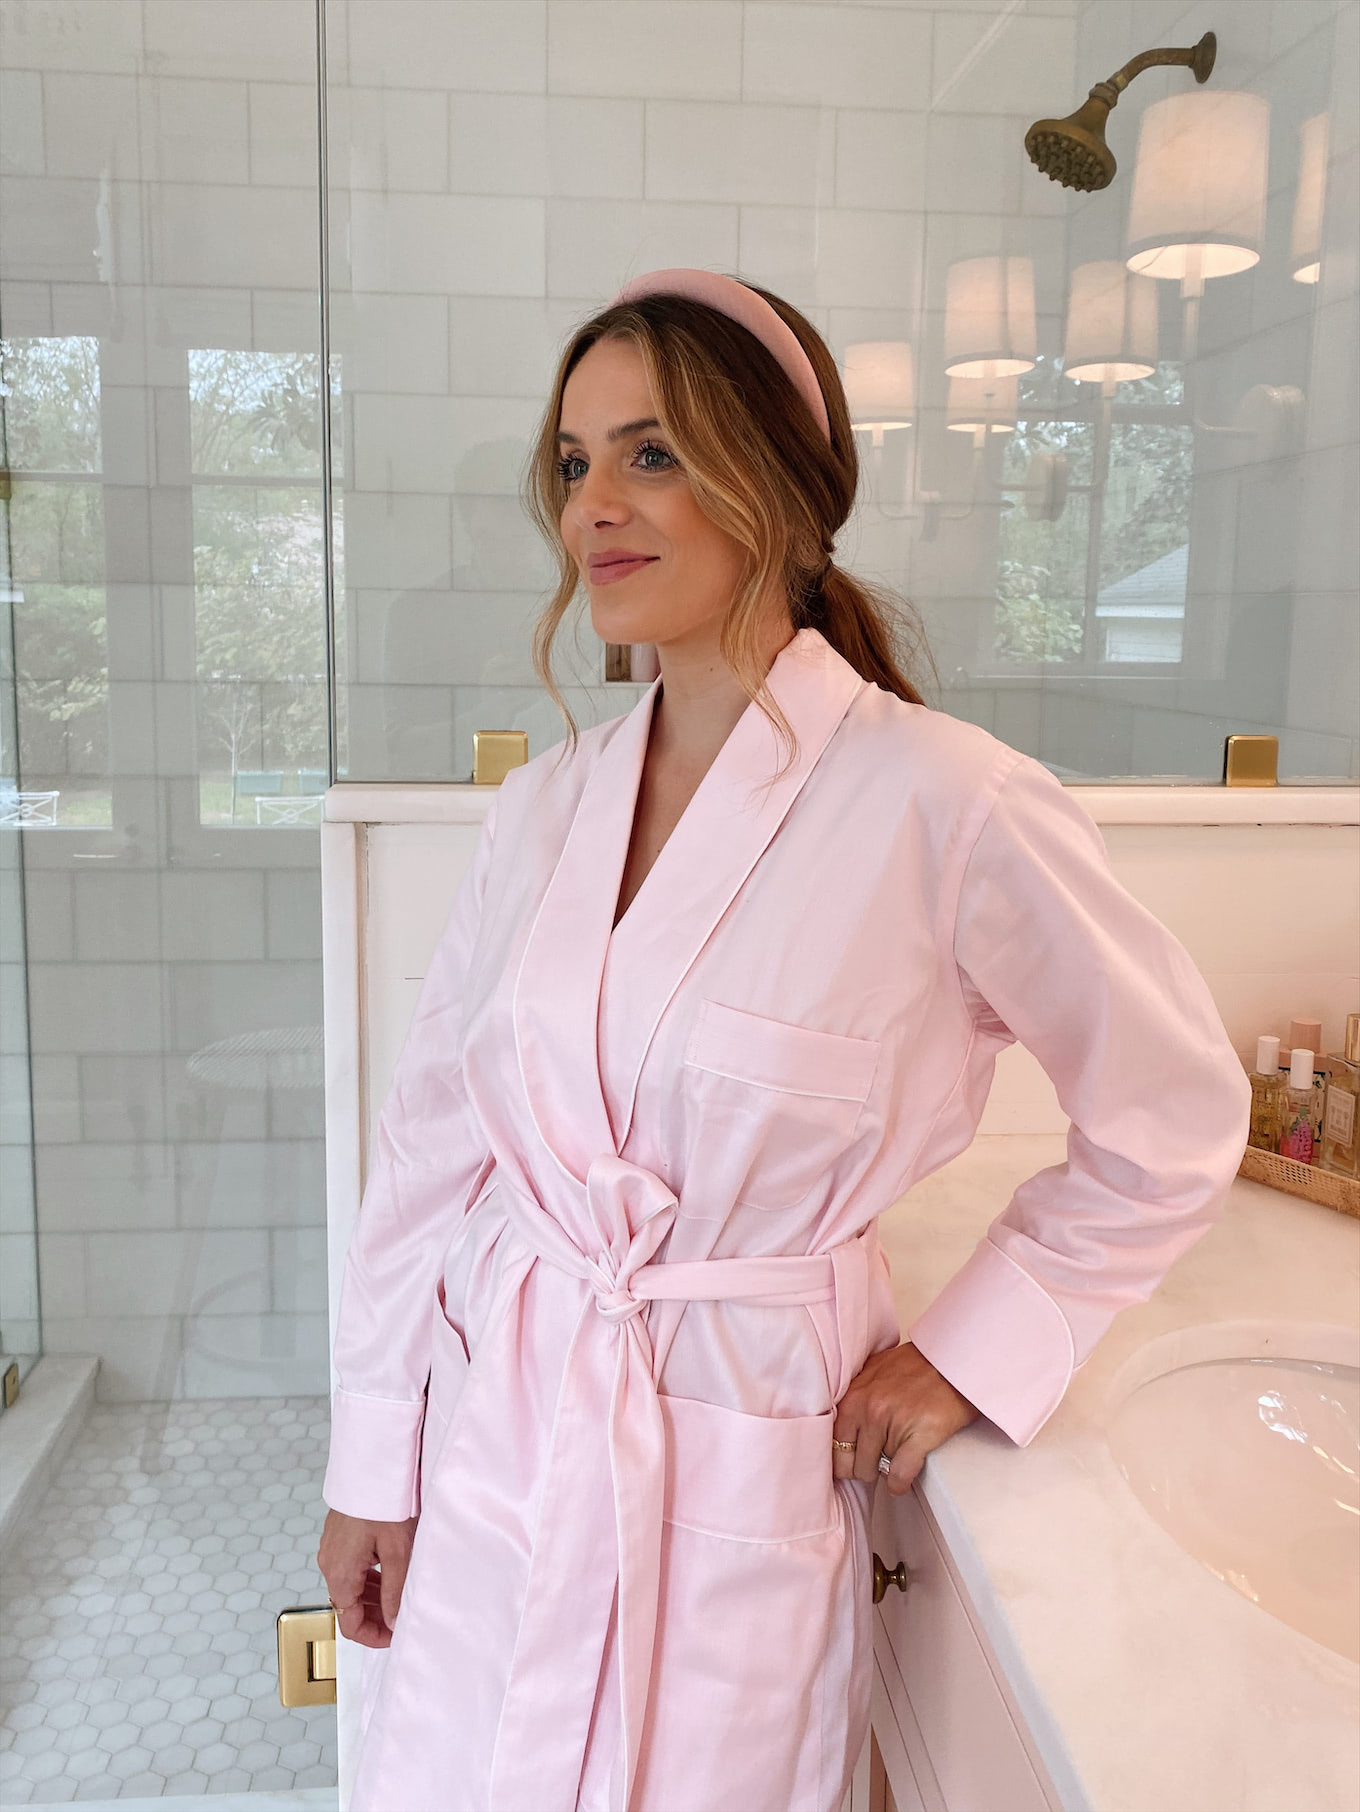
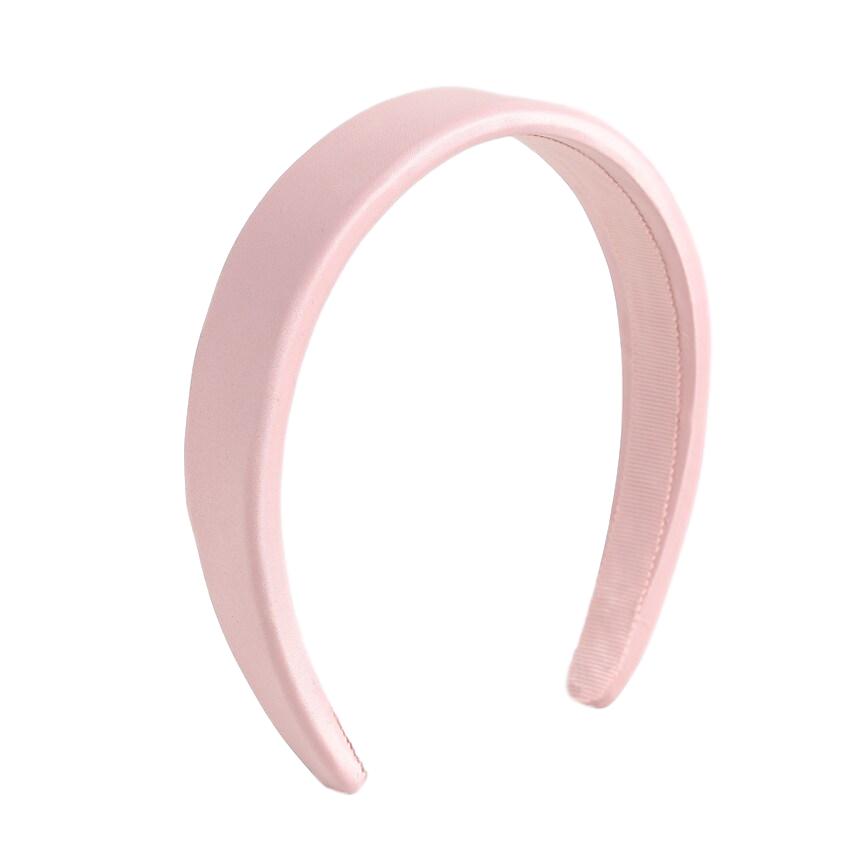
Look 1 – Headband:
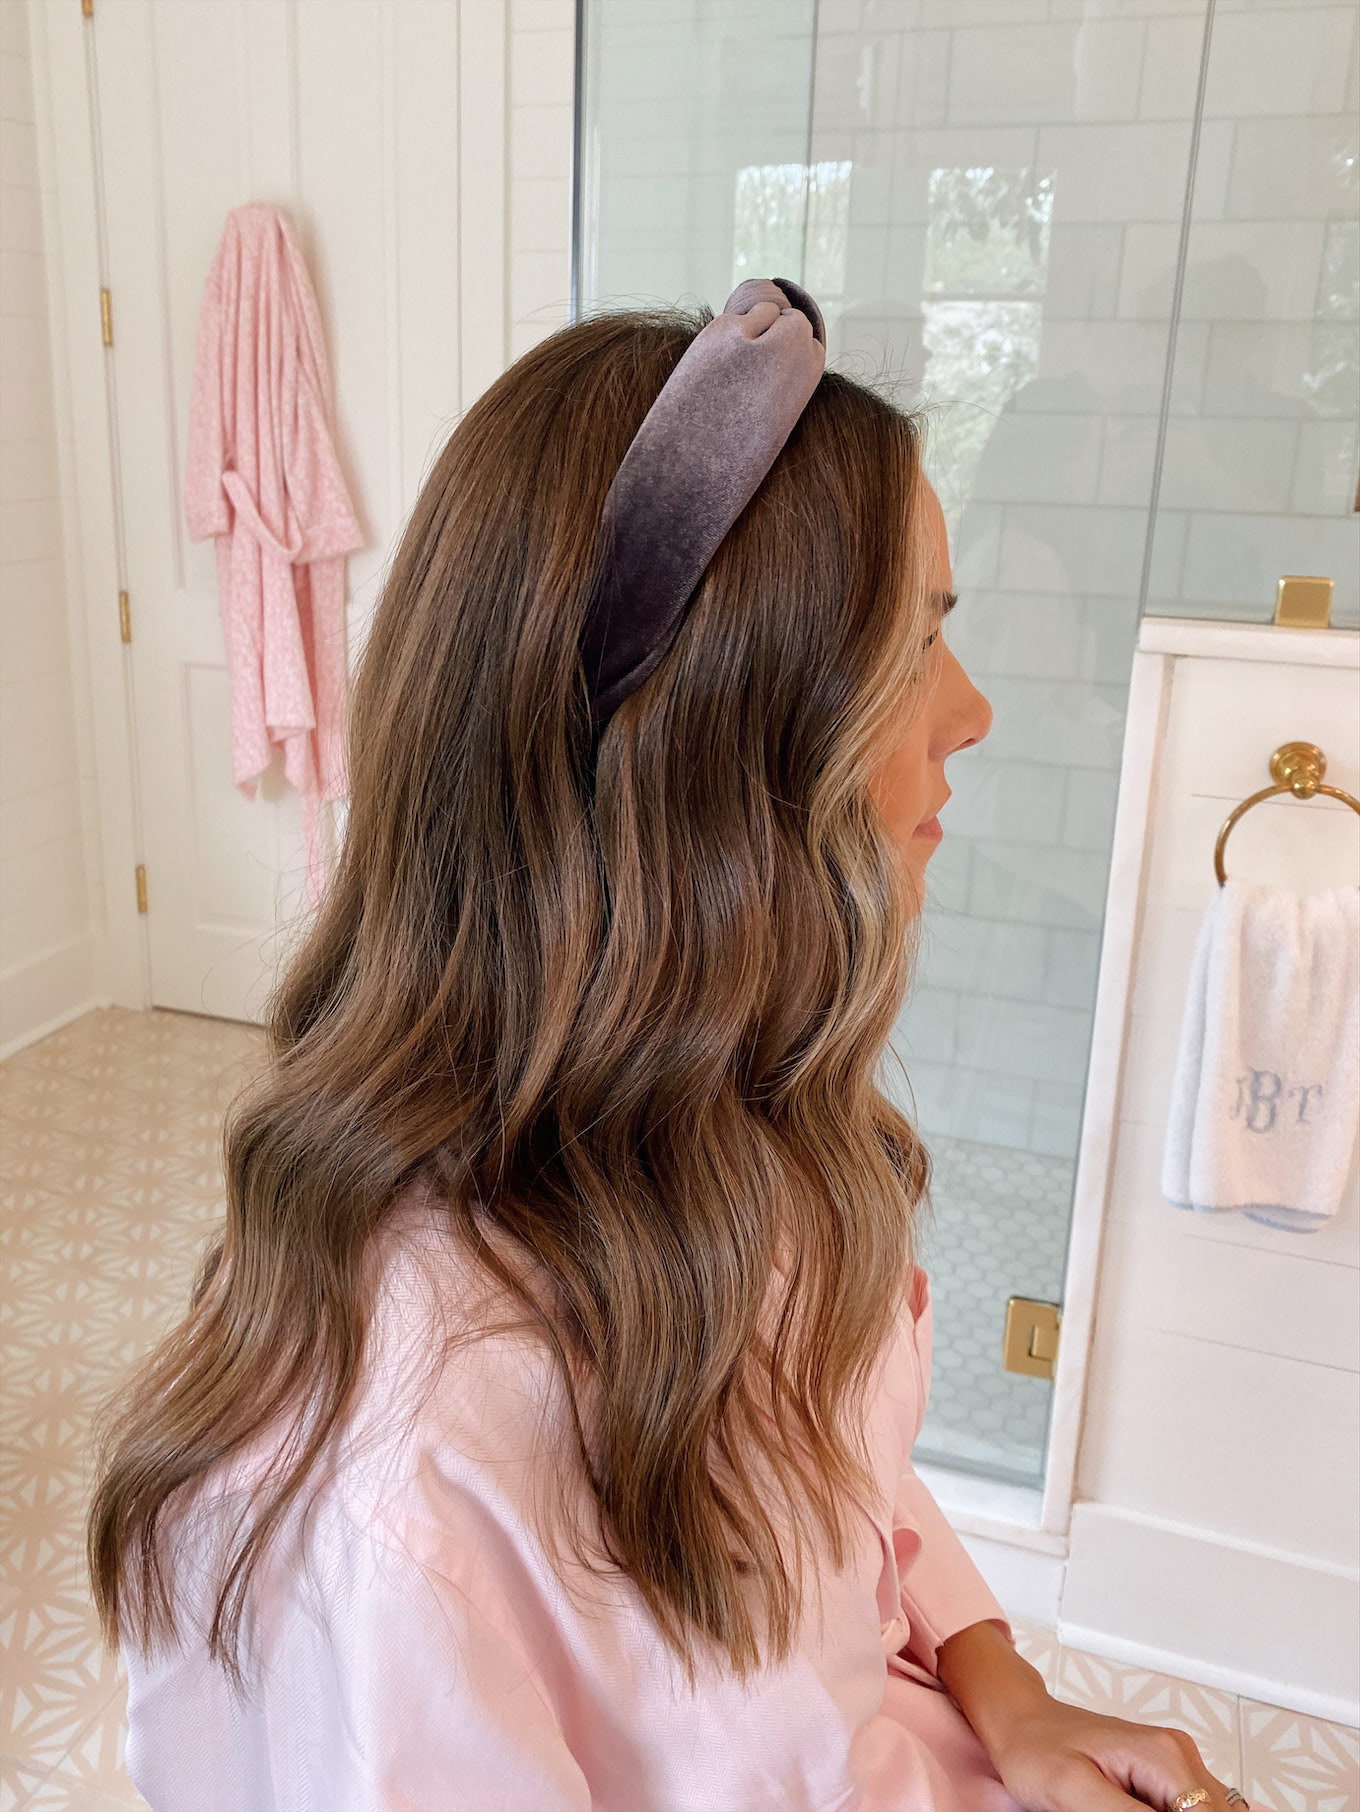
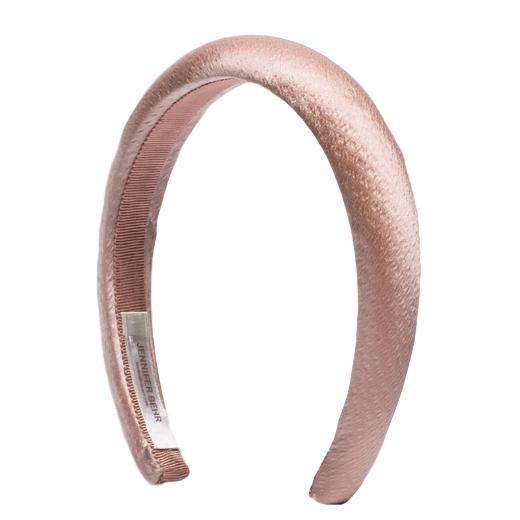
After you finish curling and you have the texture you want, slip a headband behind your ears. Go for whatever look you like! One inch from the front of the hairline or parallel to the ears are both really cute options.
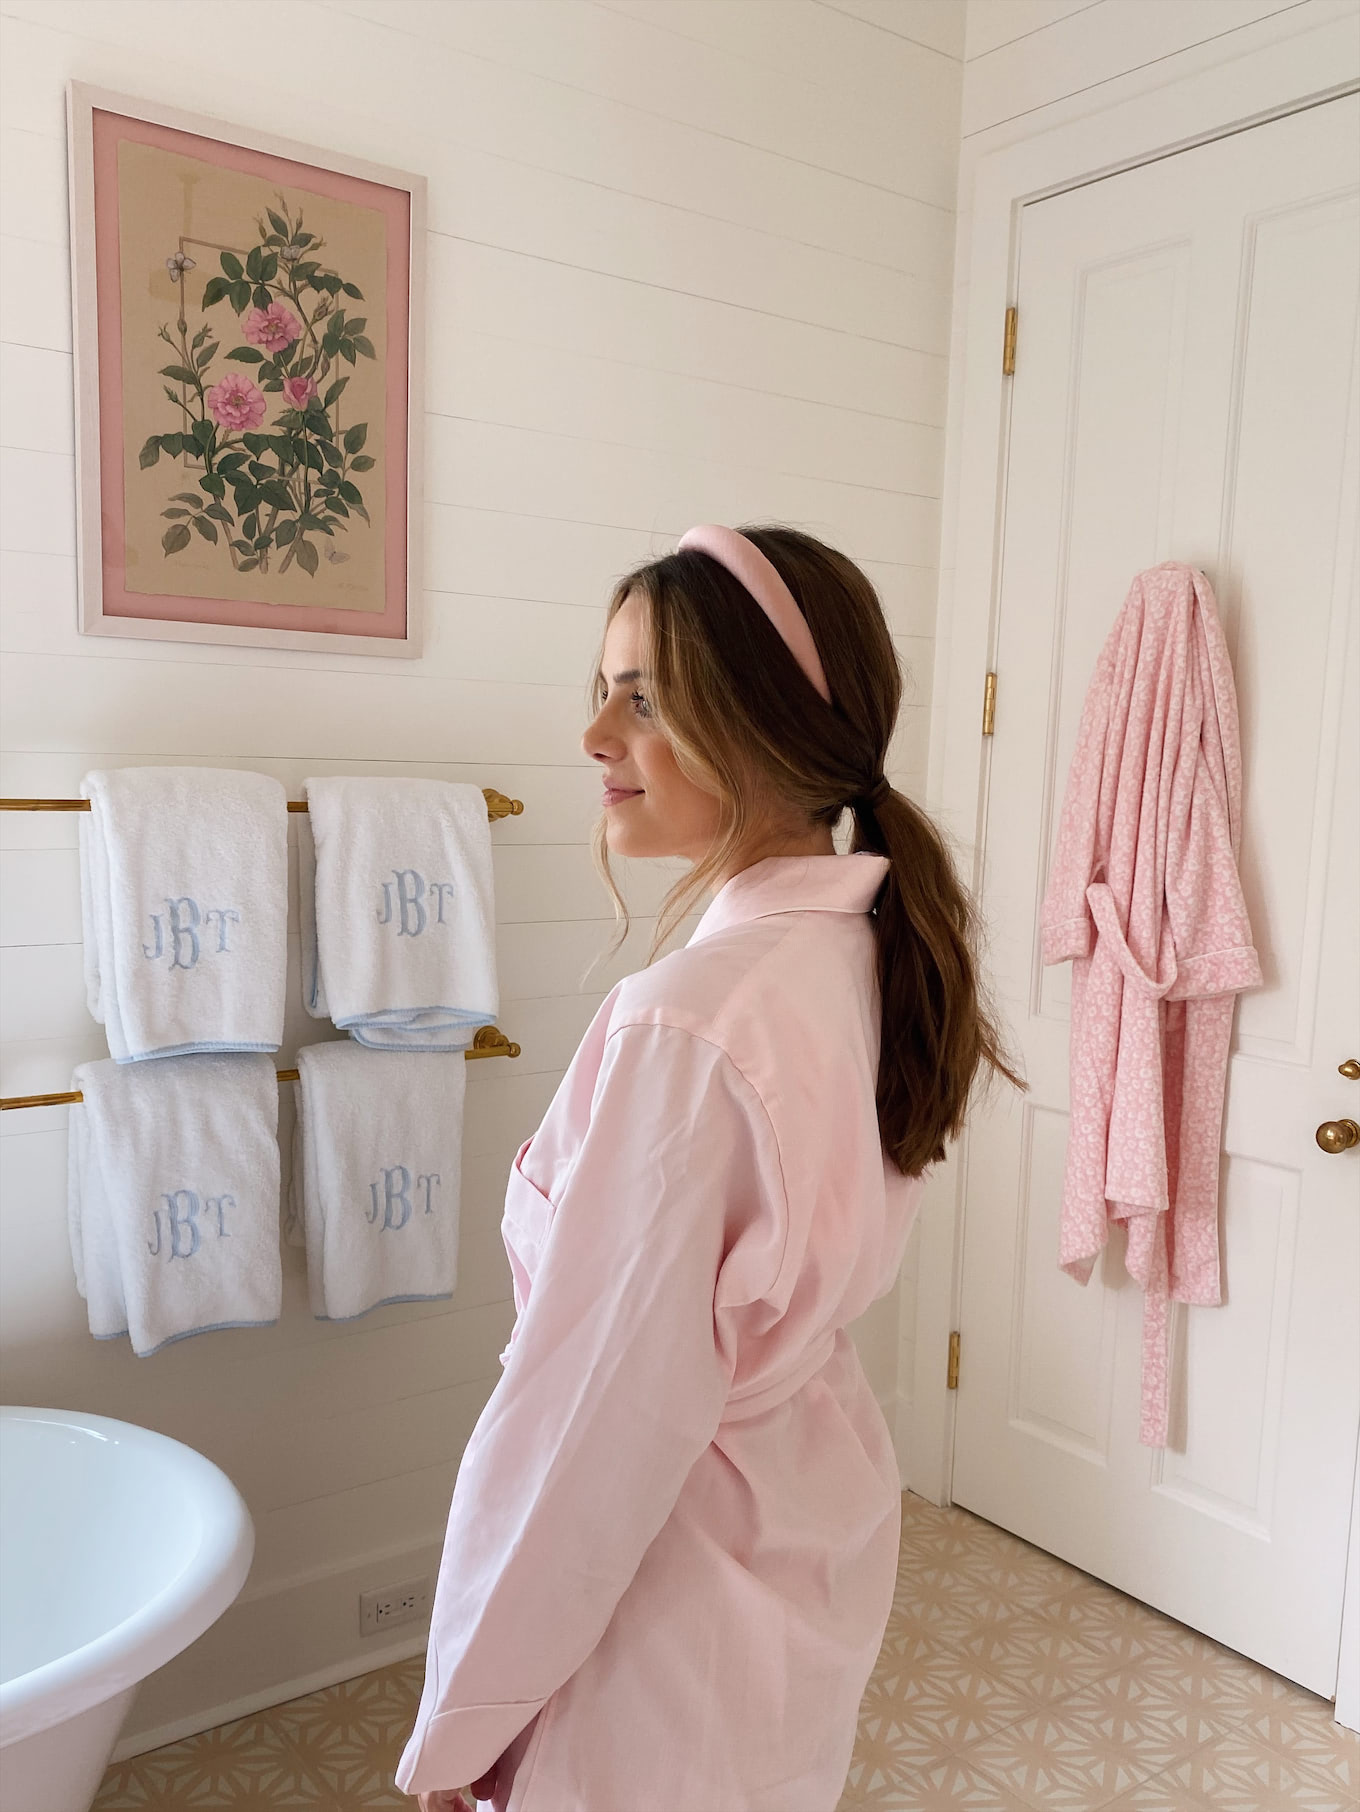
Look 2 – Headband with Pony:
Once you’ve curled your hair and placed a headband using the previous steps, add an effortless-looking ponytail.
Smooth and gather all the hair at the nape of your neck. Tie it with a clear hair tie and ensure all the hair is secure.
Pull lightly at the crown of the hair to slightly loosen the style and add texture.
Finish by wrapping hair around the elastic. Take a small strand of hair from the bottom of the ponytail and wrap it around the hair tie. Secure the end with a bobby pin.
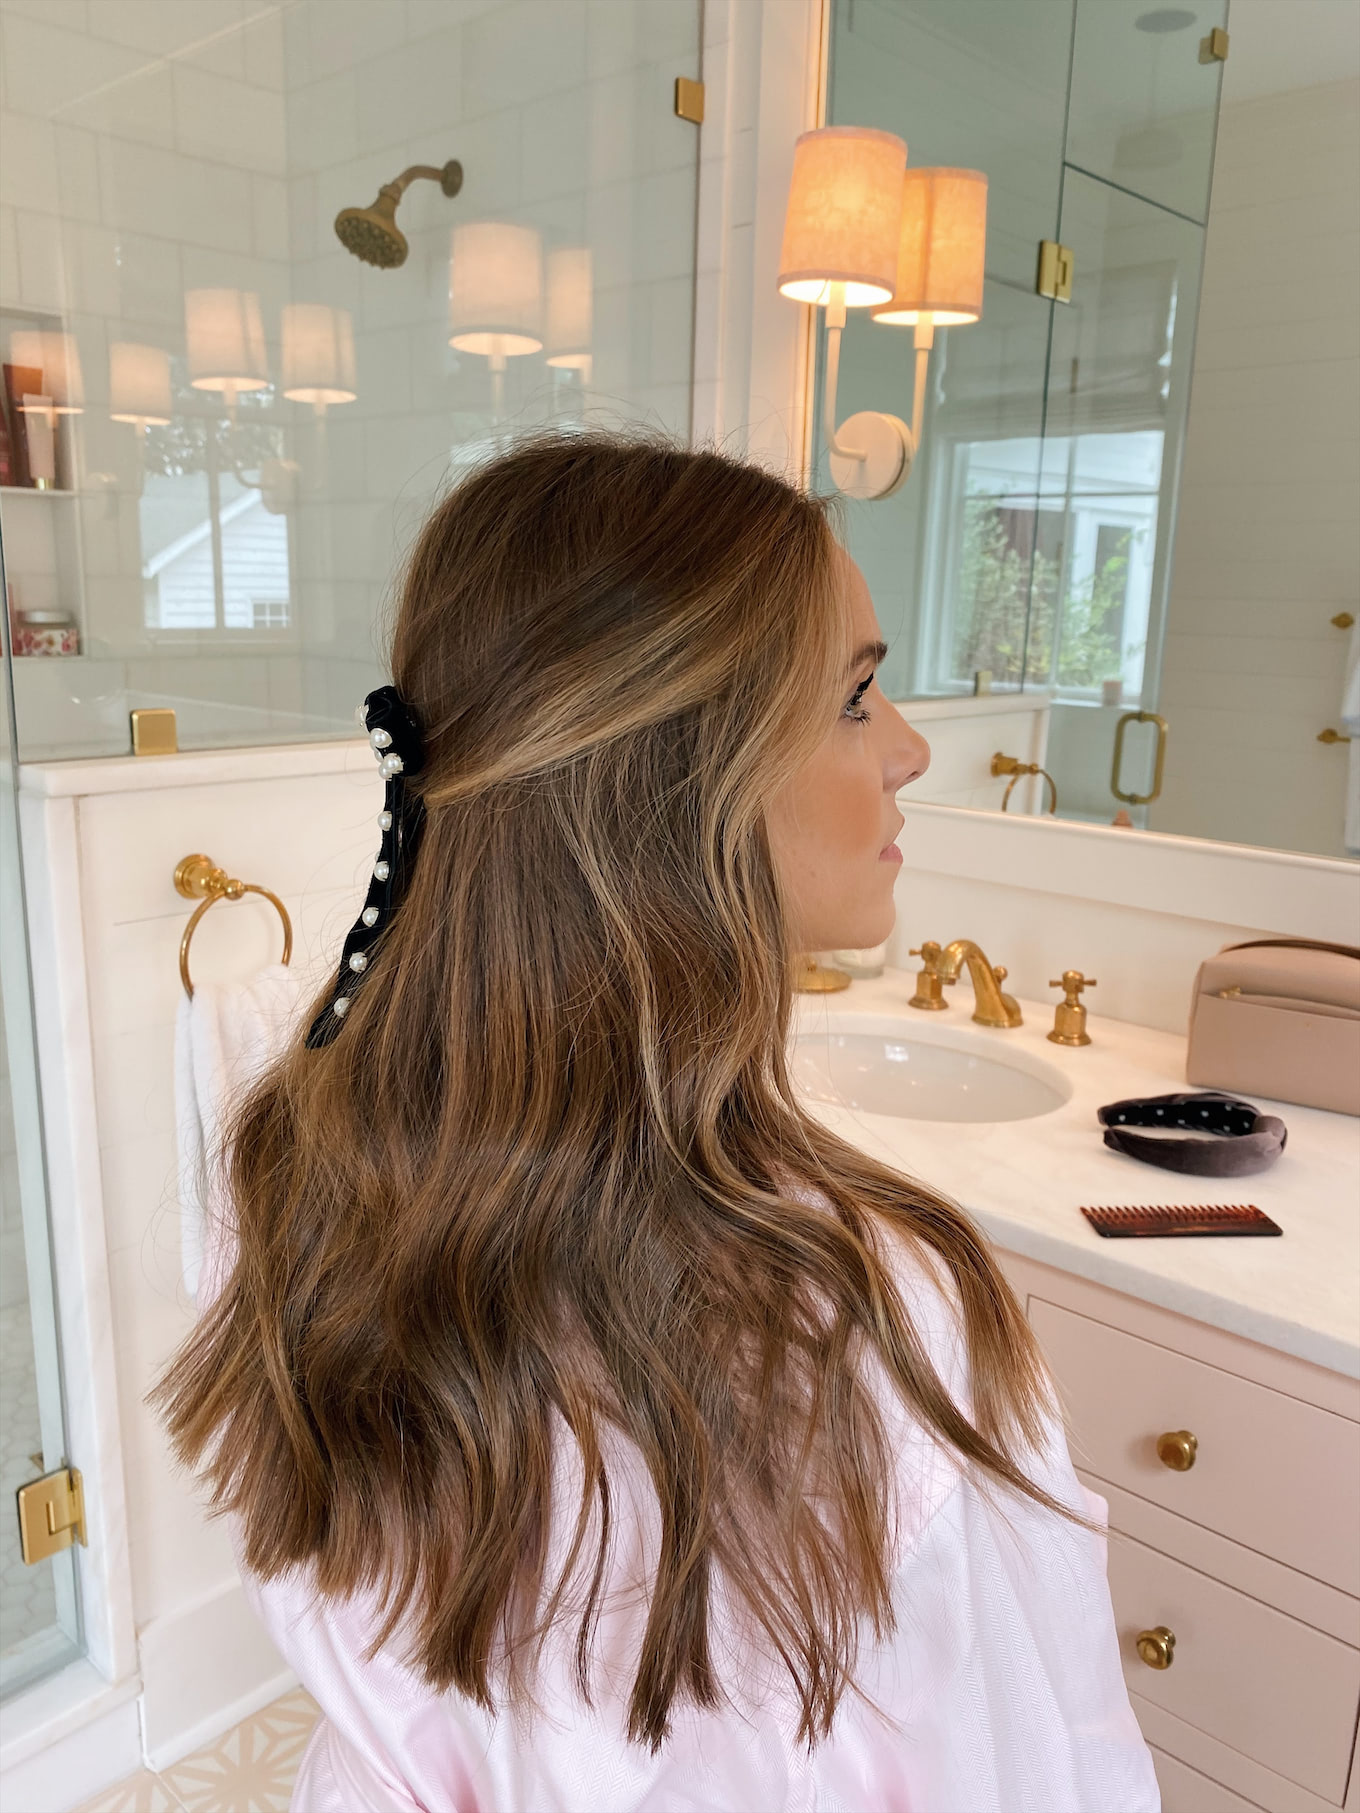

Look 3 – Half Back with a Bow:
Pulling from both sides of the hairline, secure one-inch sections (or more for thicker or curlier hair textures) with bobby pins at the back of the head. Optional: pull out a few pieces in the front to ensure it doesn’t look too perfect.
Once the bobby pins are secure in the spot of your choice, use a bow barrette to cover the pins for double security (and lots more charm).

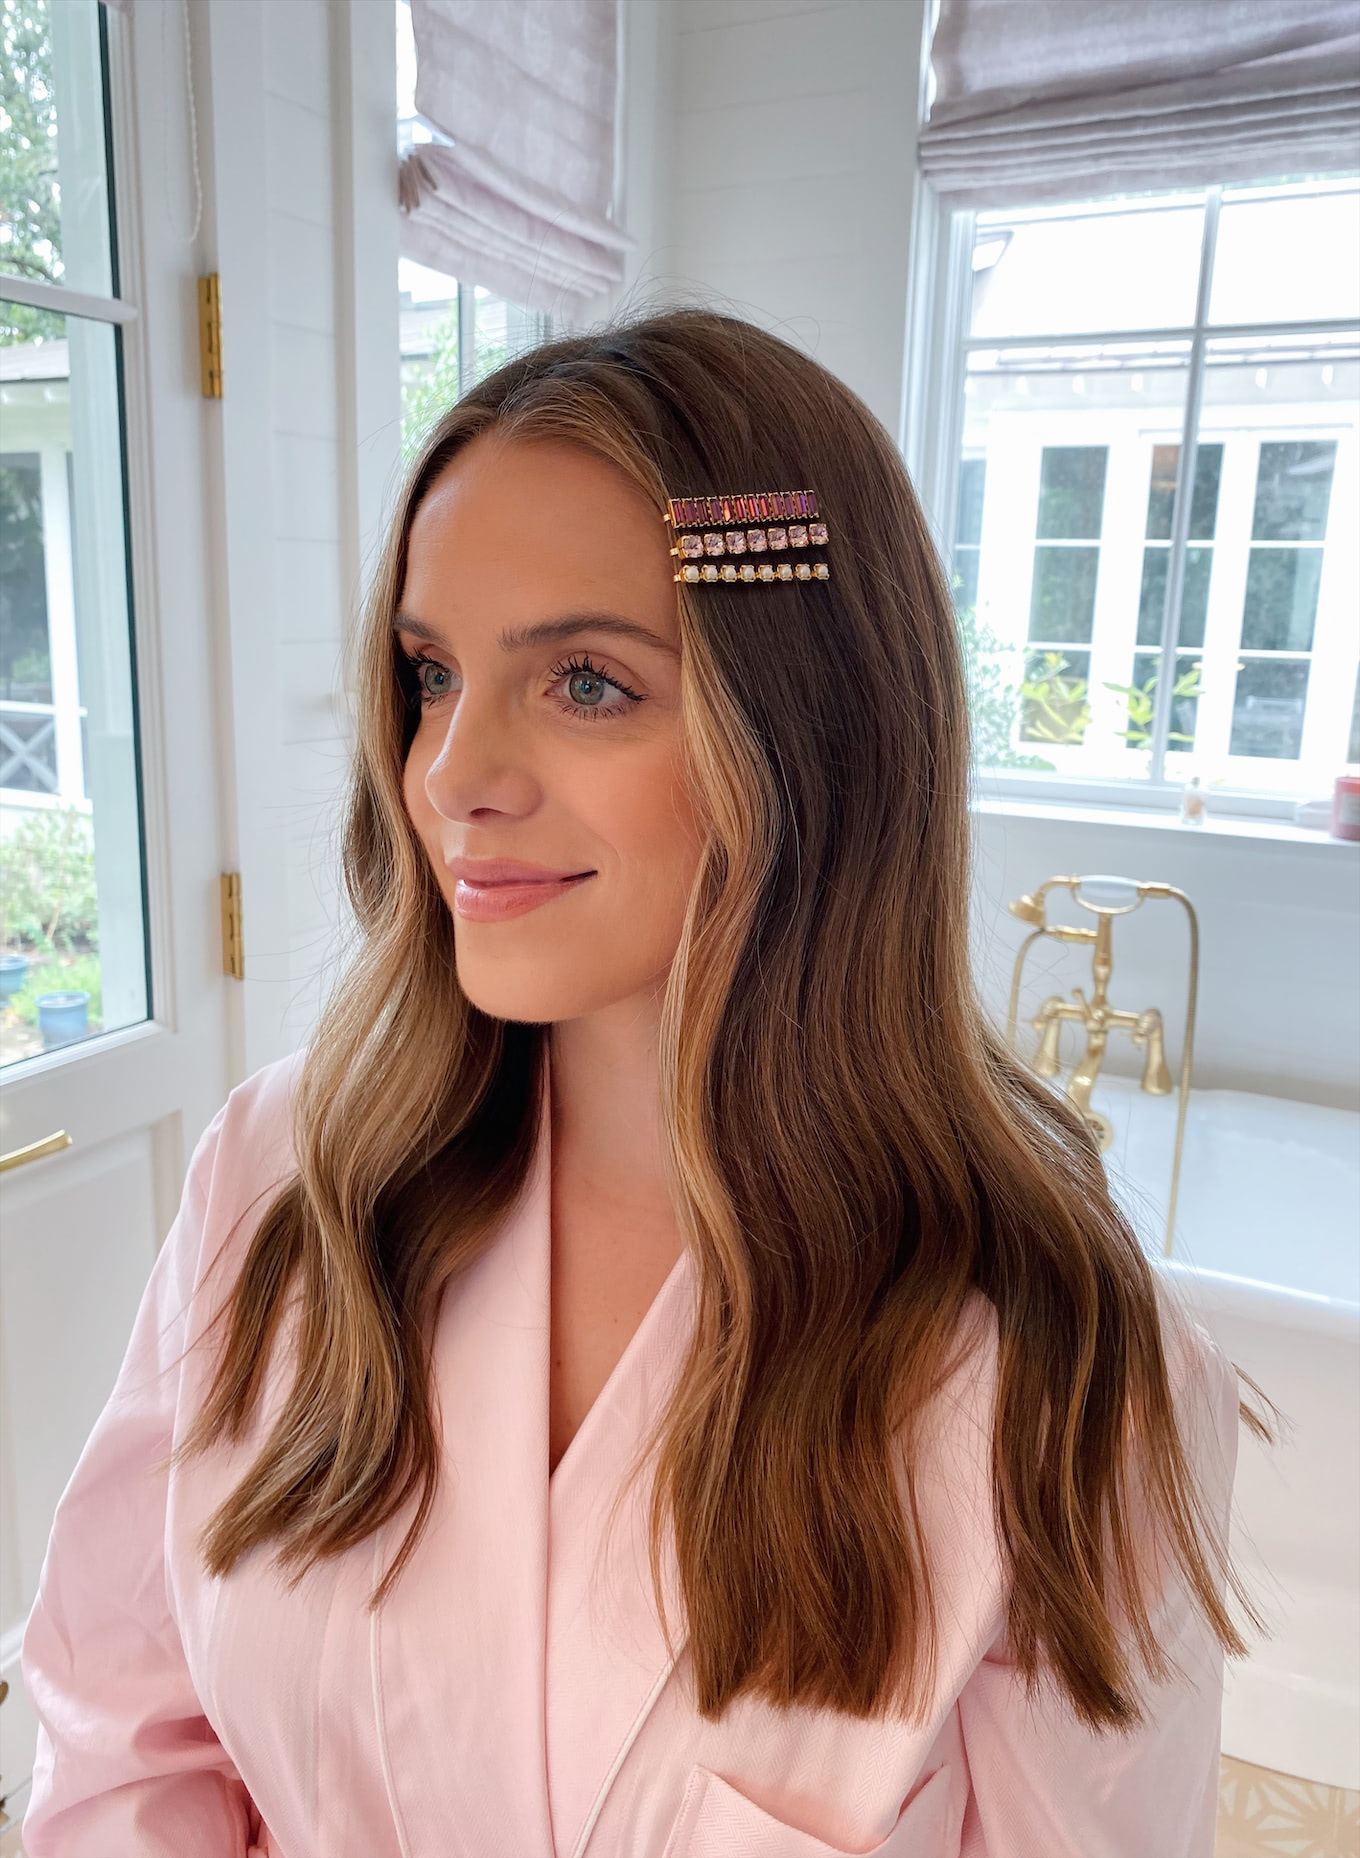
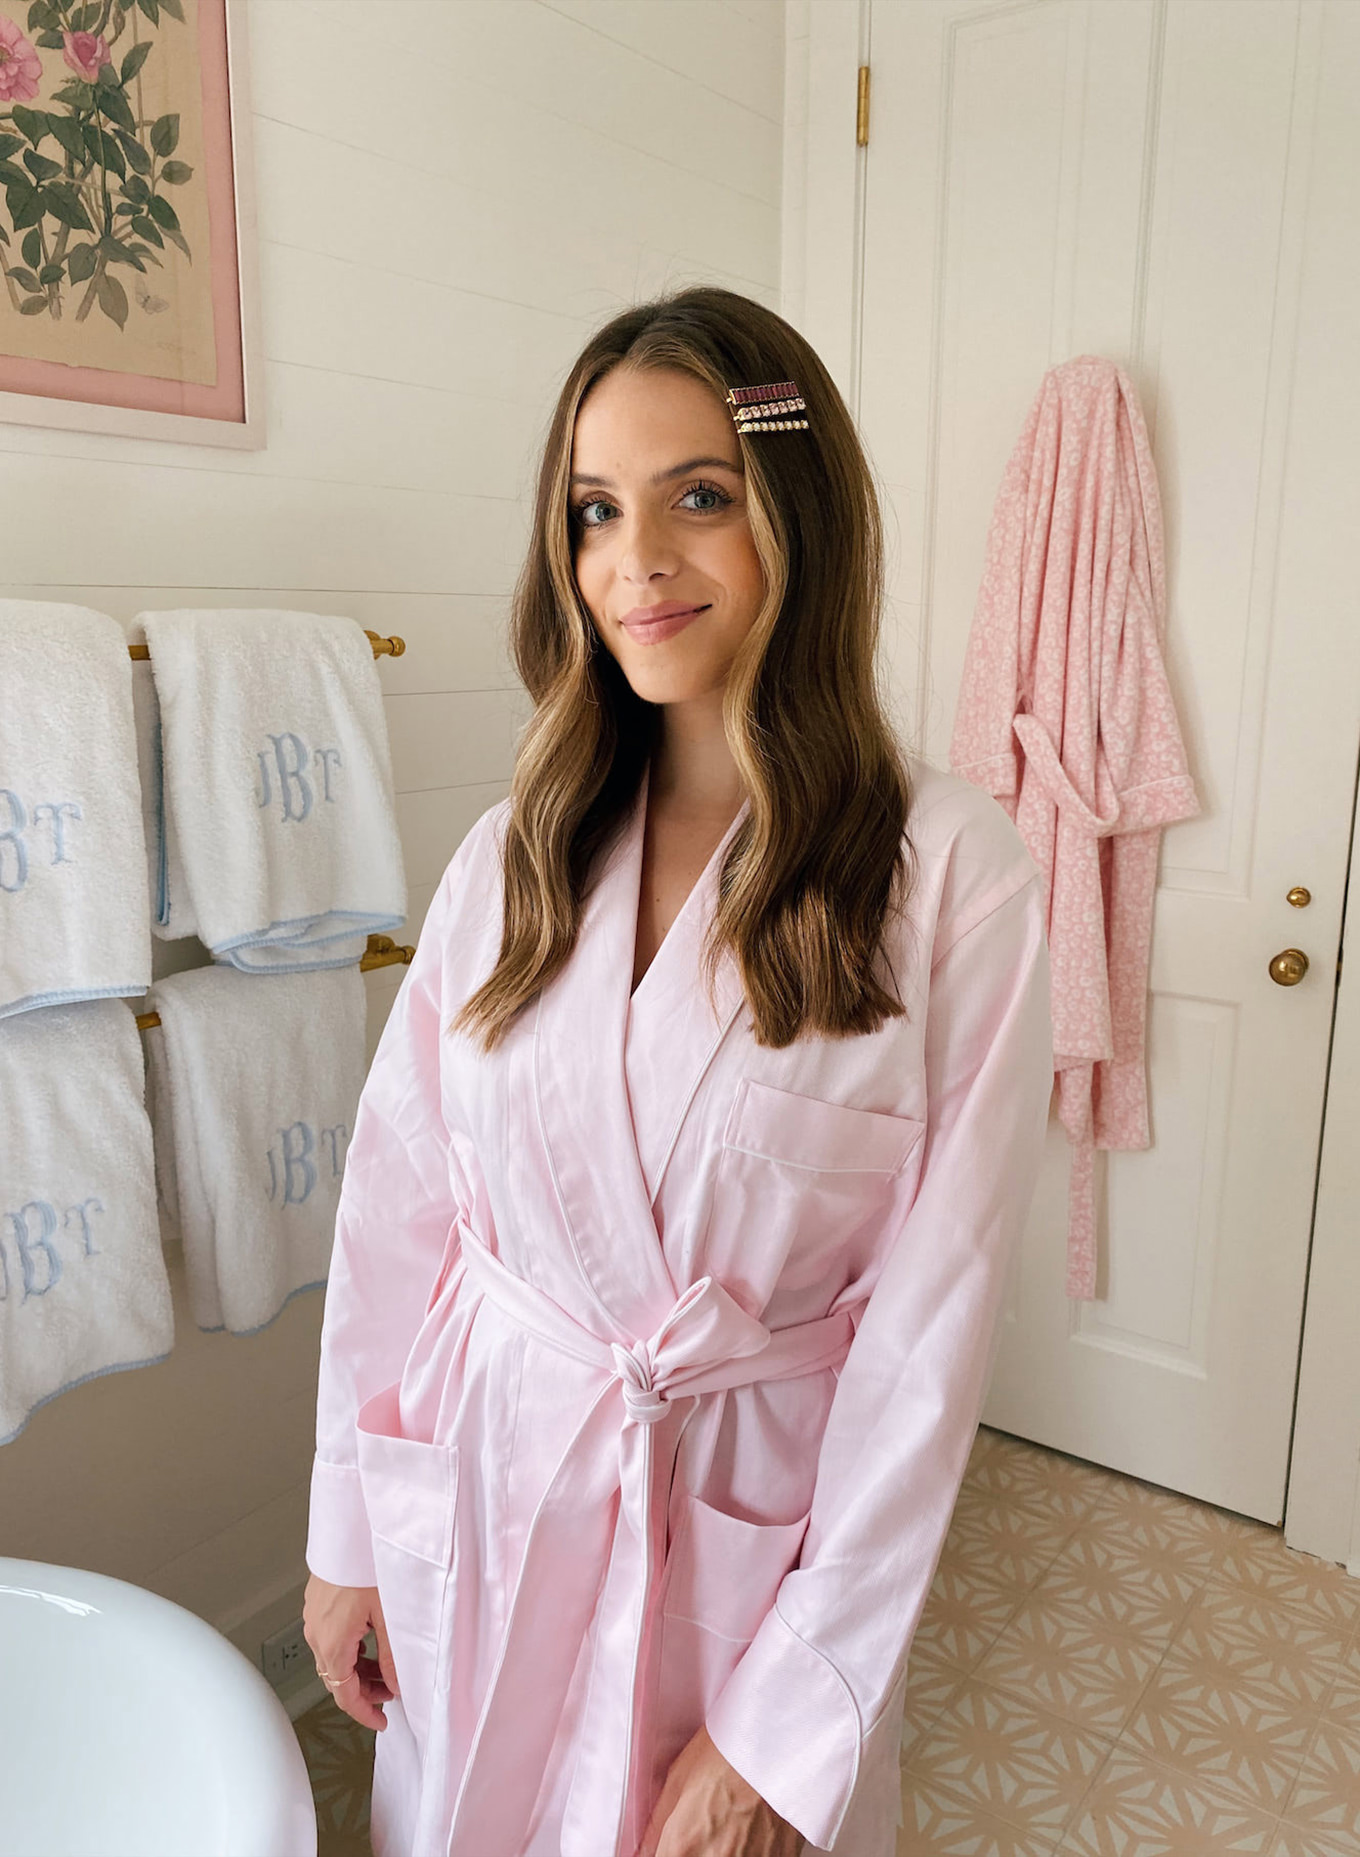
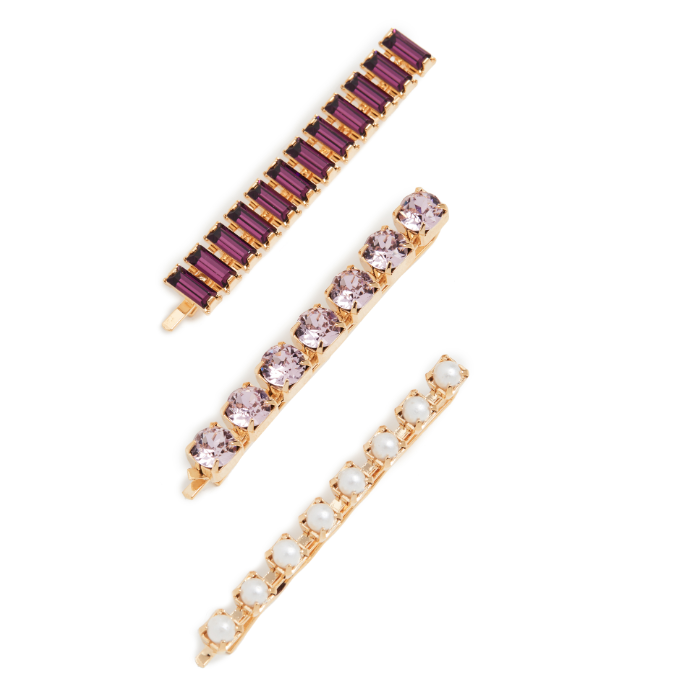
Look 4 – Sparkly Hair Accessory:
Brush through curled hair completely to smooth any curly texture into a soft wave. Set it with a small amount of hairspray to ensure the look will stay in place.
Add a decorative hair pin, starting at the hairline and pushing back until the pin is secured. We added three for extra sparkle, but the number is up to you! Pro tip: the less perfectly the pins are placed in the hair, the better.
 We have reimagined our brand and blog for a better future. Stay in the know.